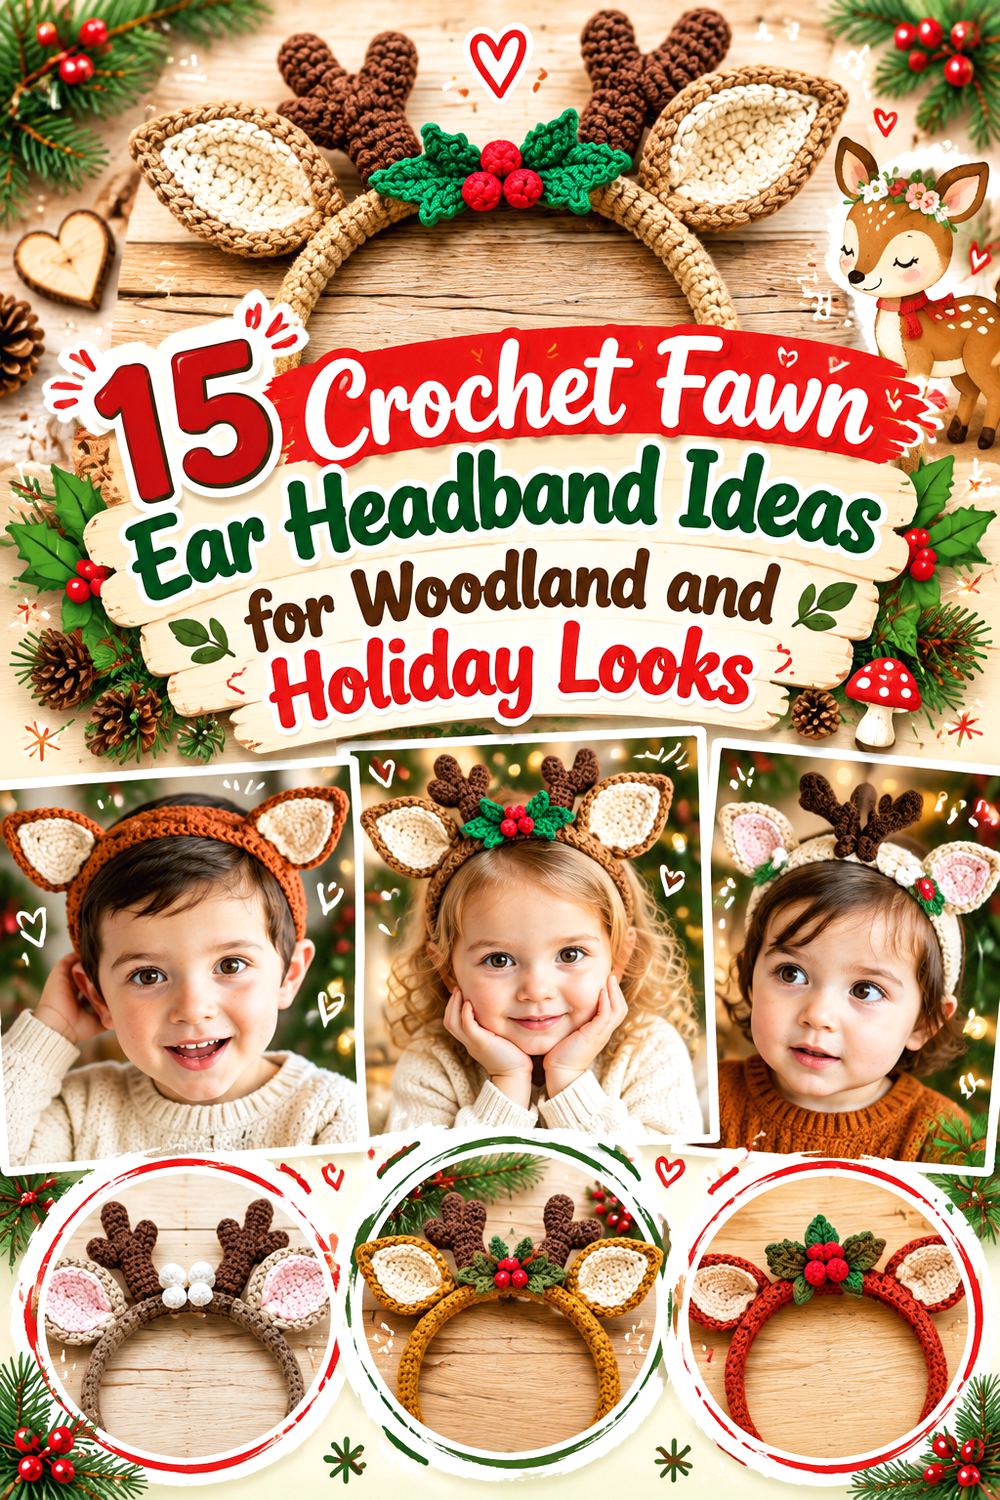
15 Crochet Fawn Ear Headband Ideas for Woodland and Holiday Looks
A fawn-inspired crochet headband can range from a quiet pair of soft deer ears to a full costume accessory with antlers, flowers, berries, or dimensional character details. One useful distinction is that true fawns are primarily recognized by their ears and youthful deer shape, while many crochet tutorials are published under the broader terms deer or reindeer and add antlers for a stronger costume silhouette.
The 15 ideas below reflect that wider project family without pretending every design is anatomically identical. You will find rigid covered headbands, softer tie-back construction, delicate ear-focused options, holiday versions, a character-style amigurumi treatment, and even a pet-specific interpretation. Each entry also points to an original tutorial so you can compare construction, attachment methods, sizing, and materials before choosing a design.
Quick List
- Crochet Soft Fawn Ear Headband
- Crochet Classic Fawn Ear and Antler Headband
- Crochet Antler-Focused Fawn Headband
- Crochet Structured Worsted Fawn Ear Headband
- Crochet Pom-Pom Fawn Antler Hairband
- Crochet Amigurumi-Style Fawn Cintillo Headband
- Crochet Holiday Fawn Tiara Headband
- Crochet Floral Fawn Ear and Antler Headband
- Crochet Heart-Detail Baby Fawn Headband
- Crochet Bead-Accent Festive Fawn Headband
- Crochet Poinsettia Fawn Ear Headband
- Crochet Tie-Back Woodland Fawn Headband
- Crochet Amigurumi-Face Fawn Headband
- Crochet Wire-Shaped Fawn Antler Headband
- Crochet Pet Fawn Ear Headband
Choose the Headband Base Before You Choose the Ears
The base affects comfort and stability as much as the decorative pieces do. Several designs in this collection crochet a cover around a rigid craft headband, which provides a firm platform for ears, antlers, and embellishments. A rigid base can be especially useful when decorative pieces need to stay upright, but its actual width and curve should be checked against the tutorial before you alter the cover.
A tie-back crochet band behaves differently. It can offer more adjustment around the head, yet soft fabric may move more under the weight of tall decorations. Fully crocheted or internally reinforced bases introduce another trade-off between flexibility and structure. Before committing to the decorative pieces, check how the chosen tutorial builds its foundation and whether the intended wearer finds that type of headband comfortable.
Balance Fawn Ears, Antlers, and Decorative Weight
Deer ears need enough stability to remain recognizable, but excessive stiffness can make a headband bulky. Antlers amplify that problem because their height creates leverage at the attachment point. Dense stitches, modest stuffing, or internal support may help particular designs, but those choices should follow the original tutorial rather than being added automatically.
Placement matters too. Temporarily positioning finished components before permanent assembly can help you compare symmetry, ear angle, and the amount of visual space between the ears and antlers. Floral clusters, pom-poms, beads, and leaves add still more weight, so consider whether they should remain secondary accents rather than competing with the deer silhouette. Yarn substitution can also change the scale substantially; thicker yarn may produce both larger components and a heavier finished accessory.
Think About Safety Before Adding Structure or Small Details
Some fawn and reindeer headbands incorporate wire, beads, safety eyes, stuffing, foam, pom-poms, or other small components. That does not automatically make a project unsuitable, but it does mean the intended wearer matters. Accessories for young children need especially careful consideration because decorative parts can loosen, hard internal pieces can create pressure points, and small components may present hazards if detached.
Use the creator’s project as the starting point and check how each structural or decorative element is attached. For a child-oriented version, simpler ears and securely sewn yarn details may be preferable to loose embellishments. Wire-supported costume pieces deserve careful finishing so no end can migrate through the fabric. Pet headbands require an additional standard: they should never interfere with vision, hearing, breathing, normal movement, or the animal’s ability to remove itself from an uncomfortable situation.
1. Crochet Soft Fawn Ear Headband
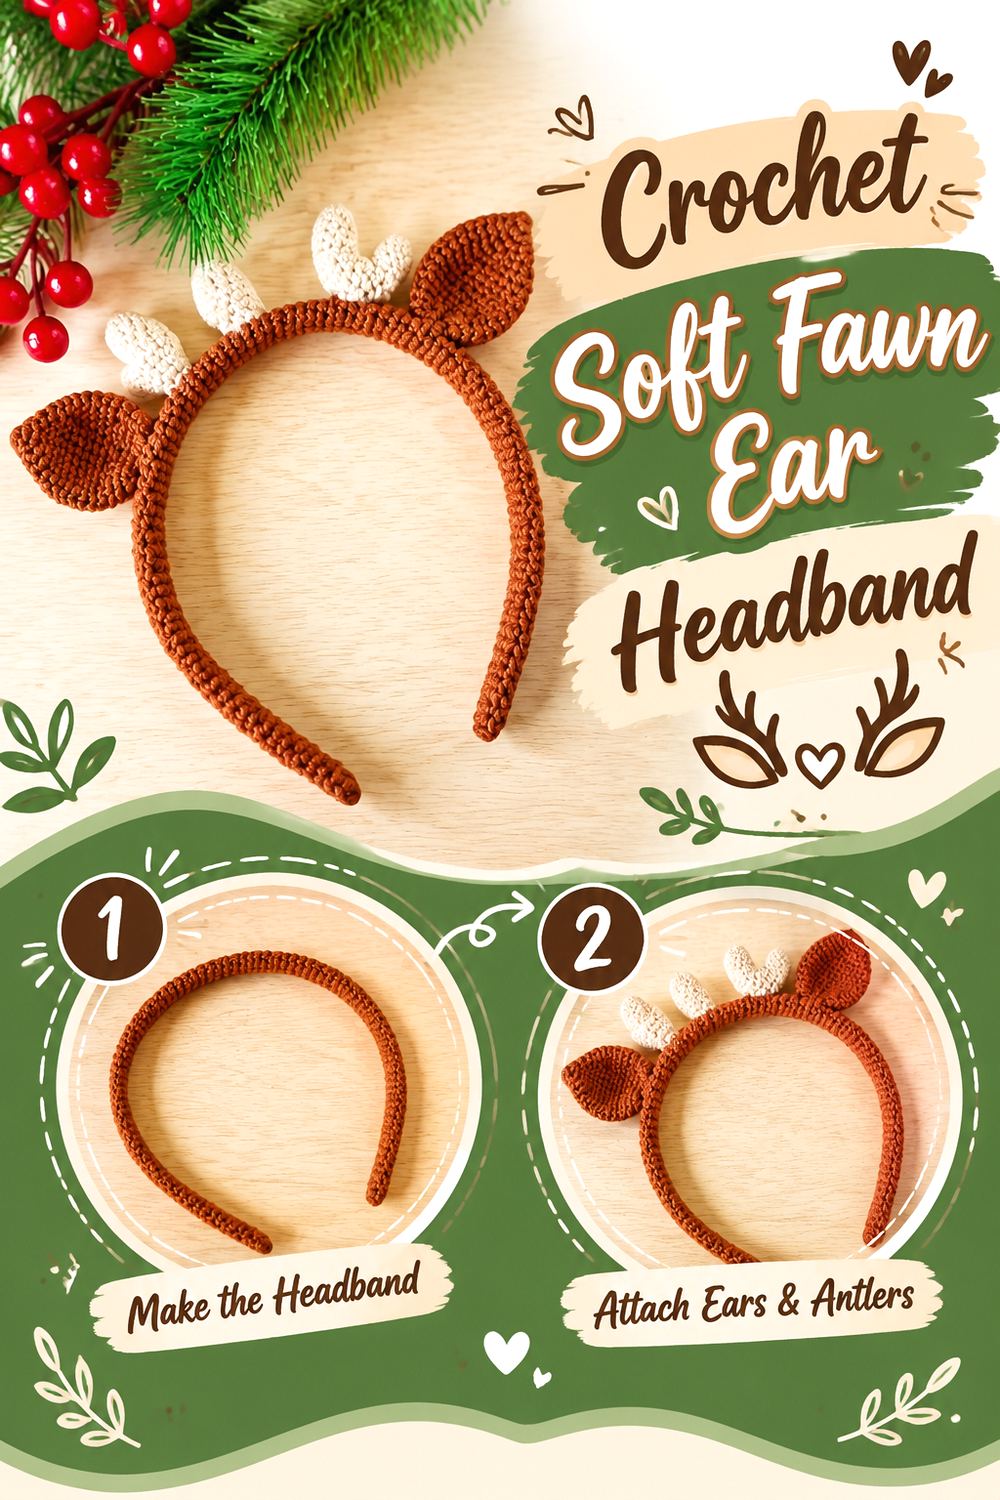
This ear-led design is a useful starting point when you want the deer identity to come from the ears rather than a large arrangement of holiday decorations. Toffee Fields Crochet & DIY presents the project specifically as a crocheted reindeer-ear headband, keeping the concept focused on a recognizable animal silhouette. That also makes it easier to reinterpret in quieter tan, caramel, cream, or pink-inner-ear combinations when the goal is a woodland fawn rather than an overt Christmas accessory.
Because ear shape carries most of the visual work here, pay more attention to matching the pair than to adding extra embellishment. A clean, symmetrical finish will usually read more convincingly than simply adding more components.
Let the Ear Silhouette Do the Work
For a softer fawn interpretation, large antlers are not essential. Concentrating on tapered ears can give the headband a younger woodland-animal appearance and make it easier to coordinate with neutral clothing, a costume, or a nature-themed photo setup.
Before permanent attachment, compare both ears from the front rather than only while the headband is lying flat. Slight differences in angle can become much more obvious once the accessory curves around a head. The tutorial should remain your reference for its actual construction and attachment method.
Check Placement on the Wearer, Not Just the Table
Crochet components that look evenly spaced on a flat surface can shift visually when the headband opens around the wearer’s head. Position the ears provisionally and look at the accessory from the front and side before finishing the attachment.
If you substitute a different yarn, remember that the ears may grow or shrink in both height and thickness. Rather than assuming the original spacing will still work, use the completed ear dimensions and the actual headband as your guide.
Original Tutorial and Creator Credit
Creator: Toffee Fields Crochet & DIY
2. Crochet Classic Fawn Ear and Antler Headband
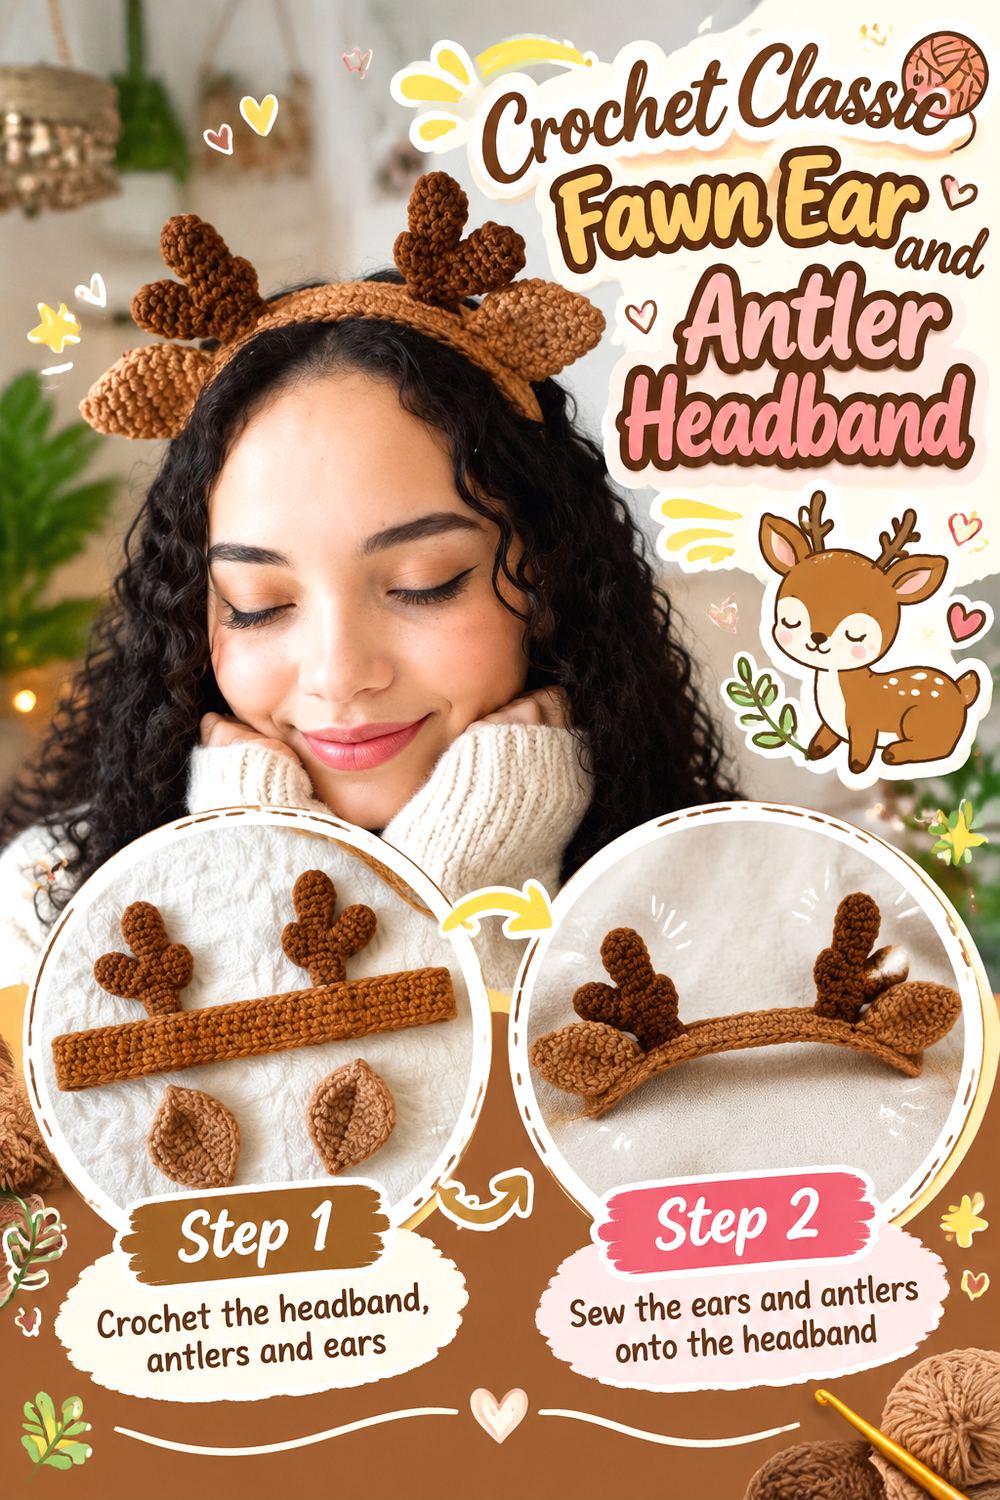
For a fuller deer silhouette, this version combines the crocheted headband base with separate ears and antlers. Alinna Crochets ♡ divides the video into the base, ears, antlers, and final sewing, making the relationship between the individual pieces easy to identify without turning the finished accessory into a character face or heavily embellished holiday crown.
That makes it a practical choice when you want a recognizable deer costume profile that is still visually clean. For a fawn-inspired interpretation, softer natural colors and modest antler emphasis can keep the ears prominent. Because several components converge in a small area, however, attachment spacing deserves as much thought as the crochet itself.
Spread the Visual Weight Across the Band
Ears and antlers compete for limited space. If they are crowded together, the ear shape can disappear behind the antlers; if they are spread too far apart, the accessory can lose a coherent deer silhouette.
Use the tutorial’s finished arrangement as your primary reference and evaluate substitutions only after your pieces are complete. Different yarn thickness or tension can change the relative proportions, so fixed spacing copied from another headband is less useful than arranging the actual pieces you made.
Keep the Pair of Antlers Balanced
Dimensional antlers do not have to be perfectly mechanical mirror images, but obvious differences in height or angle can make the entire headband look tilted. Check both from the front before sewing them down completely.
If one piece feels substantially heavier or more flexible, investigate that difference before assembly. Uneven stuffing, yarn tension, or attachment depth can change how a raised element behaves. Correcting the imbalance before final sewing is generally easier than trying to pull an already attached antler into position.
Original Tutorial and Creator Credit
Creator: Alinna Crochets ♡
3. Crochet Antler Focused Fawn Headband
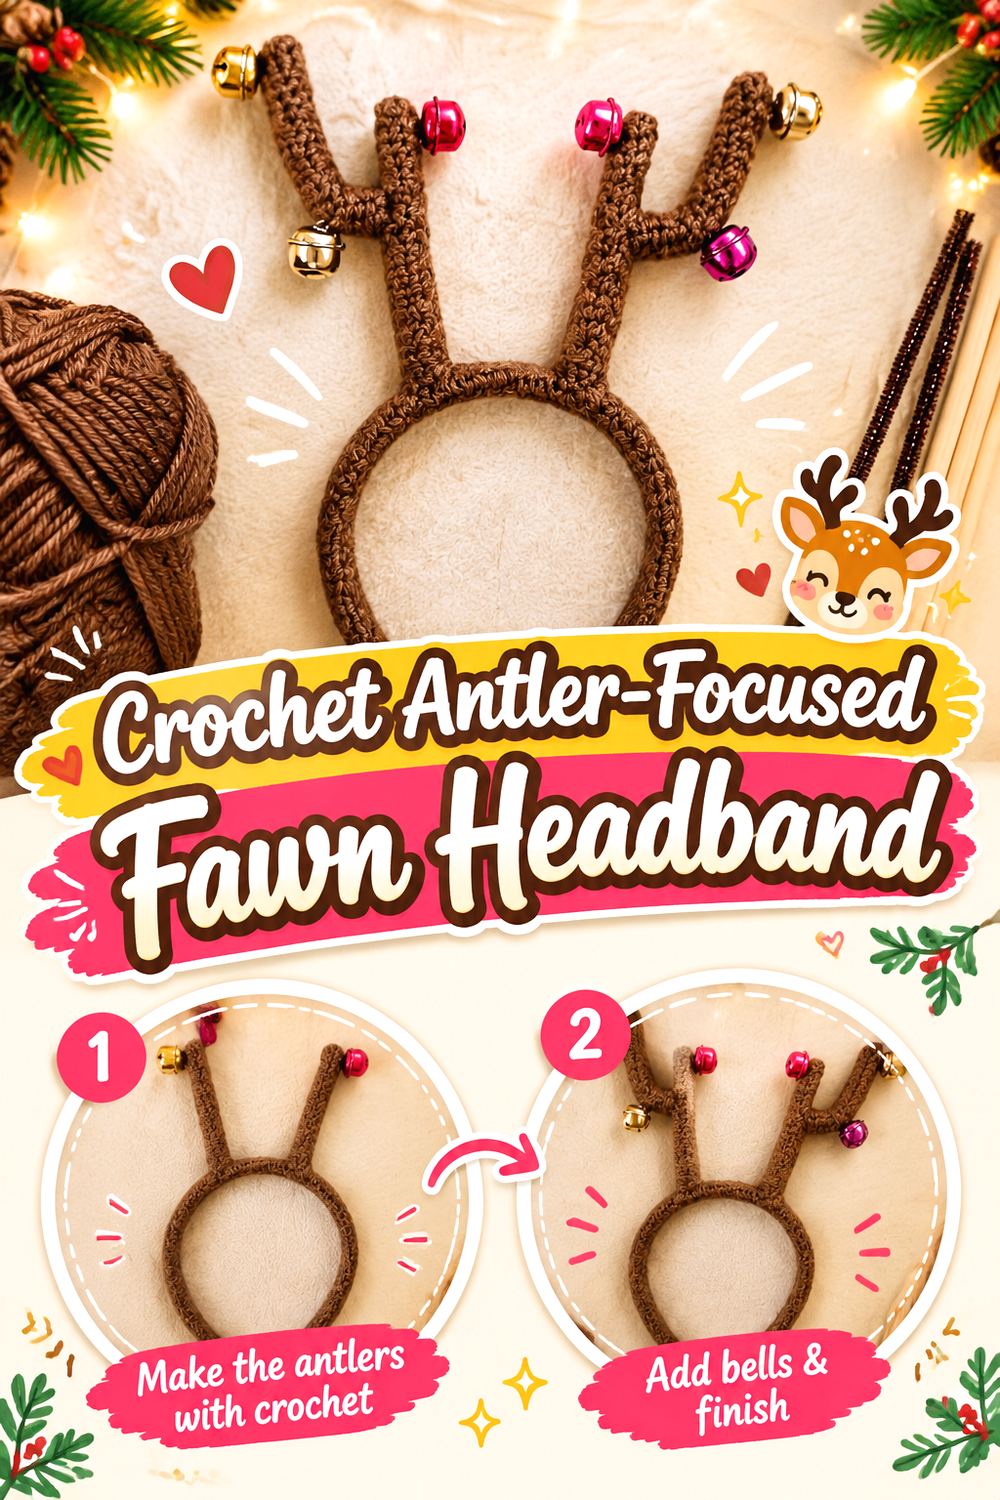
Canal crochet’s tutorial is explicitly centered on a reindeer antler headband, making this the most antler-driven option in the collection. Rather than choosing it for a realistic young-fawn appearance, consider it when the goal is costume impact: a stronger overhead silhouette for holiday events, woodland dress-up, stage use, or a stylized deer look.
The antler emphasis also creates a useful contrast with ear-dominant headbands. Height and lateral spread become more important than tiny decorative details, and the base must support whatever shape the tutorial produces. If you want to push the finished piece toward a gentler fawn aesthetic, keep the surrounding styling restrained rather than adding multiple competing motifs.
Judge Height Against the Intended Use
Tall crochet components may look dramatic in photographs while being less convenient for prolonged wear, crowded events, or active play. Before selecting an antler-forward design, think about where the headband will actually be used.
The source tutorial should determine the construction itself. Your planning decision is whether that silhouette suits the occasion. For a subtle woodland costume, a smaller ear-led option may be more practical; for a theatrical or holiday look, the extra vertical profile can be exactly what makes the accessory readable at a distance.
Stabilize the Base Before Adding More Decoration
An antler-focused headband already asks the base to carry raised components. Flowers, bells, beads, or other additions may shift the center of gravity or create pressure around the sides of the head.
Finish and assess the core structure first. If it sits comfortably and the antlers hold their intended position, then decide whether additional decoration is worth the trade-off. Do not assume a rigid-looking finished piece can safely carry unlimited embellishment; yarn, stuffing, attachment method, and headband width all influence the result.
Original Tutorial and Creator Credit
Creator: Canal crochet
4. Crochet Structured Worsted Fawn Ear Headband
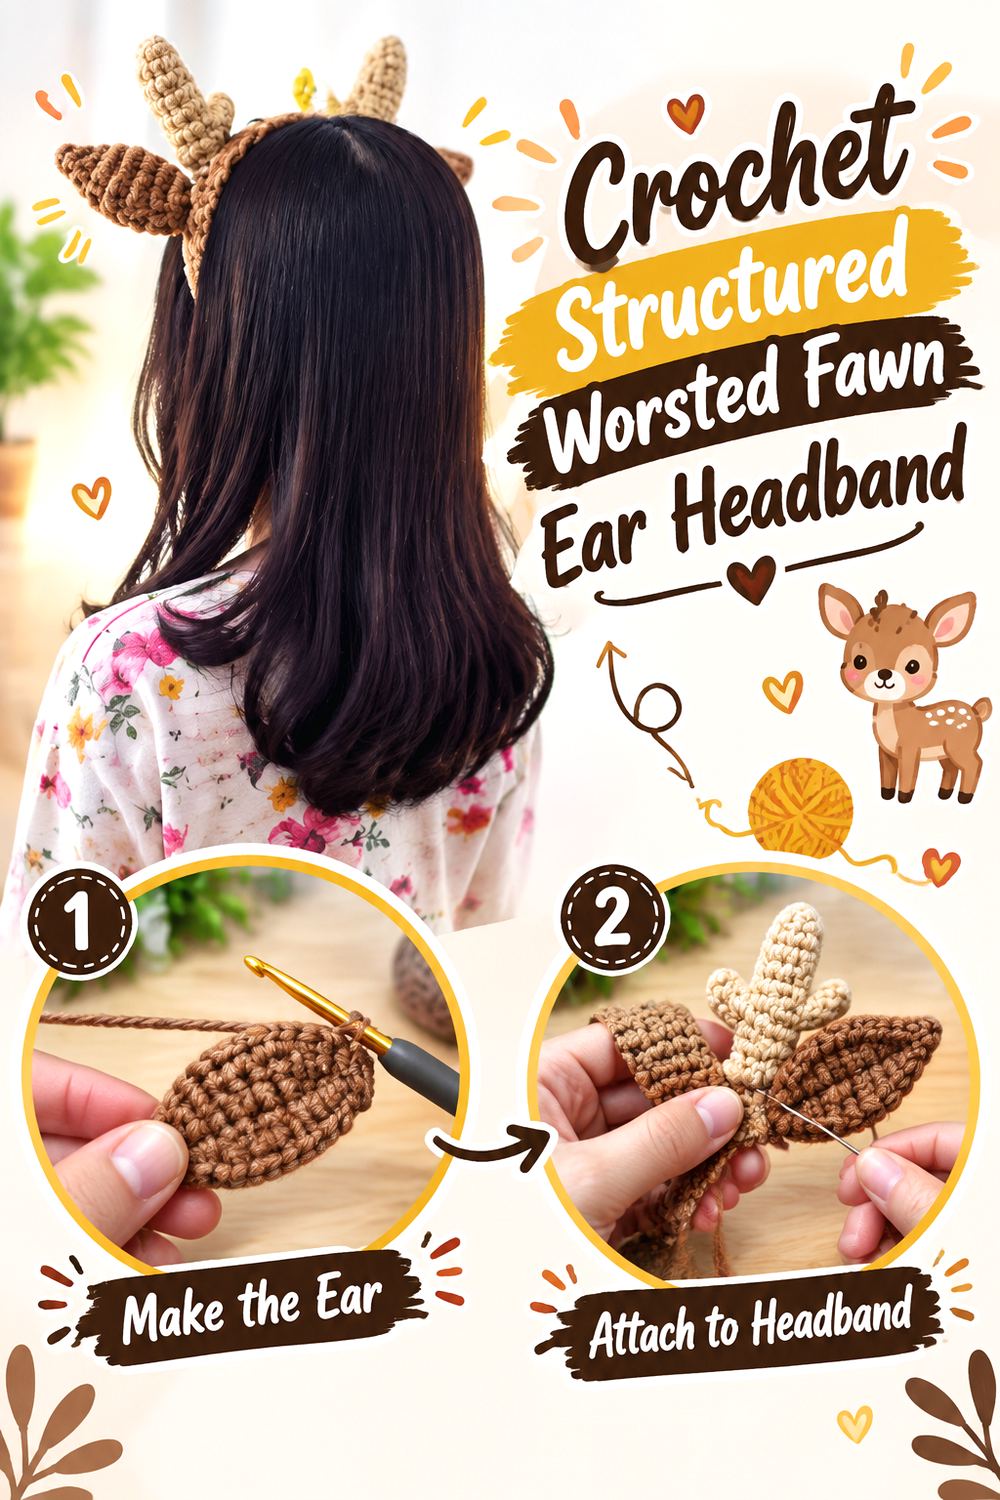
GratiaProject’s deer-ear headband tutorial uses worsted-weight yarn with a 3 mm crochet hook, giving readers a clearly documented material starting point for this particular design. The tutorial is presented as a Christmas deer or reindeer ear headband, but the animal shape can also inform a neutral woodland accessory when the color palette is changed responsibly.
This option is worth comparing with finer-yarn headbands because material scale affects more than appearance. A substantial yarn can create fuller components and more visible stitch texture, while also adding bulk where the ears meet the band. If you substitute yarn, do not assume the original proportions or firmness will automatically survive the change.
Watch the Ear Base for Excess Bulk
The point where a dimensional ear meets the headband is easy to overlook. Too much fabric concentrated there can push the ear outward, make the band feel lumpy, or interfere with nearby antlers or decorations.
Before securing the ear completely, flatten and position its base according to the tutorial and check how the band curves. If your yarn behaves differently from the source material, you may need to reassess whether that substitution is appropriate rather than forcing an oversized component into the original assembly space.
Treat Yarn Weight as a Structural Choice
Switching from worsted yarn to something much finer or heavier can alter ear size, firmness, stitch definition, and overall headband weight. Matching color alone is not enough.
If you want to substitute, compare the resulting fabric with the tutorial’s visible fabric before making every component. An ear that collapses or becomes disproportionately thick is a sign that the material change has affected the design. The original tutorial remains the correct place to confirm its recommended construction details.
Original Tutorial and Creator Credit
Creator: GratiaProject
5. Crochet Pom Pom Fawn Antler Hairband
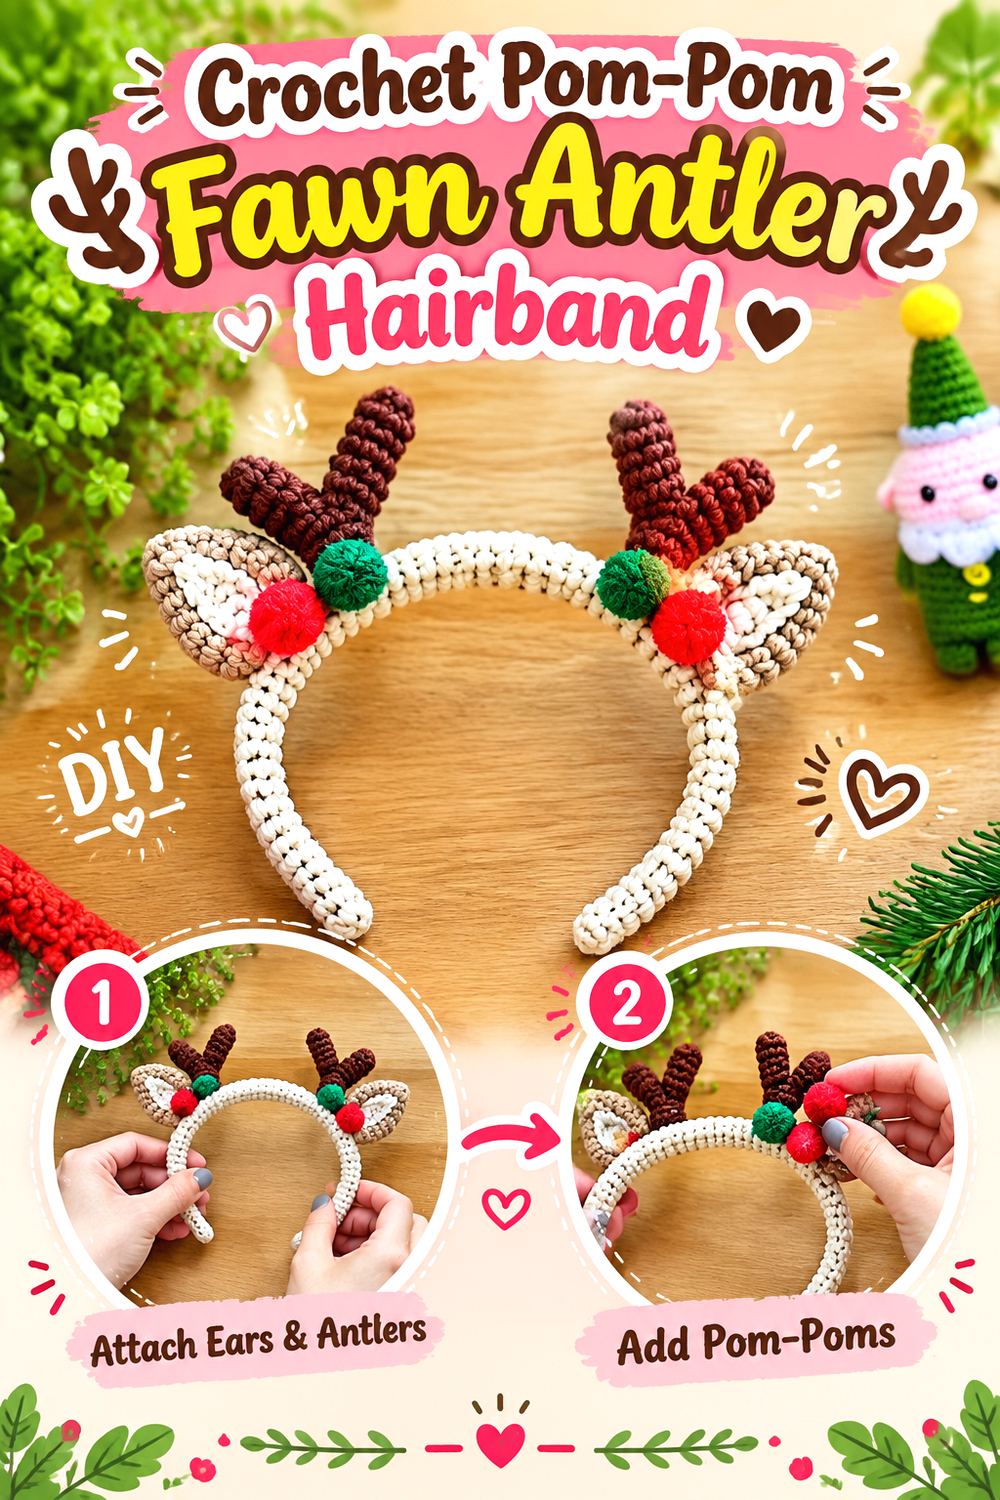
Kane Crochet adds a playful decorative direction by incorporating four pom-poms into a crocheted reindeer hairband made around a separate headband. The creator lists cotton yarn, a 3 mm hook, the hairband, and the pom-poms among the materials, making those soft round accents a verified part of the project rather than an imagined customization.
The result suits readers who want the deer silhouette to feel cheerful and visibly festive rather than naturalistic. Pom-poms create extra volume without the hard sparkle of beads or metallic pieces, but they still affect balance and care. Their placement should complement the ears and antlers instead of hiding the animal outline.
Treat Pom-Poms as Decoration, Not Support
A pom-pom can fill negative space and add color, but it should not be expected to stabilize a loose ear or antler. Structural attachment needs to work independently.
Check the finished headband from several angles before deciding whether the decorative clusters feel balanced. If you substitute larger pom-poms, they may cover more of the crocheted pieces or make the top visually crowded. Smaller accents generally preserve more of the underlying deer silhouette, though the tutorial should guide the intended version.
Consider How Soft Embellishments Affect Care
Pom-poms can flatten, fuzz, or trap lint differently from the crocheted band. Their care requirements may therefore become the limiting factor for the entire accessory.
Do not invent a washing method based on the yarn alone. Follow the yarn label, the creator’s guidance, and any care recommendations for the pom-poms themselves. If the hairband is intended primarily as a seasonal costume accessory, gentle spot handling may be more realistic than treating it like an everyday washable garment.
Original Tutorial and Creator Credit
Creator: Kane Crochet
6. Crochet Amigurumi Style Fawn Cintillo Headband
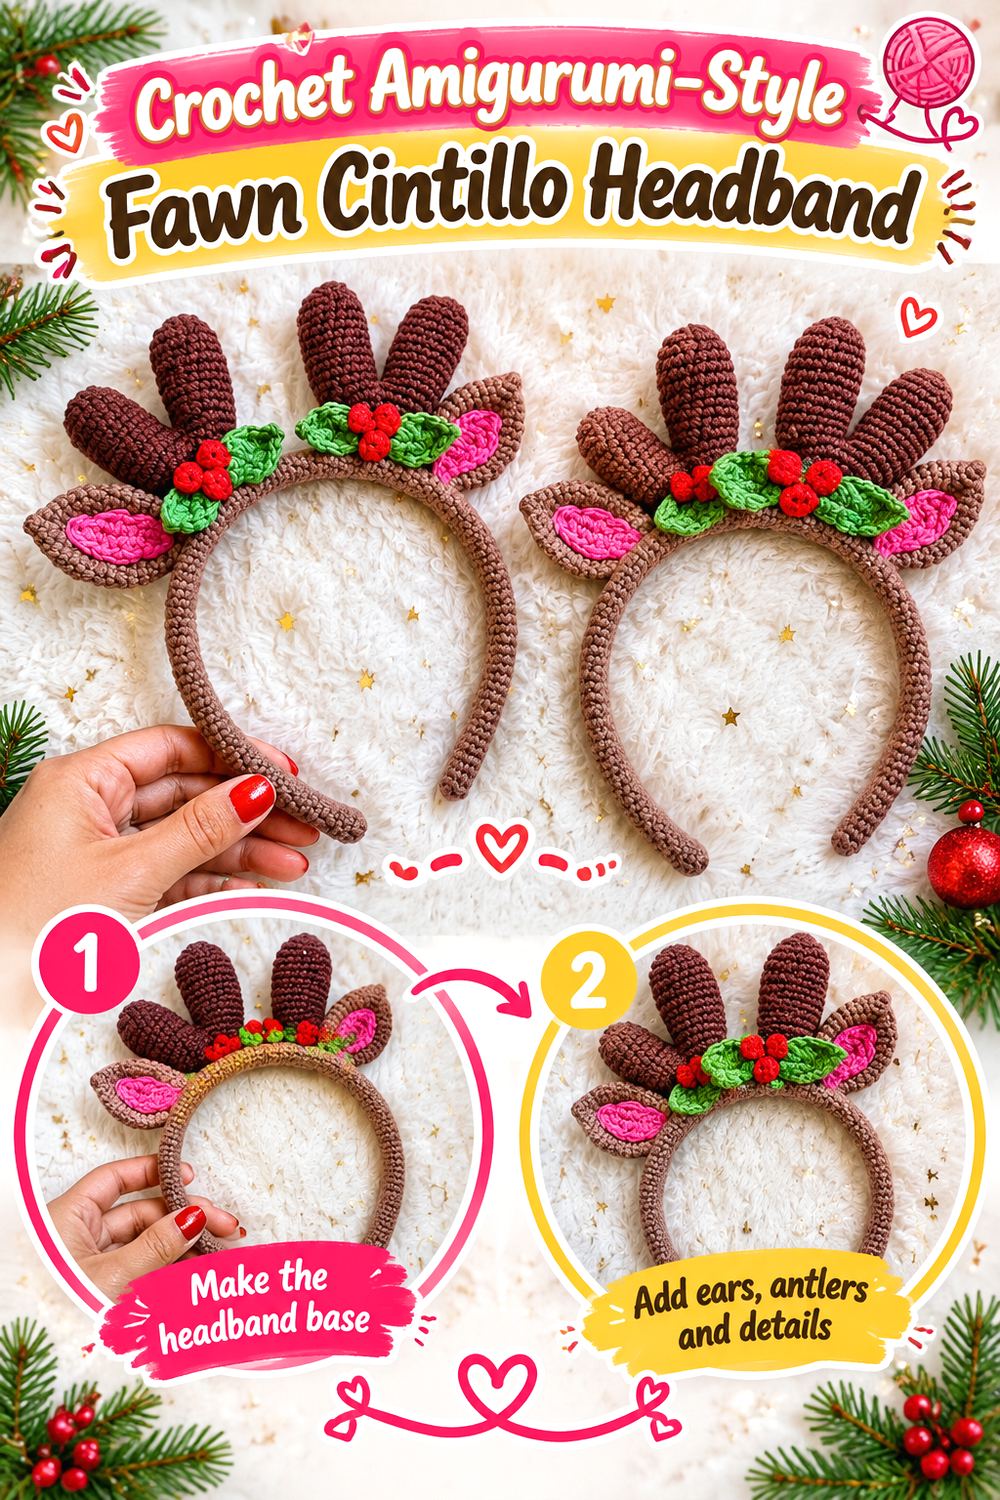
Tejidos Joss presents a crocheted reindeer headband under the Spanish terms diadema, vincha, and cintillo, with the project also grouped with amigurumi-oriented crochet content. It offers a useful video alternative for readers comfortable following visual instruction even when terminology differs from English-language patterns.
Because the public description does not document every construction or sizing detail, this is a project where restraint matters: use the video to confirm the actual shape, component arrangement, and assembly before planning substitutions. Its value in this collection is the fully crocheted reindeer-headband concept and video presentation, not unsupported claims about exact measurements or fit.
Confirm the Base Construction Before Buying Supplies
“Headband,” “vincha,” “diadema,” and “cintillo” can refer to related accessories without guaranteeing identical foundations. Do not assume this tutorial uses the same rigid insert, width, or covering method as another project merely because the English translation sounds similar.
Watch the source closely enough to identify what actually supports the crochet. That decision affects how you judge yarn quantity, attachment space, and whether the finished accessory can carry raised ears or antlers without shifting.
Use Visual Proportion as Your Adaptation Check
When a source does not provide every measurement in its public description, the safest approach is not to invent numbers. Compare the relative size of the ears, decorative pieces, and band in the tutorial and use the creator’s instructions for the actual project.
If you change yarn or base size, make one component first and evaluate it against your headband. A large proportion change at that stage is easier to address than after all the decorative pieces have been completed.
Original Tutorial and Creator Credit
Creator: Tejidos Joss
7. Crochet Holiday Fawn Tiara Headband
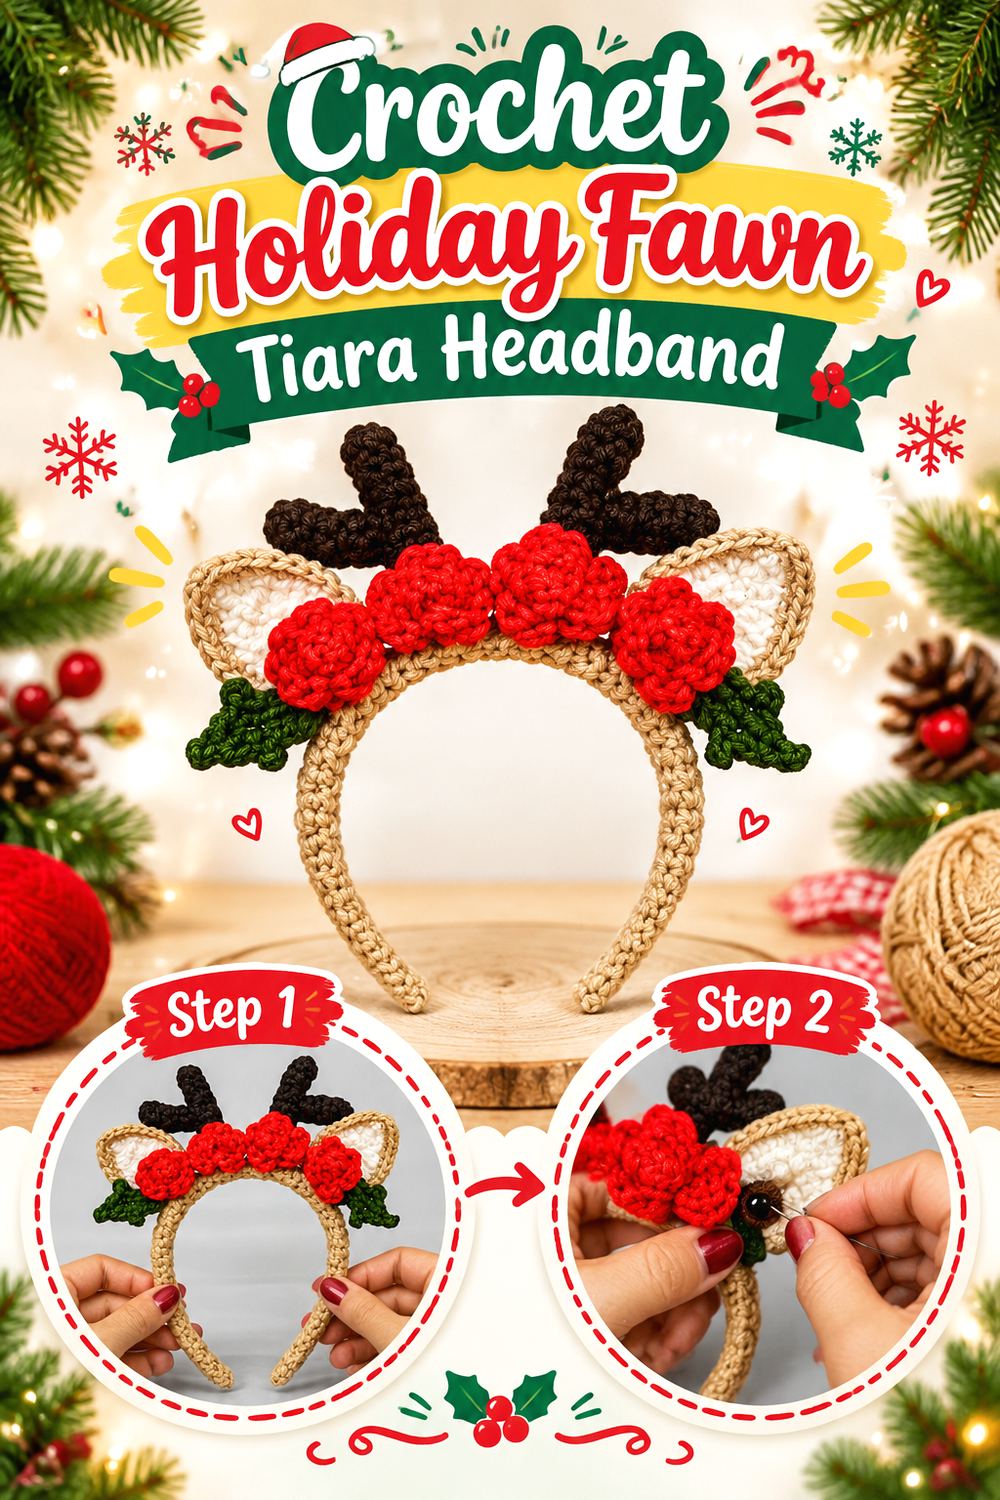
Moda Crochet Maritza approaches the project as a Christmas reindeer diadema, providing another rigid-headwear interpretation for makers who prefer a festive tiara-style accessory over a soft ear warmer. The creator presents the piece as a step-by-step crochet project specifically for the Christmas season.
For readers building a fawn-inspired collection, this type of design works best as the clearly seasonal entry: keep it for parties, school celebrations, themed photos, or holiday dress-up rather than trying to make every deer headband neutral. The public description is brief, so construction details, yarn thickness, and the exact decorative arrangement should be confirmed directly in the video before you adapt anything.
Separate Seasonal Styling From Core Construction
A holiday palette can be changed more easily than the structural logic of a headband. Before deciding to make the piece more woodland-like, identify which elements in the tutorial actually form the deer silhouette and which are purely seasonal styling.
Keep the underlying proportions intact unless the creator provides adjustment guidance. A neutral tan or cream palette can alter the mood, but removing or resizing structural pieces without understanding the tutorial may change how the headband balances and holds its shape.
Check Comfort at the Temples
Rigid tiara-style bases can vary considerably in width, curve, and pressure. A crochet cover makes the surface softer, but it cannot automatically correct a poorly fitting underlying band.
Try the bare base on the intended wearer before investing time in the decorative pieces. If it pinches at the temples or slides easily, choose a more suitable foundation rather than relying on the crochet layer to solve the problem. Then follow the tutorial for the actual covering and assembly.
Original Tutorial and Creator Credit
Creator: Moda Crochet Maritza
8. Crochet Floral Fawn Ear and Antler Headband
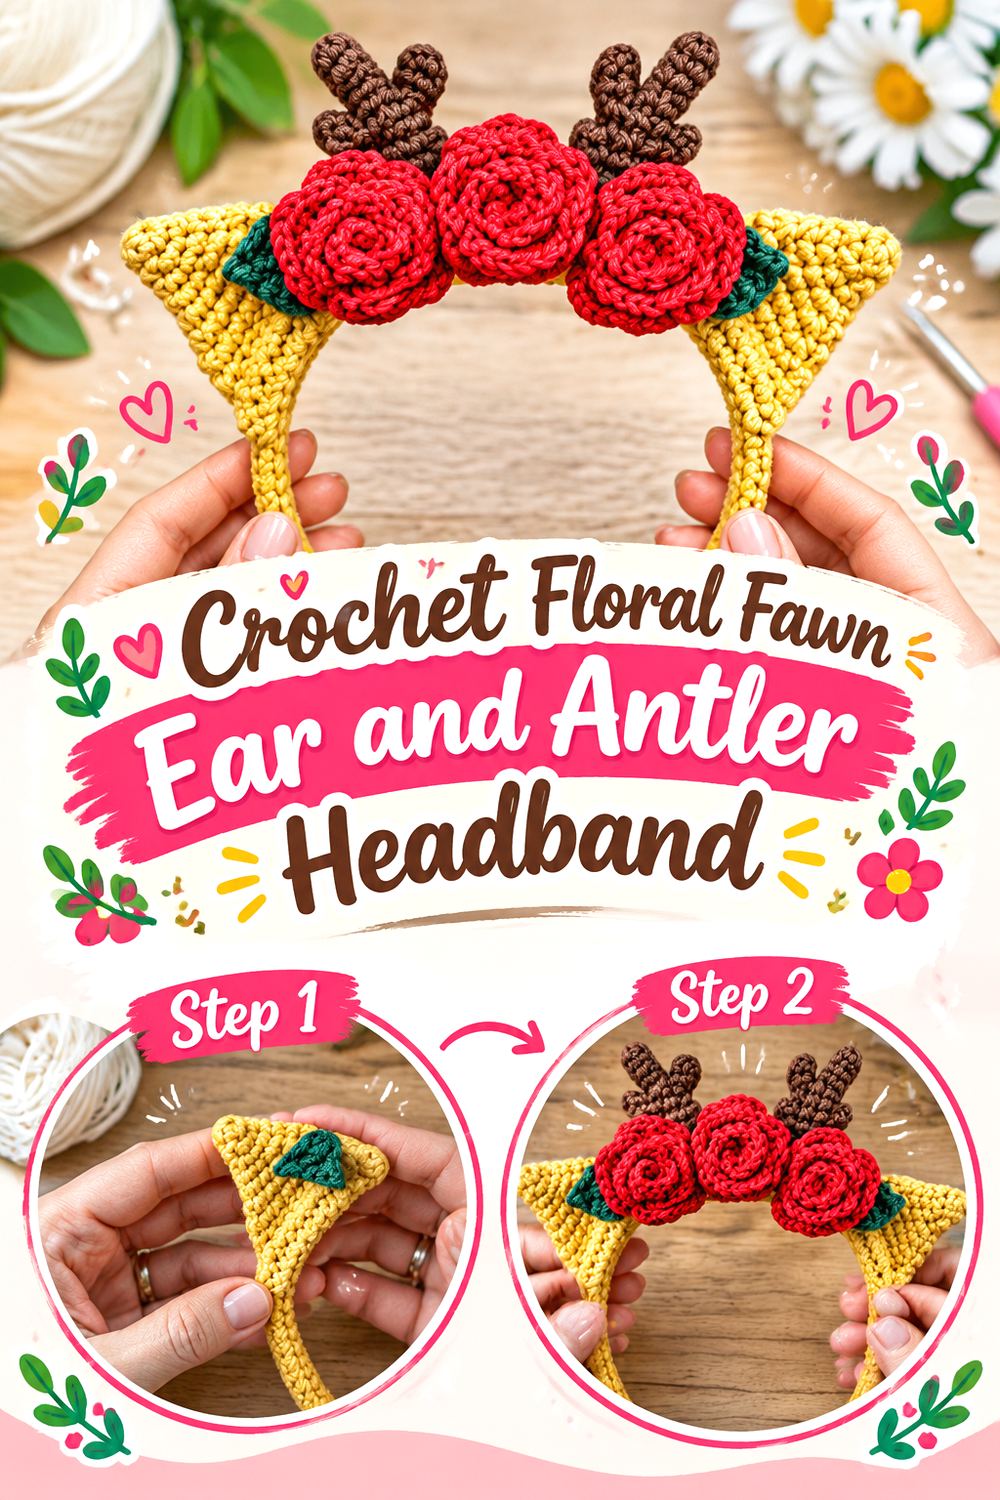
Daniella Guimarães adds a distinctly decorative woodland direction by combining a covered tiara base, crocheted ears and antlers, plus flower and leaf elements. That floral treatment makes this project meaningfully different from plain costume antlers: the headband reads as part deer accessory and part crochet flower crown.
This is a good choice for woodland parties, fantasy styling, nature-inspired portraits, or a less conventional Christmas accessory. Because flowers and leaves occupy visual space around the ears and antlers, restraint becomes important. The best adaptation is not necessarily the one with the most motifs; it is the one where the fawn features remain immediately recognizable.
Keep Flowers Secondary to the Fawn Shape
A floral crown and a deer headband use the same valuable space across the top of the head. If the flowers become too large or too numerous, the ears may disappear visually and the project can read as a flower crown with incidental antlers.
Lay out the completed motifs before sewing them on. Start by preserving clear space around the ear edges and antler bases, then decide how much floral coverage the design can support without losing its woodland-animal identity.
Plan Leaves Around Attachment Points
Leaves are useful transition motifs because they can visually connect flowers to the base, but they should not conceal weak assembly. Ears and antlers need secure attachment independently of decorative foliage.
Before adding leaves, verify that the raised pieces are positioned and stable according to the tutorial. Then use the foliage as a finishing layer. This order also makes future repairs more manageable because the core structure is not dependent on a decorative motif to stay in place.
Original Tutorial and Creator Credit
Creator: Daniella Guimarães
9. Crochet Heart Detail Baby Fawn Headband
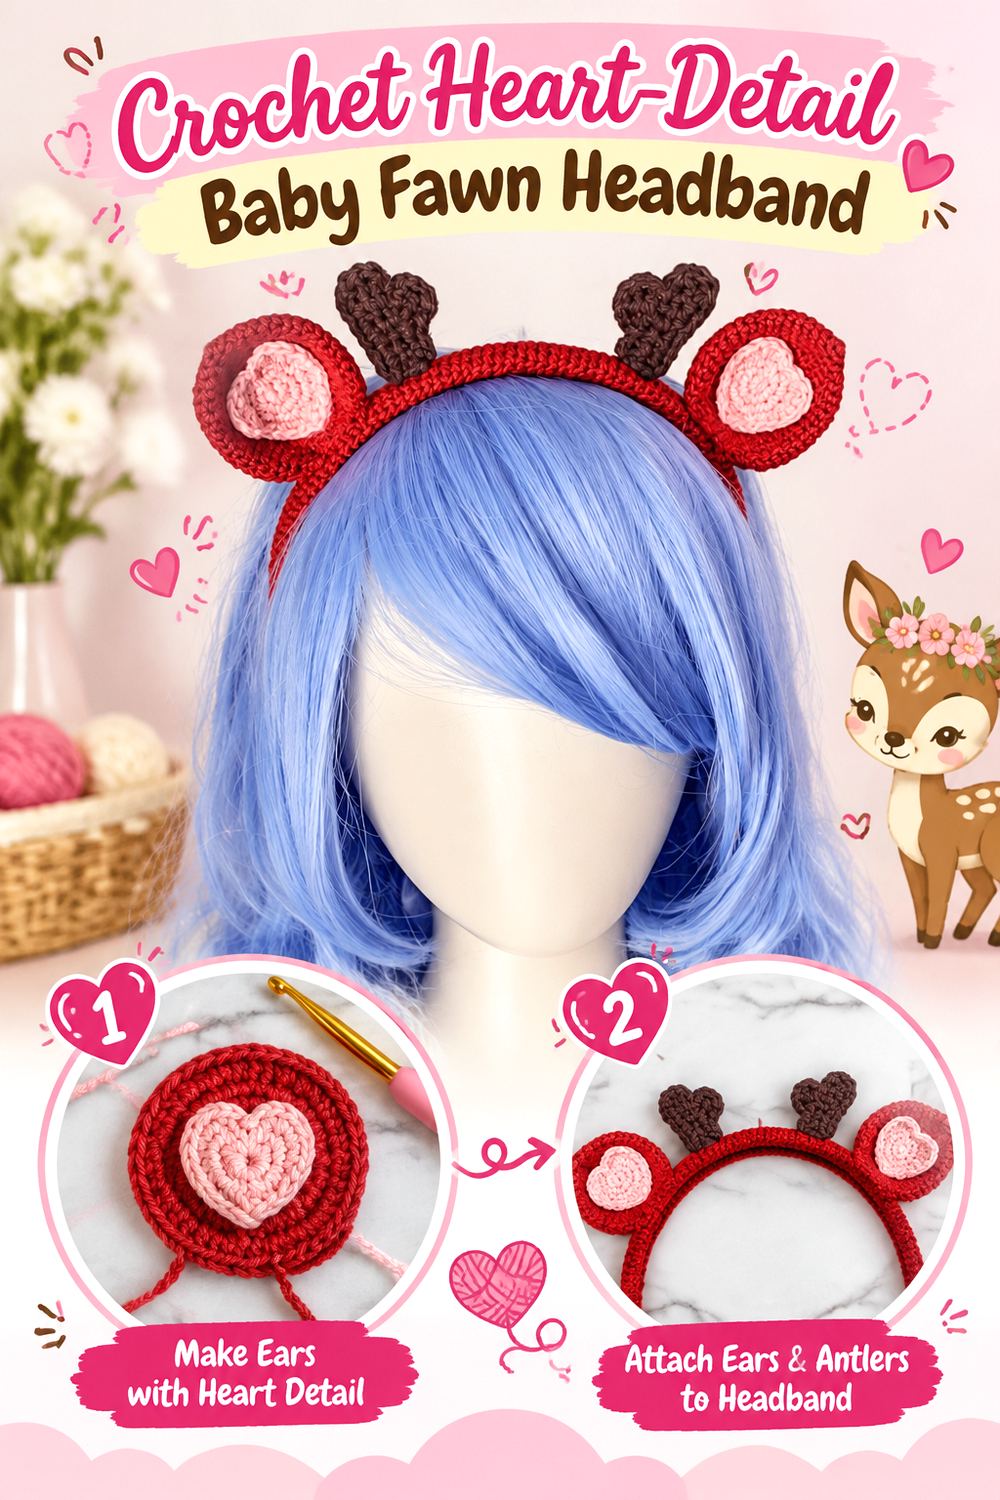
Atelier Delilah’s baby reindeer headband uses a thin plastic craft headband beneath a crocheted cover and combines large deer ears with contrasting inner-ear pieces shaped like hearts. The tutorial also includes flat outlined antlers, giving the finished accessory a softer, more graphic profile than heavily stuffed antlers.
The heart-shaped inner-ear treatment is what makes this version particularly adaptable to a gentle fawn aesthetic. Pink provides the original contrast, but the larger design lesson is that the inner ear can be a deliberate focal detail rather than simply a smaller copy of the outer ear. For child use, fit and secure attachment deserve priority over extra embellishment.
Preserve the Inner-Ear Contrast
The heart motif is easiest to appreciate when there is enough contrast between it and the surrounding ear. That contrast does not have to come from a bright color; cream against tan or muted blush against caramel can create a quieter woodland effect.
Avoid changing both yarn thickness and motif scale at once unless you are prepared to reassess the fit. A heart that becomes too large may distort the ear or make the edges harder to shape cleanly.
Match the Cover to the Actual Plastic Base
The tutorial is built around a thin plastic craft headband, so the crocheted cover is related to that physical foundation. A wider or thicker replacement may not fit the same way.
Before crocheting the entire cover, verify that your chosen headband corresponds closely enough to the source or determine whether the creator provides adaptation guidance. For children’s accessories, also check the bare band’s pressure and flexibility before covering it; a decorative layer should not hide an uncomfortable foundation.
Original Tutorial and Creator Credit
Creator/Site: Atelier Delilah
10. Crochet Bead Accent Festive Fawn Headband
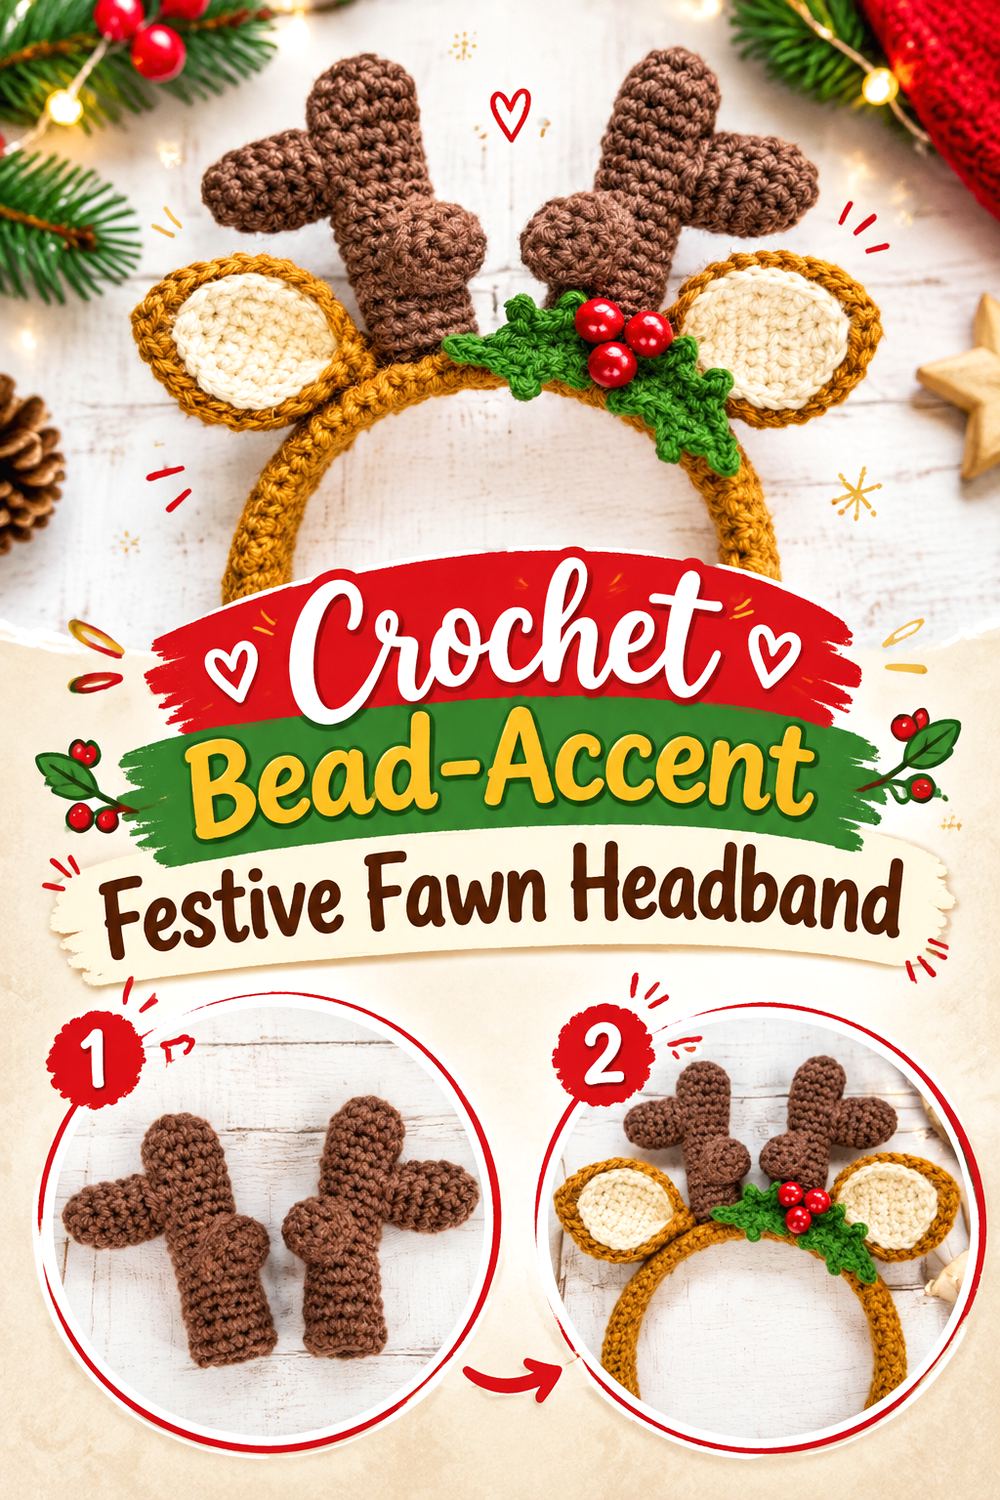
Chain 8 Designs takes the festive approach further with a reindeer headband that uses a plastic headband, multiple yarn colors, stuffing, and red beads among its listed materials. The result offers a more ornamented alternative to plain ears and antlers while still keeping the crochet structure central.
Choose this style when decorative detail is part of the appeal rather than an afterthought. The trade-off is that beads introduce hard, small components and different care considerations from yarn. That makes this version better suited to carefully considered holiday wear than to automatically assuming it works for every child or every type of active costume use.
Treat Beads as a Recipient-Specific Choice
Small decorative beads can create a crisp berry-like accent, but they should never be treated as universally appropriate. Their security and the wearer’s age and behavior matter.
If the intended recipient might pull, chew, or repeatedly flex the decorated area, consider whether a yarn-only project from this list is a better fit. Do not rely on glue alone unless the original tutorial specifically uses it as part of the construction; follow the source and evaluate the finished accessory regularly for loose components.
Control the Amount of Stuffing
Stuffed decorative pieces gain dimension, but more filling does not automatically produce better structure. Overstuffing can enlarge a component, distort its intended shape, or increase the load on the headband.
Use the source instructions for the project and assess the shape as you work. The goal is to preserve the creator’s silhouette, not maximize firmness. When several stuffed pieces share one base, small changes in each component can add up to noticeably more weight.
Original Tutorial and Creator Credit
Creator/Site: Chain 8 Designs
11. Crochet Poinsettia Fawn Ear Headband
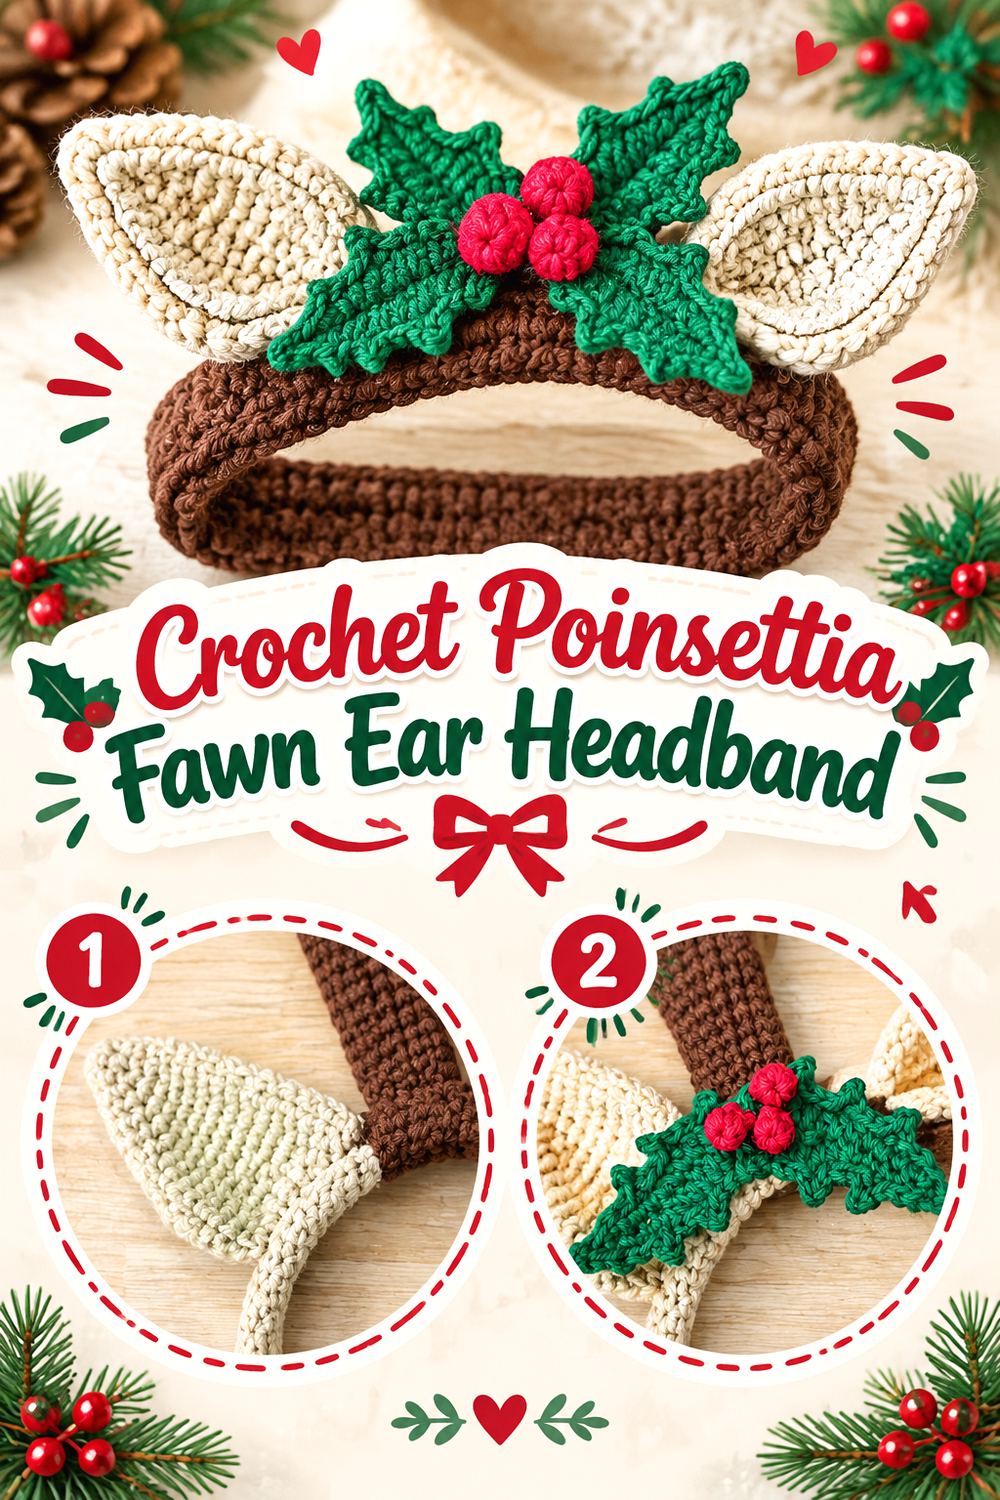
The Dasher headband, designed by Libère tes mailles and published by Hobbii, combines reindeer ears and antlers with holly and a poinsettia. The cover and decorative details are worked separately and then assembled onto the headband, creating a layered holiday piece with an obvious floral focal point. The pattern is presented for a child.
Compared with a generic flower crown, the poinsettia immediately pushes this design toward Christmas styling. That makes it a strong choice when you want unmistakable seasonal character but still prefer crocheted botanical details over beads or pom-poms. The multiple separate elements also make layout planning particularly important before final sewing.
Let the Poinsettia Establish the Focal Point
A poinsettia is visually stronger than a small leaf or berry, so its placement affects the entire composition. Allow it to act as the principal floral accent rather than surrounding it with equally large competing motifs.
Arrange the flower, holly, ears, and antlers on the covered band before committing to permanent attachment. Look for enough separation that the ear edges remain recognizable. The pattern’s own arrangement should be the main reference, especially because all the pieces are designed as a coordinated set.
Distinguish Child Fit From Decorative Height
A pattern can be intended for a child while still requiring individual fit checks. Head shape, sensitivity to rigid bands, hairstyle, and the weight of the decorations all affect real-world comfort.
Try the foundation before assembly and check the completed accessory again after the decorations are attached. If a child repeatedly removes it, complains of pressure, or cannot move naturally while wearing it, treat that as a fit problem rather than assuming the original project designation guarantees comfort.
Original Tutorial and Creator Credit
Creator/Site: Libère tes mailles / Hobbii
12. Crochet Tie Back Woodland Fawn Headband
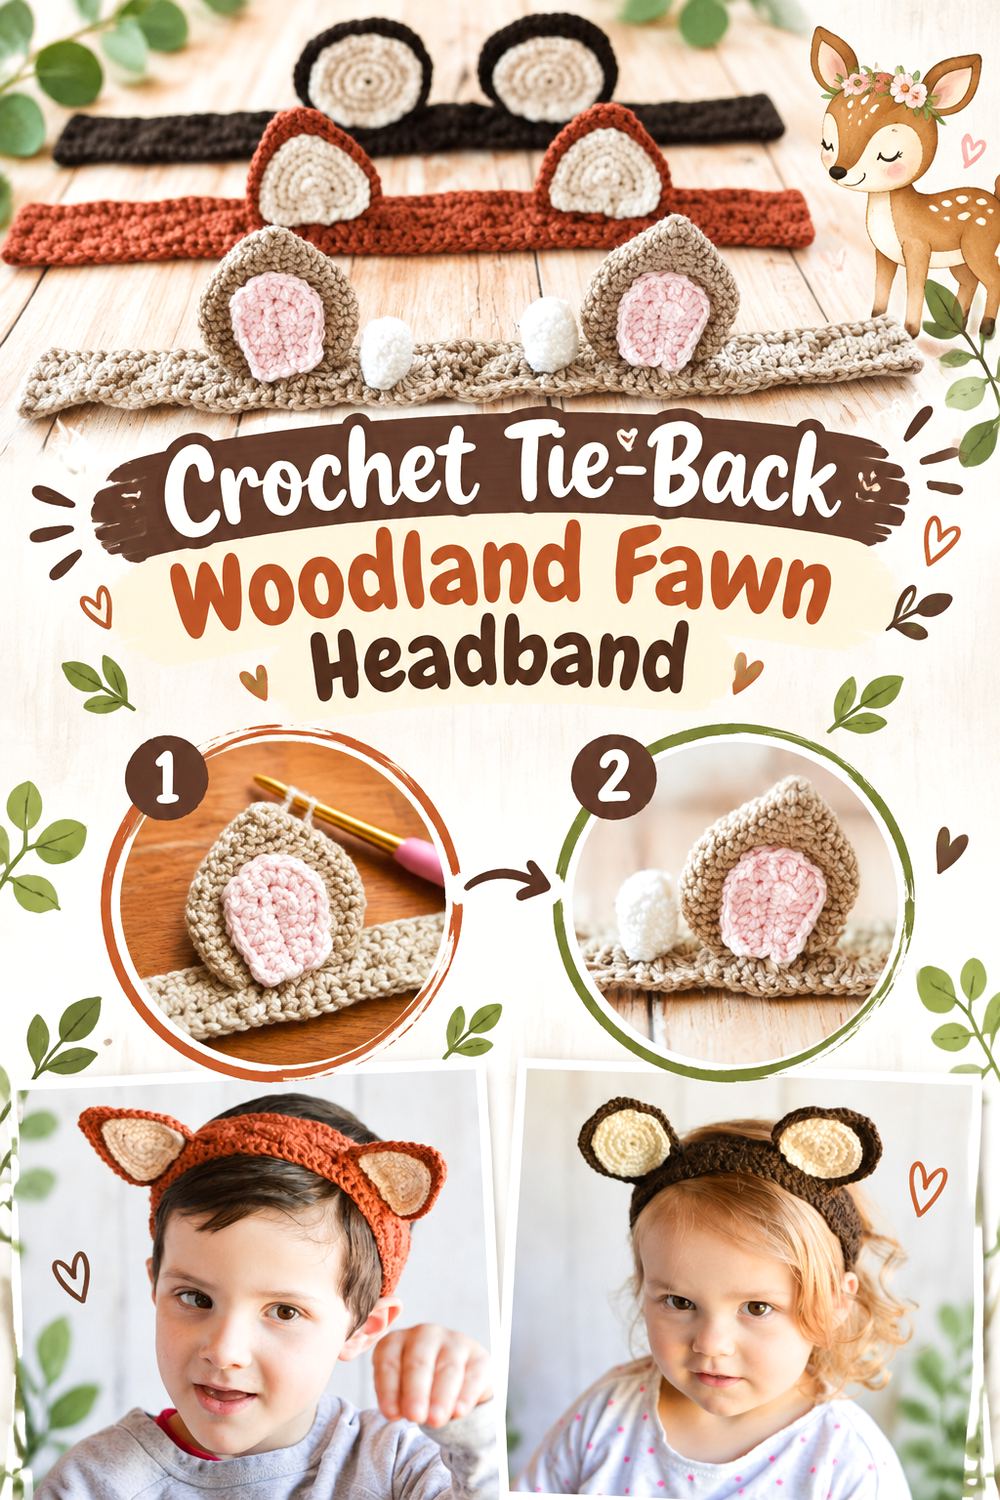
Whistle and Ivy offers one of the clearest alternatives to a rigid plastic base. Its woodland animal headband pattern uses a crocheted child-and-toddler band with tie ends, while the deer variation adds separate ear backs, contrasting inner ears, and small antler spikes. The deer ears are attached perpendicular to the band, and the antler pieces sit slightly forward.
That tie-back construction makes this project meaningfully different from covered craft headbands. It allows the band itself to participate in the fit rather than relying entirely on a fixed plastic curve. The trade-off is that a softer base can respond more to tension, so the ties should be adjusted for a secure but comfortable fit.
Use the Tie-Back to Fine-Tune Fit
A tie closure provides adjustment, but tighter is not automatically better. Excessive tension can distort the crocheted band, change ear placement, or simply make the accessory uncomfortable.
Tie it only firmly enough to stay in position during the intended activity. For a child, keep long ties and loose ends in mind as part of the overall safety assessment and supervise use as appropriate. Follow the designer’s construction rather than extending ties or changing their placement without understanding how the band is meant to fit.
Keep Upright Ears From Turning Sideways
The source specifically places the deer ears perpendicular to the band, which helps create the standing woodland-ear profile.
When sewing, compare both ears repeatedly from the front. A soft headband can flex as you handle it, so one ear may gradually rotate even if both looked aligned at the start. Secure attachment over an adequate area generally matters more than a few tiny stitches concentrated at one point. Use the designer’s assembly guidance for the actual method.
Original Tutorial and Creator Credit
Creator/Site: Whistle and Ivy
13. Crochet Amigurumi Face Fawn Headband
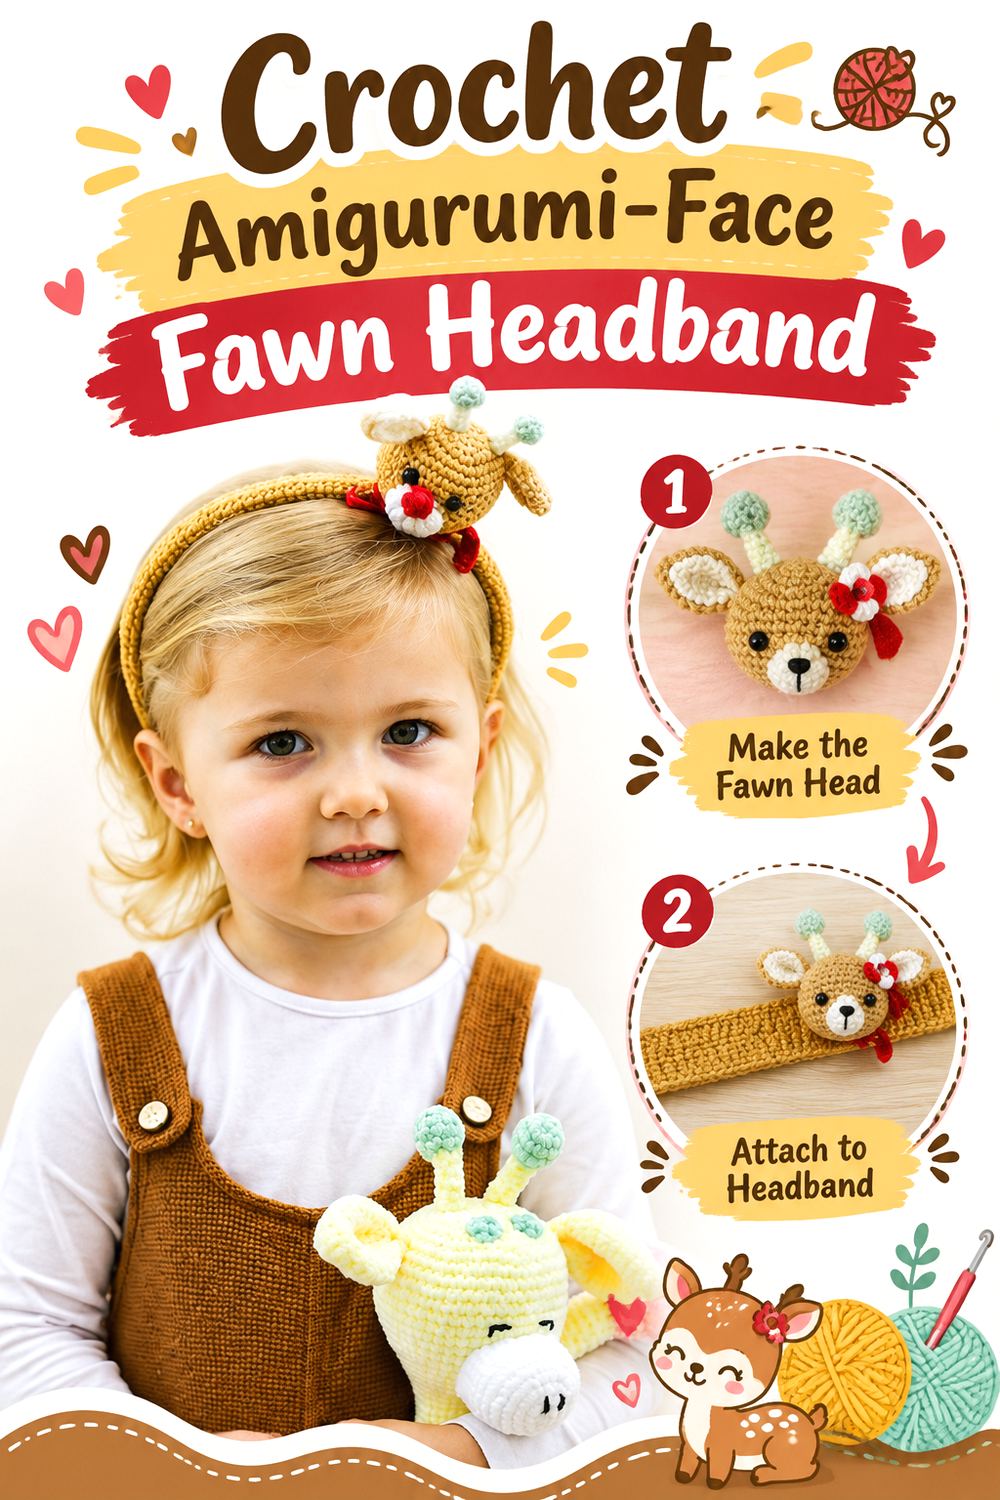
Círculo’s reindeer headband changes the entire focal structure by placing a dimensional crocheted reindeer head on the band. The published materials include a headband, amigurumi yarn, a foam ball, stuffing, and safety eyes, while the pattern adds ears, a muzzle, nose, horns, and a small scarf to the central character. The design is credited to Fabiana Gonçalves.
This is the strongest character-style choice in the collection. Instead of asking the wearer to become the deer through ears alone, the headband displays a small reindeer figure as its centerpiece. That extra dimension makes safety, weight, and secure attachment more significant than they are on a flat ear-only band.
Decide Whether You Want a Character or a Costume
A central amigurumi face creates a very different effect from ears placed at the sides of the wearer’s head. It reads more like a decorative character accessory, making it suitable for festive novelty styling when realism is not the goal.
Think about the intended look before starting. If you want a subtle fawn costume, an ear-led option may blend more naturally with the wearer. If you want an unmistakable reindeer centerpiece, the dimensional face gives this project its reason to choose it.
Treat Facial Components as a Safety Decision
The original materials include safety eyes and a foam component. Small or rigid parts require careful consideration when an accessory is intended for a young child.
“Safety eye” is a product name, not a guarantee that a finished handmade item is appropriate for every age. Check attachment security, the intended wearer, and the original designer’s guidance. If small detachable parts are a concern, select a different yarn-only project rather than improvising substitutions without a suitable pattern.
Original Tutorial and Creator Credit
Creator/Site: Círculo — design by Fabiana Gonçalves
14. Crochet Wire Shaped Fawn Antler Headband
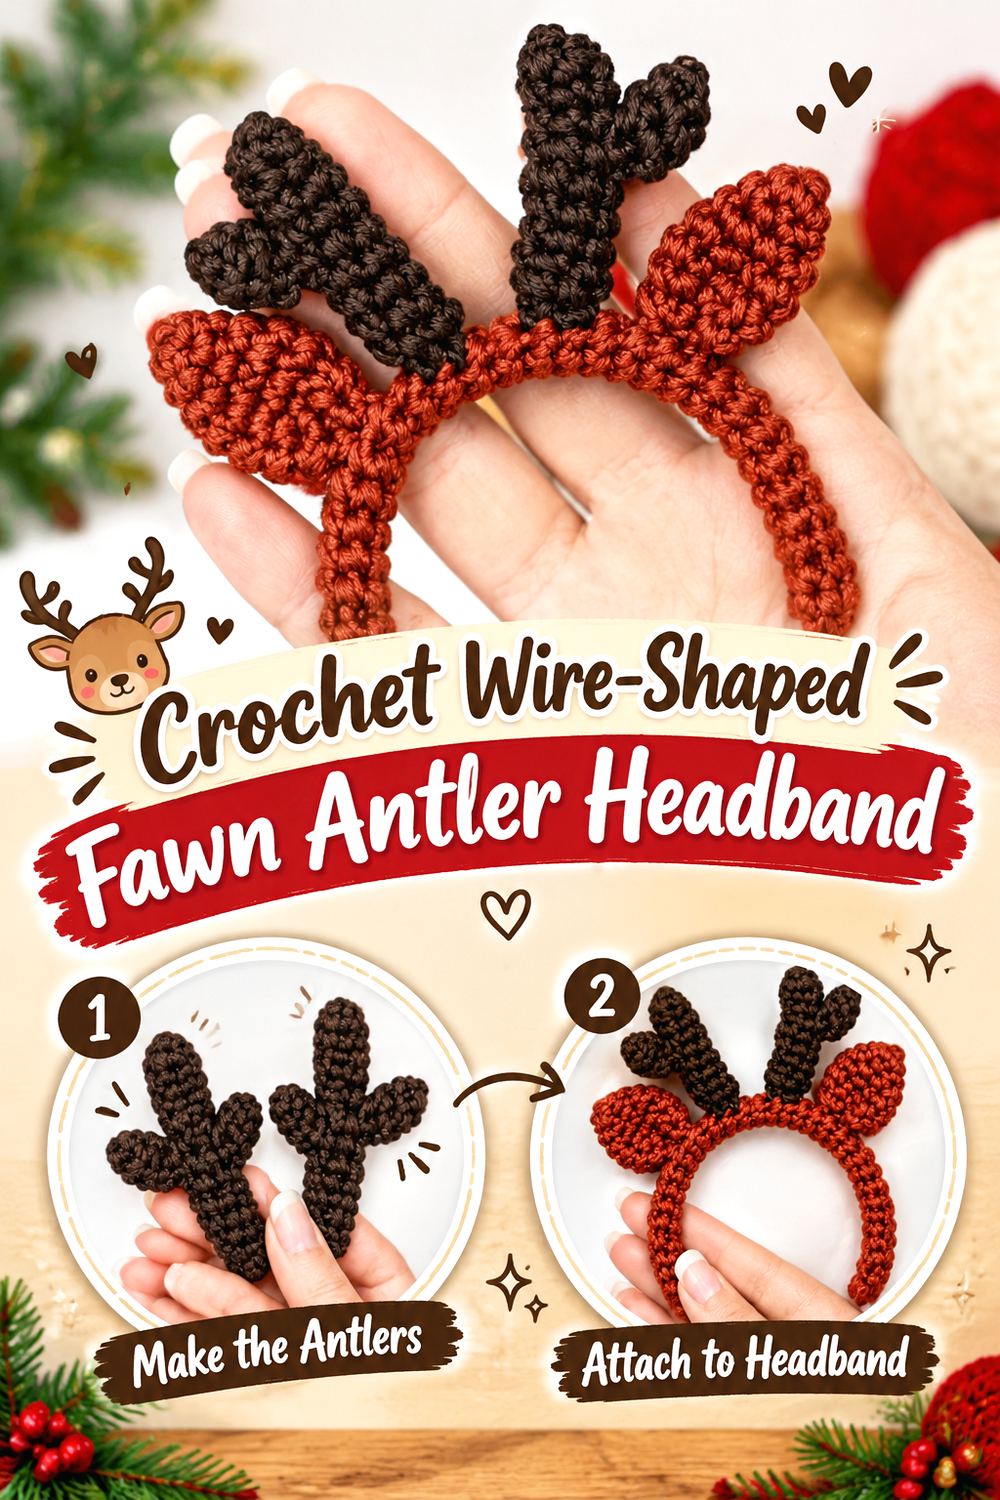
GretaWings provides a notably structural interpretation: the crocheted headband section contains wire, with separate ears and horn pieces added to the finished base. The bilingual page presents both Spanish and English instructions and explicitly documents the wire inside the crocheted headband.
Internal wire makes this option different from a standard plastic-headband cover or soft tie-back band. It can help define the curve and shape, but it also changes the safety and finishing requirements. This is best viewed as a shaped costume accessory that deserves careful inspection, particularly if it will be worn by children or during active movement.
Shape the Structural Core Before Final Assembly
If a design depends on internal wire, the curve of that structure influences where the ears and horns ultimately sit. Do not wait until every decorative component is attached to decide whether the headband shape feels right.
Follow the source for inserting and closing the structural section, then examine the covered base carefully before assembly. A smooth curve is preferable to sharp bends or localized pressure points. Repeatedly bending the finished accessory may also stress both the wire and crocheted fabric.
Enclose Wire Ends Completely
Any wire end needs to remain securely contained so it cannot work through the yarn during wear or storage. The original GretaWings pattern should be followed for its specific construction; this is not an area to improvise casually.
Inspect the accessory before each use, especially after it has been transported or reshaped. If you cannot confidently contain the structural material, choose one of the designs that achieves support with a conventional headband, dense crochet, or modest stuffing instead.
Original Tutorial and Creator Credit
Creator/Site: GretaWings
15. Crochet Pet Fawn Ear Headband
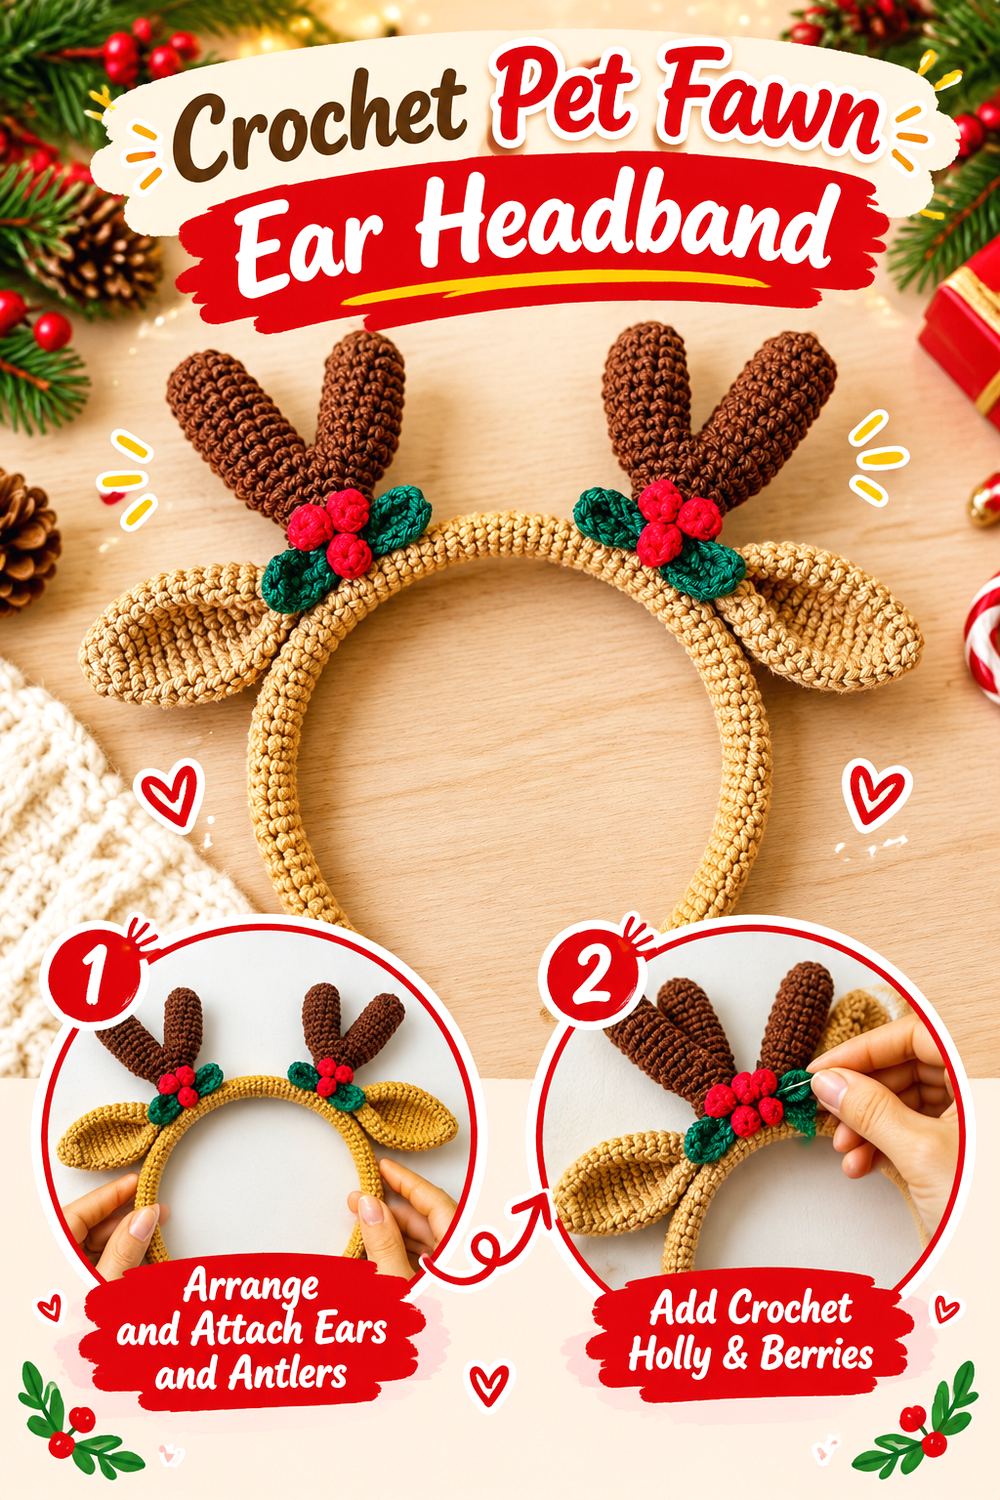
Cultura viajes y arte offers a specialty variation made specifically as a crocheted reindeer headband for pets. The creator lists a crochet hook, wool needle, synthetic filling, scissors, stitch marker, and three-strand macramé thread among the materials.
This option belongs in a separate category from human costume headbands. The most important decision is not how cute the ears or antlers look in a photograph, but whether the individual animal calmly tolerates the accessory without restricted movement or sensory interference. A pet that resists, paws at the headband, freezes, or becomes agitated is communicating that the accessory should be removed.
Fit the Animal, Not the Photograph
Never tighten a pet accessory simply to keep it centered for pictures. It must not obstruct the eyes or ears, press on the throat, or interfere with breathing and normal head movement.
Follow the tutorial’s construction, then assess the actual animal rather than assuming a nominal size will work. Different breeds and individuals have very different head shapes. If the piece shifts into the eyes or cannot remain safely positioned without excessive tension, it is not a suitable fit.
Make Supervision Part of the Accessory
A crocheted pet headband should be treated as a short-term supervised costume accessory, not unattended everyday wear. Stuffed or raised pieces can invite chewing, snagging, or pawing.
Stay close enough to remove it immediately if the animal appears uncomfortable or tries repeatedly to dislodge it. Do not leave the pet alone while wearing it, and store the accessory out of reach afterward. A successful photo is never more important than the animal’s comfort.
Original Tutorial and Creator Credit
Creator: Cultura viajes y arte
Which Crochet Fawn Ear Headband Style Should You Choose?
For the most recognizably fawn-like result, start with an ear-led design such as the soft fawn ear headband or heart-detail baby version and keep antlers secondary or absent where the original construction allows. The tie-back woodland headband is worth comparing when adjustability matters more than a rigid base.
For stronger holiday styling, the pom-pom, bead-accent, poinsettia, and floral versions offer clearly different decorative directions. Antler-focused and wire-shaped designs provide more costume height, while the amigurumi-face headband is the most character-like option. The pet project should remain a separate specialty choice because its fit and safety requirements are fundamentally different from human headwear.
Conclusion
These crochet fawn ear headband ideas range from simple ear-focused woodland accessories to antlered costumes, floral crowns, embellished Christmas pieces, a tie-back child design, a dimensional character headband, and a pet-specific variation. The main choice is not simply which one looks cutest—it is whether you need a flexible or rigid base, subtle ears or tall antlers, minimal decoration or a deliberately festive focal point.
Whichever style you choose, evaluate the actual foundation, yarn behavior, component weight, intended wearer, and attachment method before making substantial changes. For exact construction, sizing, materials, and assembly, follow the linked original tutorials near the end of each project section.
Frequently Asked Questions
Can I make a crochet fawn headband without antlers?
Yes, and an ear-led design can actually communicate a younger fawn look more naturally than tall antlers. Start with a tutorial that emphasizes deer ears rather than assuming you can simply remove structural pieces from any antlered pattern. Some designs use decoration and attachment placement as an integrated composition, so check the original tutorial before omitting parts. Contrasting inner ears and careful ear angle can provide plenty of animal character without additional height.
How can I help crochet fawn ears stay upright?
The answer depends on how the original pattern shapes and attaches the ears. Dense fabric, layered ear pieces, a stable base, and a sufficiently broad attachment area can all contribute, but adding wire or other reinforcement without guidance is not automatically necessary or desirable. Before changing construction, check whether the problem is actually loose attachment, unsuitable yarn, or an ear that has become larger than the source design because of a yarn substitution.
Can I resize a rigid fawn headband tutorial for a child or adult?
The decorative crochet and the physical headband base need to be considered separately. A cover designed around one craft headband may not automatically fit a wider, thicker, or differently curved replacement. Start with a base that comfortably fits the intended wearer, then check whether the original creator explains how to adjust the cover or component placement. Avoid inventing stitch-count changes when the source does not provide enough information to support them.
What happens if I change the yarn weight?
Changing yarn weight can affect ear size, antler thickness, stiffness, overall weight, and the amount of room available for assembly. Even when the same hook technique is used, a noticeably heavier yarn can produce components that overwhelm the headband, while a finer yarn may make them softer or smaller than intended. Make a representative component first and compare its behavior with the tutorial before committing to a complete set of substituted pieces.
Are wire, beads, safety eyes, and pom-poms suitable for children’s fawn headbands?
Suitability depends on the child’s age, behavior, construction method, and how securely each component is contained or attached. Small detachable pieces require extra caution, while internal wire must remain completely enclosed and free of sharp pressure points. “Safety eyes” should not be interpreted as a universal age-safety guarantee. For young or very active wearers, a simpler yarn-only ear design may be the more appropriate choice.
Can I sell finished fawn headbands made from these tutorials?
Sales permissions vary by creator. A publicly accessible tutorial does not automatically grant permission to sell finished items, reproduce the pattern, redistribute instructions, or use the creator’s photographs. Check the terms stated on the exact tutorial or designer’s site before selling anything made from it. If the creator does permit finished-item sales, follow any attribution or production restrictions they specify and use your own product photography and wording.