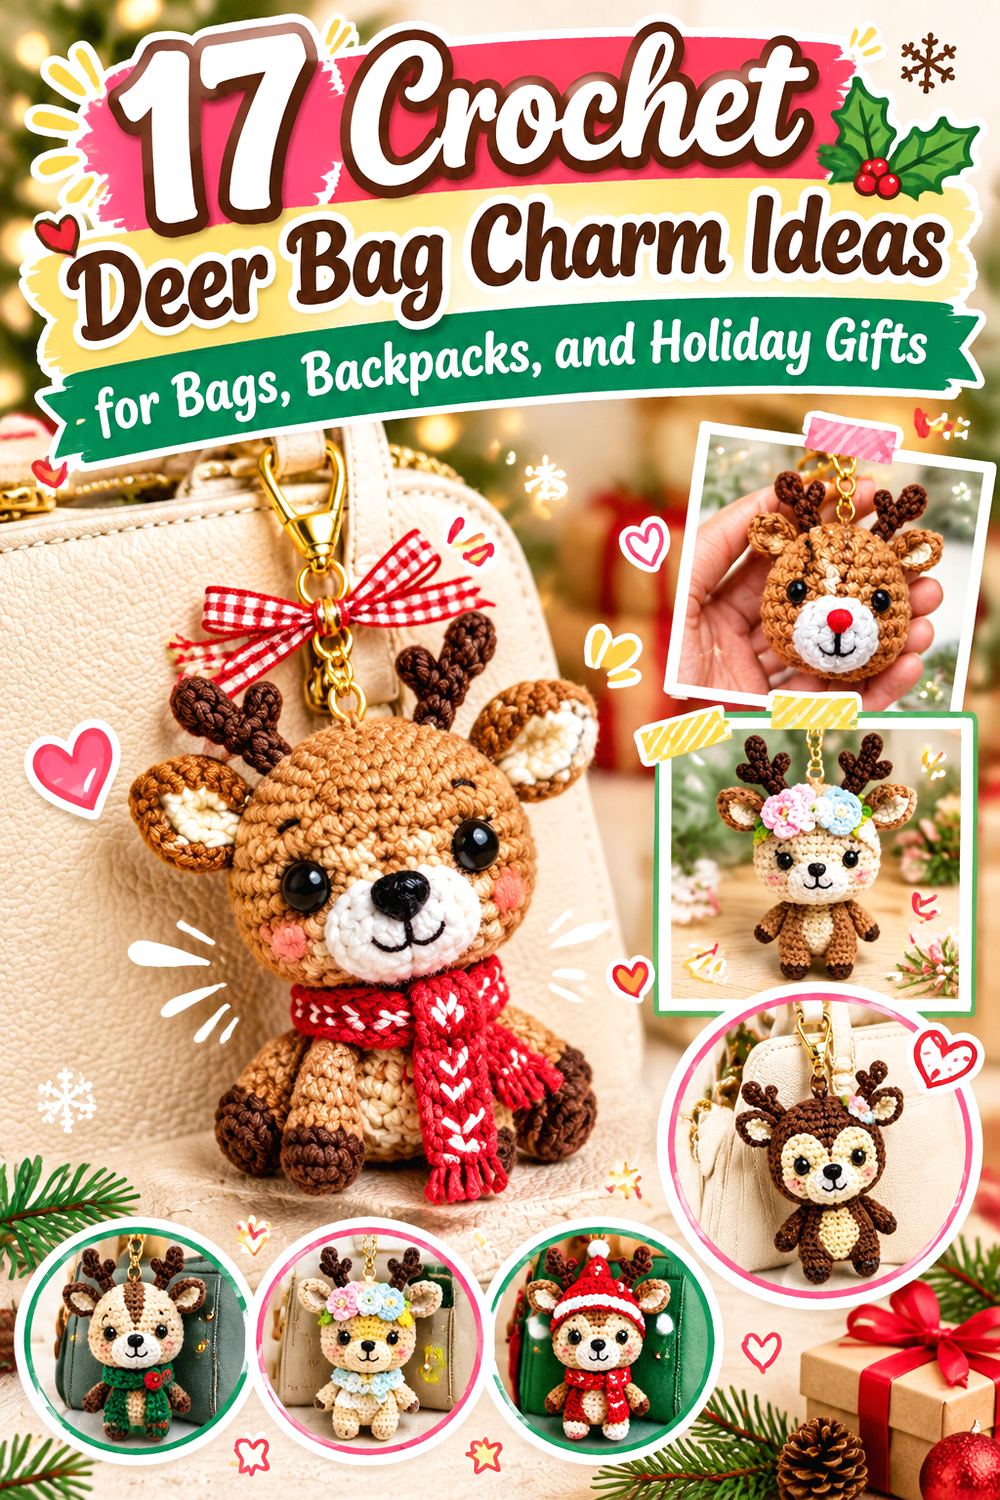
17 Crochet Deer Bag Charm Ideas for Bags, Backpacks, and Holiday Gifts
Crochet deer bag charms can range from tiny stuffed keychains to flat appliqués, red-nose reindeer ornaments, and larger woodland pieces that make a more noticeable statement on a tote or backpack. That variation matters: a compact charm puts less strain on a zipper pull, while a dimensional amigurumi gives you more room for antlers, a muzzle, a scarf, or other character details.
The 17 ideas below use original tutorials that approach the deer shape in meaningfully different ways. Some were designed specifically as keychains, while others begin as small ornaments or appliqués that can inspire a bag-hanging version when the attachment point and scale are planned carefully. Along the way, you’ll find practical notes about weight, yarn choice, reinforcement, loose embellishments, resizing, and the places where a decorative project may need adapting before it becomes a durable everyday bag accessory.
Quick List
- Crochet Compact Reindeer Keychain Bag Charm
- Crochet Classic Deer Amigurumi Bag Charm
- Crochet Smiling Reindeer Head Bag Charm
- Crochet Low-Sew Mini Reindeer Bag Charm
- Crochet One-Piece-Limbs Reindeer Bag Charm
- Crochet Round Reindeer Ornament Bag Charm
- Crochet Rudolph Ornament Bag Charm
- Crochet Flat Reindeer Ornament Bag Charm
- Crochet Stuffed Reindeer Head Bag Charm
- Crochet Folded Reindeer Face Bag Charm
- Crochet Layered Reindeer Face Appliqué Bag Charm
- Crochet Scarfed Reindeer Silhouette Bag Charm
- Crochet Minimal Deer Head Appliqué Bag Charm
- Crochet Detailed Deer Appliqué Bag Charm
- Crochet Popcorn-Stitch Reindeer Bag Charm
- Crochet Baby Reindeer Ornament Bag Charm
- Crochet Mini Rudolph Head Bag Charm
Choose a Charm Scale That Works With the Bag
Bag charms look small in isolation but can feel surprisingly bulky once they hang beside a zipper, handle, or strap. Before choosing a tutorial, compare the finished project’s approximate dimensions with the part of the bag where you intend to attach it. A tiny deer head can suit a zipper pull, while a dimensional reindeer several inches tall is better treated as a handle charm or decorative statement piece.
Changing yarn thickness can alter scale, but downsizing an amigurumi is not always as simple as switching yarn. Antlers, facial features, stuffing density, and attachment hardware may become proportionally harder to manage. When a source was originally designed as a larger ornament or appliqué, use its published result as the baseline rather than assuming a thinner yarn will produce an exact target size.
Plan the Attachment Point Before You Finish
The charm’s hanging point carries more stress than most decorative seams. For a stuffed deer, attaching hardware only through a few surface stitches can distort the head or eventually pull through the fabric. A better general approach is to decide where the hanging loop or ring will sit while you can still reach the inside or securely reinforce the surrounding fabric.
Flat appliqués present a different problem: they may curl, flip, or stretch when hung from a single point. A backing layer or carefully positioned loop can help, although adding either changes the original project and should be treated as your own adaptation rather than part of the source tutorial. Also check whether antlers, ears, scarves, and other protruding pieces could repeatedly catch on zippers or bag hardware.
Match Yarn and Face Details to Everyday Wear
A bag charm experiences more friction than a tree ornament. Smooth, tightly worked fabric generally keeps its outline more clearly than a very loose fabric, while plush yarn gives a soft dimensional result but can obscure very small facial details. Yarn substitution can also change the weight that hangs from the attachment point, so consider both appearance and structure.
Small eyes, buttons, beads, bells, or glued details deserve extra thought. They can loosen through repeated handling, and detachable pieces are particularly relevant if the charm will be accessible to a young child. Embroidered features can reduce the number of hard components, although they create a different look. Follow the tutorial’s material guidance where applicable and use the yarn manufacturer’s care information rather than assuming a completed charm is machine washable.
1. Crochet Compact Reindeer Keychain Bag Charm
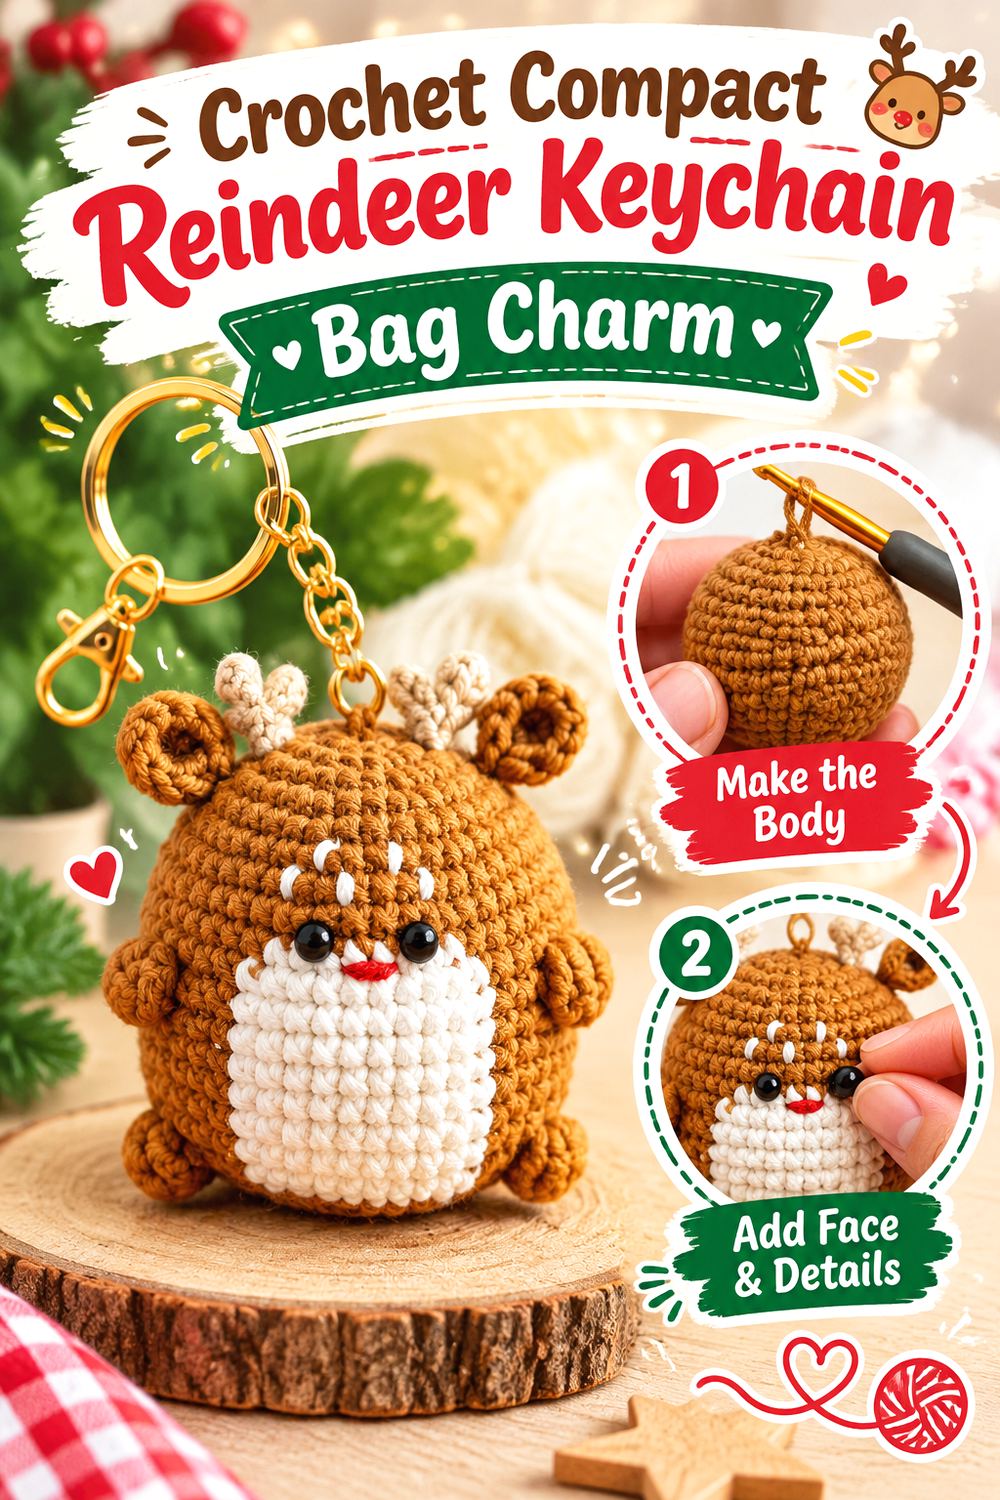
This compact concept starts with a tutorial made specifically for a reindeer keychain, so it needs less conceptual adaptation than an ornament or full-size toy. The rounded amigurumi form gives the deer enough dimension to read clearly against a plain handbag or backpack while remaining focused on the small-accessory format. Tiny Crochet Lab also explicitly presents the finished reindeer as suitable for a bag charm, making it a particularly direct match for this collection.
The strongest use case is a simple everyday charm with a recognizable deer silhouette rather than lots of dangling embellishment. Keep the attachment hardware visually proportional to the crochet piece so the ring does not dominate the finished accessory.
Keep the Hanging Point Centered
A three-dimensional charm tends to rotate as the bag moves. Positioning the attachment close to the center of the upper head helps the deer hang more predictably instead of tilting sharply to one side. If you substitute different hardware, compare the size and weight of the clasp with the finished crochet piece before permanently securing it.
Watch the Antlers Around Zippers
Antlers create the character, but they are also the first parts likely to snag. Firmer stitches and tidy finishing can help them keep their outline. If the charm will hang beside a frequently used zipper, test its movement before committing to that location rather than discovering later that the antlers repeatedly catch under the zipper pull.
Let Color Change the Mood, Not the Structure
This is a useful design for moving between woodland and Christmas styling. Neutral brown, cream, and dark antlers read as a general deer accessory, while a red nose or seasonal accent pushes it toward reindeer territory. Color changes are relatively low-risk adaptations because they do not require changing the project’s underlying shaping.
Original Tutorial and Creator Credit
Creator: Tiny Crochet Lab
2. Crochet Classic Deer Amigurumi Bag Charm
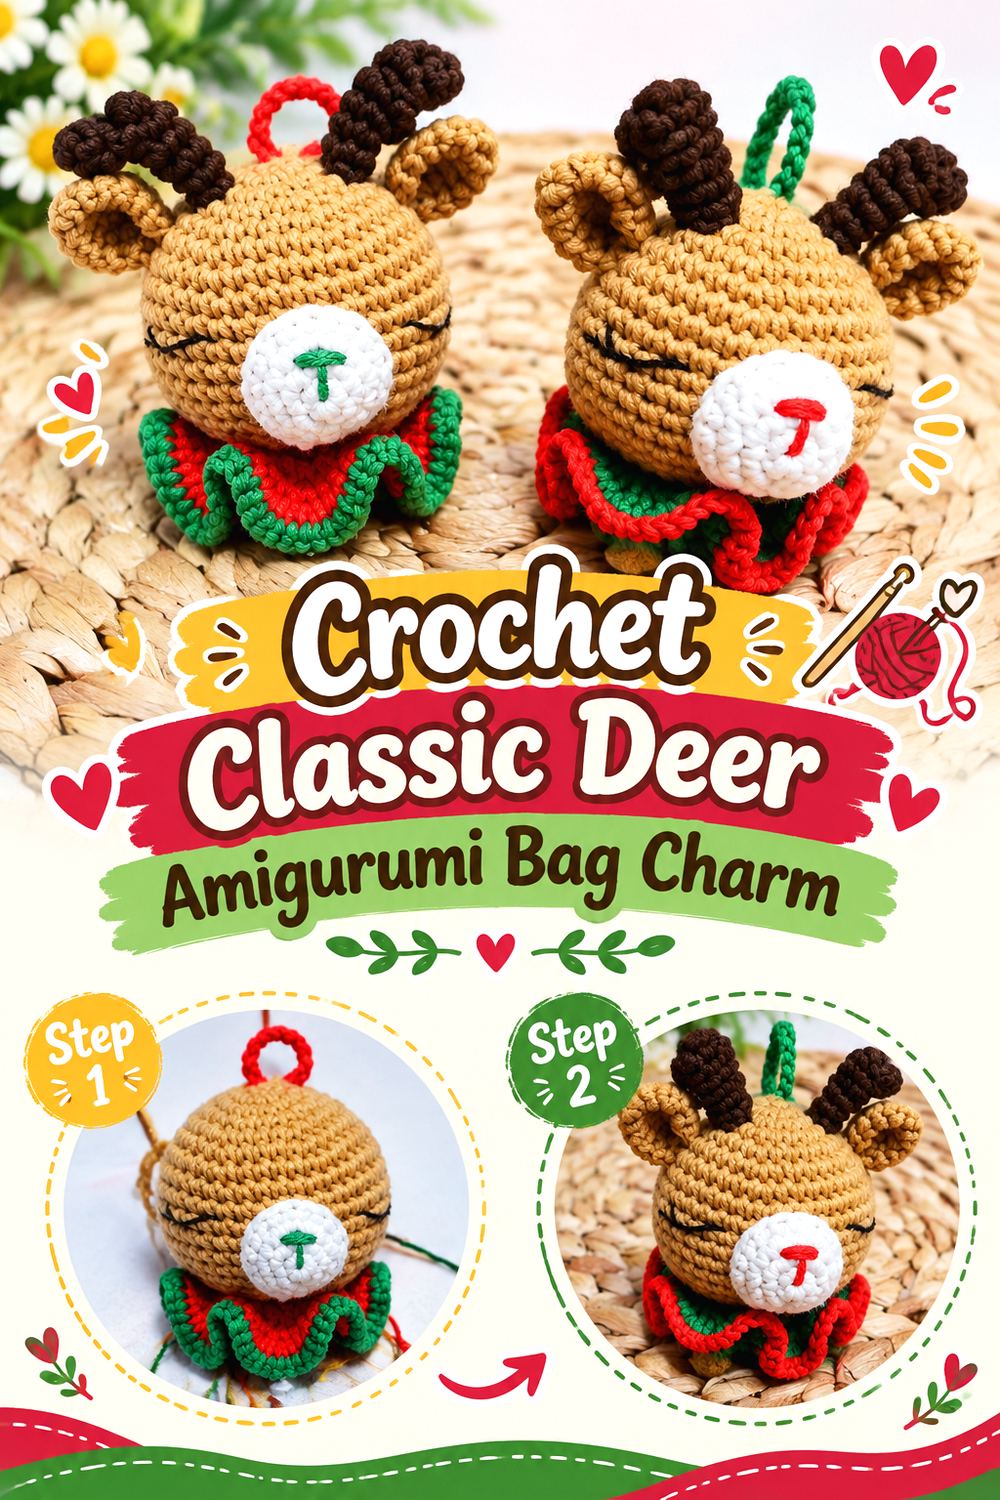
Pembe Düğme’s deer is another strong starting point because the tutorial itself identifies the finished figure as suitable for a keychain or bag charm. Rather than reducing a large plush toy after the fact, you can work from a project already intended for hanging display. The tutorial uses several yarn colors to define the deer, giving the finished figure more visual separation than a one-color miniature.
This direction works well for readers who want a recognizable full deer rather than just a face. Limbs and other dimensional elements create more movement on the bag, so the finished charm benefits from careful assembly and a sturdy connection above the figure.
Check Every Sewn Joint Before Adding Hardware
A hanging amigurumi gets pulled and bounced in ways a shelf figure does not. Before attaching the keyring, examine each sewn component and gently move it in different directions. A slightly loose limb or antler that looks acceptable on a stationary ornament can become noticeable after repeated use on a backpack.
Use Stuffing to Support Shape, Not Add Bulk
Overstuffing a small figure can make seams and openings work harder, while too little filling may leave the deer looking collapsed. Aim for enough filling to define the silhouette without making the charm unnecessarily heavy. The ideal firmness can vary with yarn and tension, so judge the result rather than relying on a universal stuffing amount.
Consider Where the Charm Will Swing
A full-body figure takes up more vertical space than a head charm. It is generally better suited to a handle, side ring, or roomy zipper area than a crowded cluster of pulls. Check that the lowest part of the deer does not continuously rub against the bag’s base or another metal fitting.
Original Tutorial and Creator Credit
Creator: Pembe Düğme
3. Crochet Smiling Reindeer Head Bag Charm
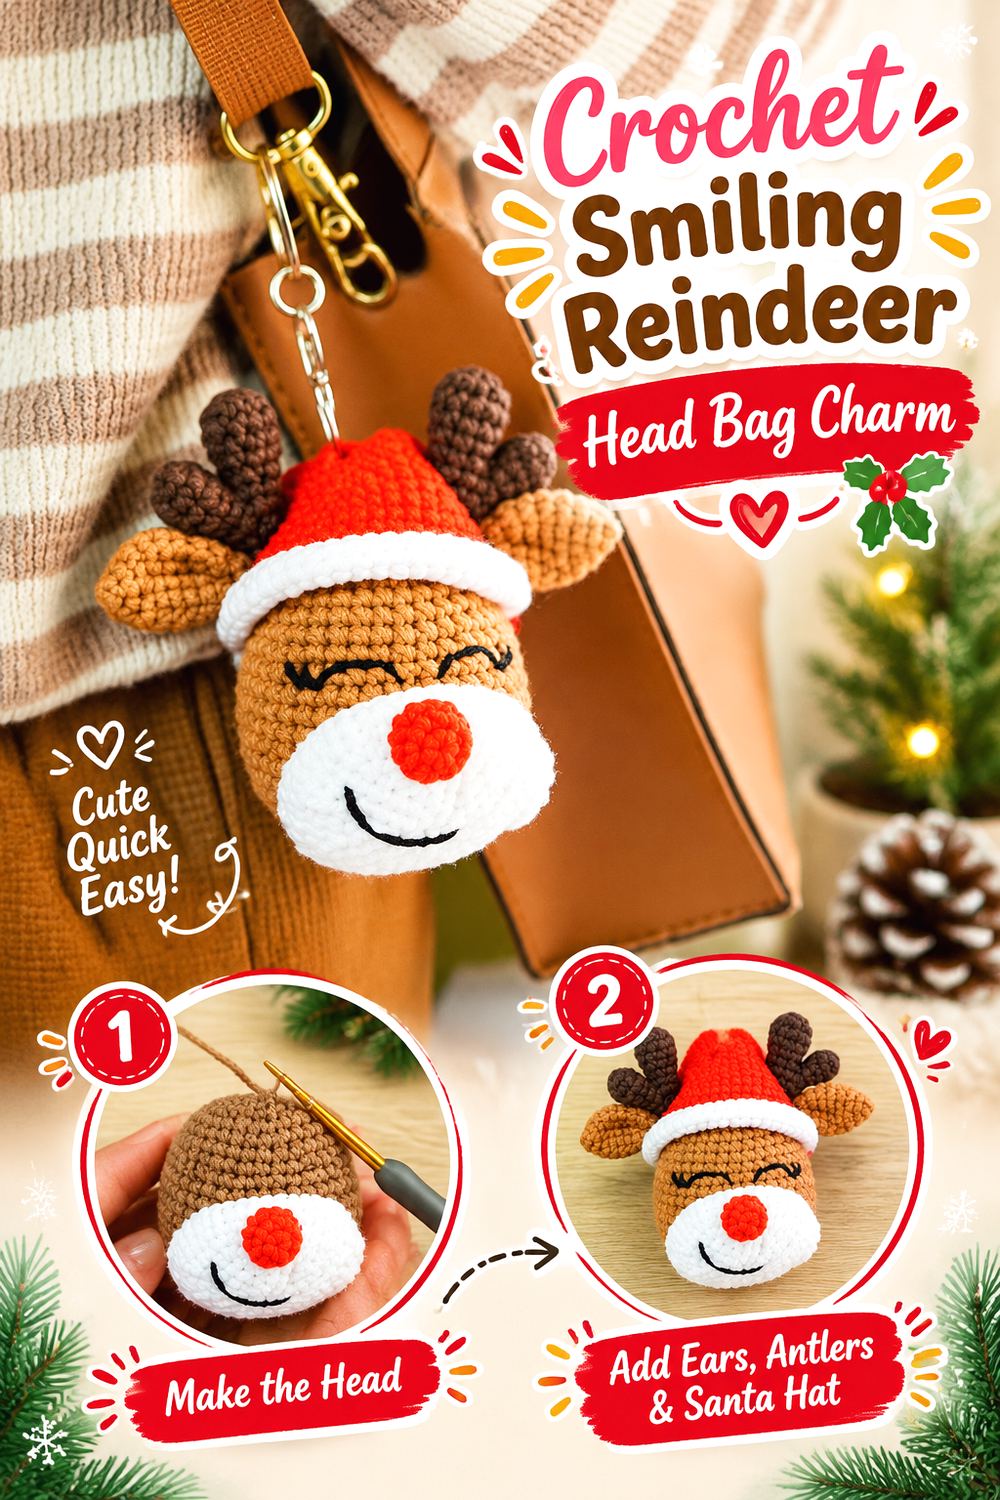
A deer head keeps the recognizable ears, muzzle, and antlers while eliminating dangling limbs, which can make it easier to use on a frequently handled bag. Lennutas designed this project as a reindeer crochet keychain and describes it as suitable for keys, gift bags, and similar festive uses. The tutorial builds a dimensional head with separate ears, antlers, and muzzle, creating more depth than a simple flat motif.
The head-only format is especially appealing when you want visual impact without a long hanging figure. It also leaves a clear area at the top for thoughtfully positioned hardware, although that attachment should be reinforced rather than treated as an afterthought.
Balance the Antlers With the Keyring
A head charm can look top-heavy if large antlers compete with an equally large ring or clasp. Assemble the crochet pieces first, then hold possible hardware above the finished head to judge proportion. A clasp that is easy to use but visually restrained usually lets the deer remain the focal point.
Give the Muzzle Enough Definition
The muzzle helps separate a deer from other woodland-animal faces. If you change yarn, make sure the new fiber still shows the transition between head and muzzle clearly. Very fluffy yarn can soften those edges and may require you to reconsider whether the same small facial details remain readable.
Original Tutorial and Creator Credit
Creator/Site: Lennutas
4. Crochet Low Sew Mini Reindeer Bag Charm
This low-sew reindeer is designed around reducing assembly while still producing a dimensional mini. Amigurumis Atina specifically describes the project as a mini Christmas reindeer that is an appropriate size for a keychain, giving it a direct connection to bag-charm use. The tutorial uses chenille yarn, so the visual result is softer and plusher than the smoother cotton-style keychains elsewhere in this list.
A low-sew construction can also reduce the number of limb seams that have to withstand swinging from a bag. It does not remove every finishing concern, however: antlers, facial pieces, and the hanging connection still deserve careful attention.
Plush Yarn Changes Detail Visibility
Chenille creates a fuzzy, rounded surface that suits a soft reindeer, but it can hide small stitches and make very tiny features harder to distinguish. If you substitute another yarn, expect the finished texture and scale to change. Compare the resulting antlers and muzzle before deciding whether additional decorative details are really needed.
Reinforce Before the Interior Closes
Low-sew construction can make later access to the inside limited. If you plan to add a permanent loop or other hardware that benefits from internal reinforcement, think through that addition before the project is completely closed. This is an adaptation to the tutorial, so choose the method based on your own hardware and intended use.
Keep Extra Decorations Minimal
The plush surface already gives the charm strong visual presence. Bells, beads, bows, or other add-ons may increase weight and create new snag points. For a bag that is handled daily, a cleaner version can be more practical than adding several seasonal embellishments.
Original Tutorial and Creator Credit
Creator: Amigurumis Atina
5. Crochet One Piece Limbs Reindeer Bag Charm
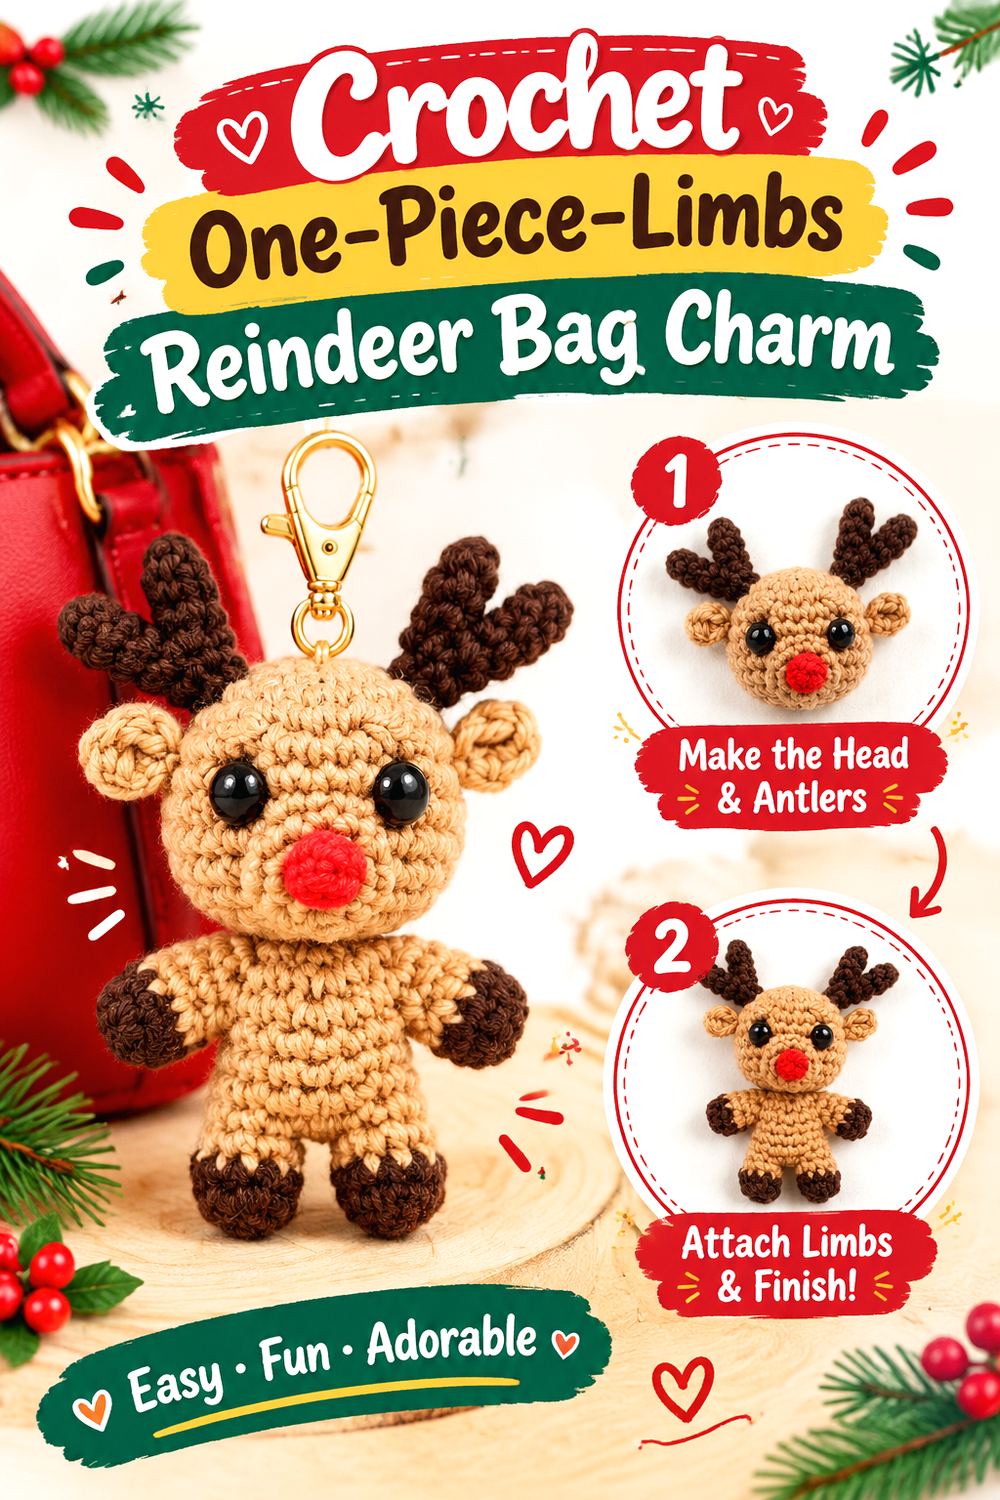
Supergurumi’s Mini Noso reindeer offers a different construction idea: the Noso series is designed so the body is worked with the arms and legs incorporated rather than sewn on separately. The published sample is only 6.5 cm tall when made with the listed fine cotton yarn and hook, placing it firmly within compact charm territory.
The result is a tiny full-body reindeer with a red nose and a clear amigurumi silhouette. It suits readers who want a small figure but would rather reduce the number of separate limb attachments found on many traditional stuffed-animal patterns.
Fewer Seams Still Requires Careful Finishing
Integrated limbs remove some assembly points, but the project still includes separate details such as antlers and ears. Check each exposed component after finishing. Tiny protruding pieces experience more leverage than their size suggests when a charm catches on clothing or another object.
Compact Scale Favors Controlled Tension
At a miniature scale, small differences in tension become more visible. Loose areas can reveal stuffing, while overly tight stitches can make shaping harder to read. If you change fiber or hook size, judge the fabric early rather than assuming the source’s dimensions will remain unchanged.
A Red Nose Makes Seasonality Optional
The source uses a bright red nose, giving the deer an immediate holiday character. For a less seasonal interpretation, color is the simplest element to reconsider because it does not require redesigning the body. A neutral nose can move the finished charm toward a woodland look while preserving the same overall form.
Original Tutorial and Creator Credit
Creator/Site: Supergurumi
6. Crochet Round Reindeer Ornament Bag Charm
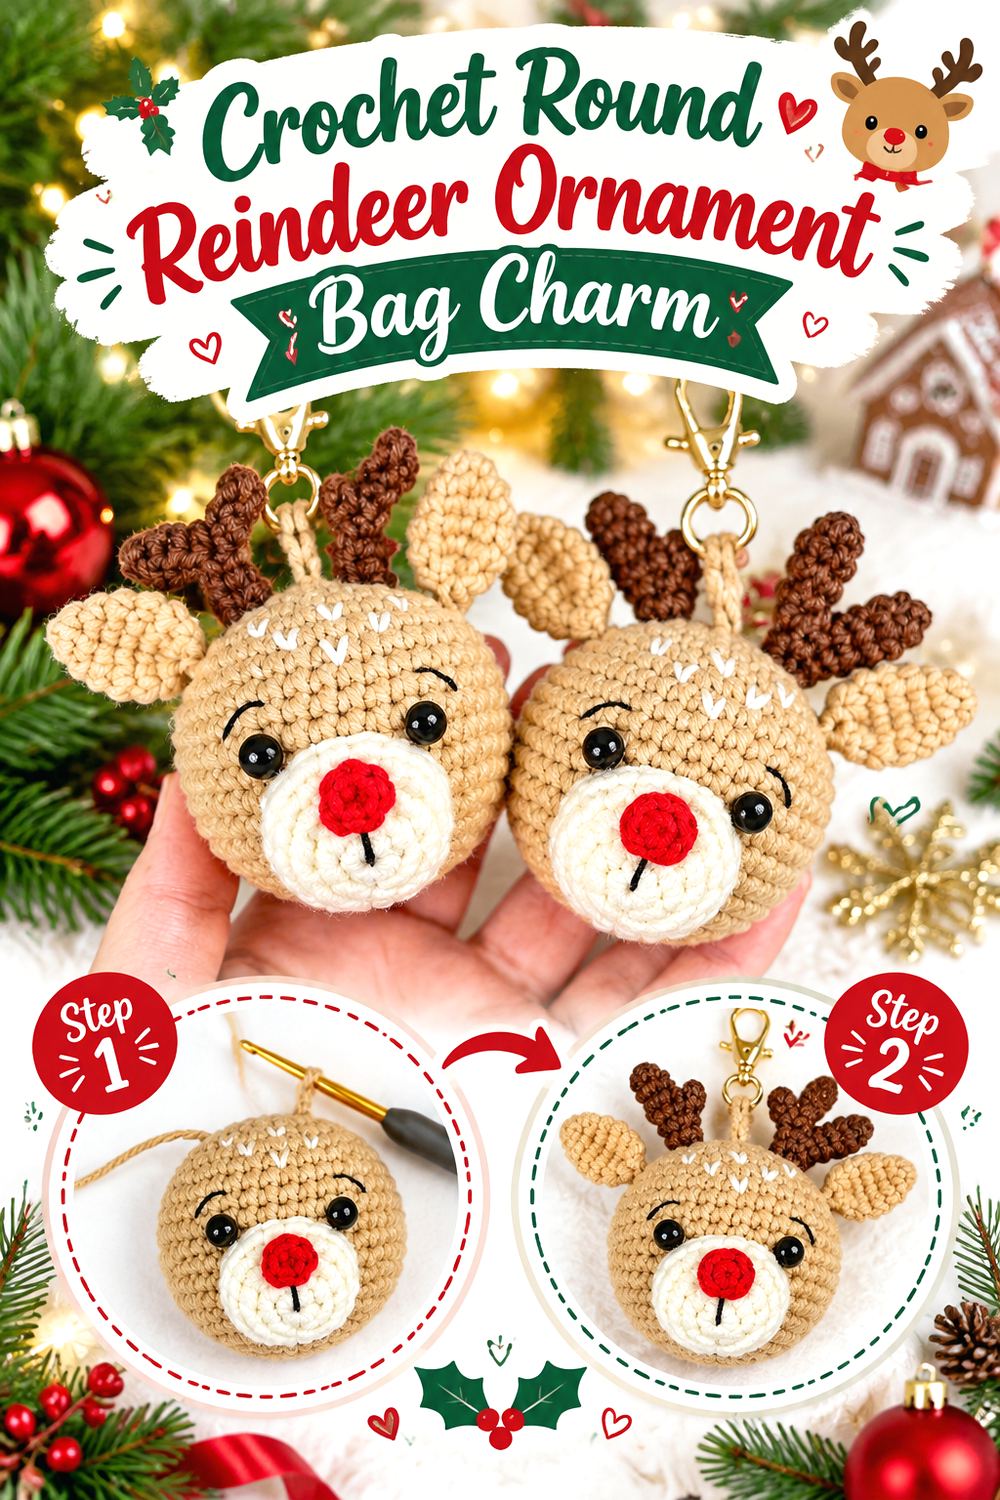
Cuddly Stitches Craft’s reindeer ornament is small enough to translate naturally to a decorative bag hanger. The published version measures about 7.5 cm high and 8 cm wide with the specified sport-weight yarn and hook, and the pattern provides two different antler options. The head is worked as a stuffed amigurumi form with separate facial and antler pieces.
That rounded head shape gives more dimension than an appliqué without creating the length of a full-body deer. It is a useful middle ground for a handbag charm that should be visible but not trail far below the attachment point.
Choose Antlers for Use, Not Just Appearance
Two antler options give you room to think about where the charm will live. A more elaborate outline may be attractive on a display-oriented tote, while a simpler shape can be easier around zippers and other hardware. Follow the tutorial for the chosen option rather than combining construction details arbitrarily.
Treat the Published Size as a Reference Point
The source offers yarn alternatives across several weights, but changing yarn naturally affects the finished result. For bag use, decide whether the original dimensions suit your hardware before substituting. If you need a smaller charm, test the fabric and proportions with your intended yarn rather than assuming a predictable percentage reduction.
Consider Embroidered Features for Some Recipients
The designer specifically cautions about safety eyes or buttons for children under three and recommends embroidery instead. Even outside that age group, embroidery can be useful on a bag charm because there are fewer hard pieces to loosen through repeated handling.
Original Tutorial and Creator Credit
Creator/Site: Cuddly Stitches Craft
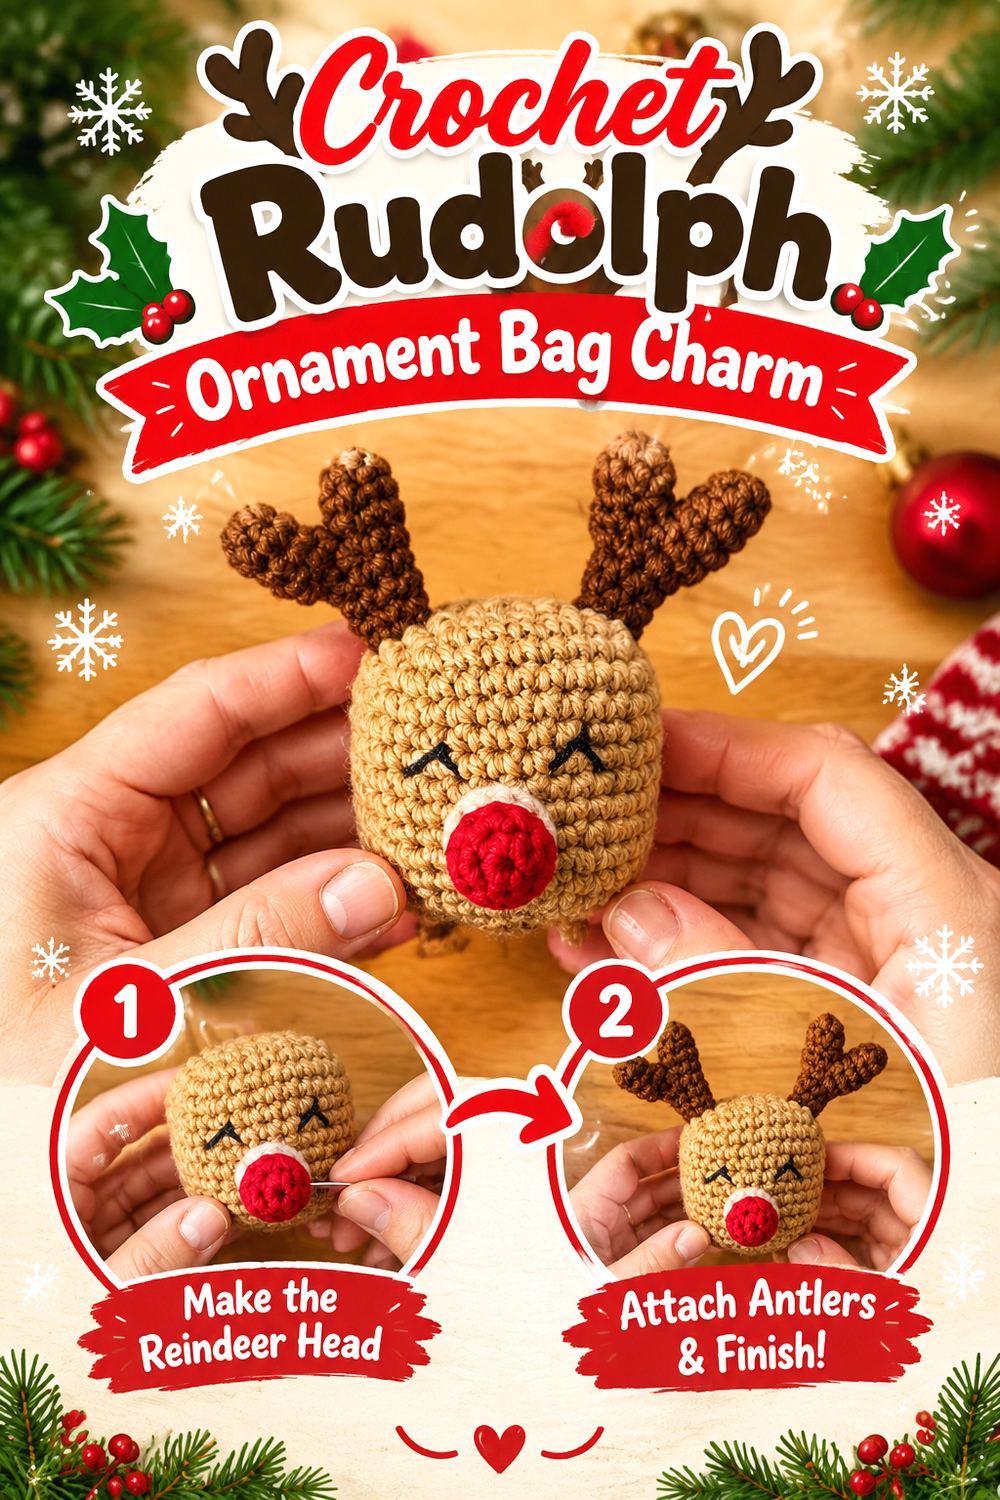
7. Crochet Rudolph Ornament Bag Charm
Pops de Milk Crochet’s tutorial focuses on a Rudolph reindeer amigurumi ornament, making it a natural source for a holiday bag charm. A red-nose design needs very little extra decoration to read as festive, which can be an advantage when the charm will already be competing visually with bag hardware.
Because the original project is an ornament rather than a purpose-built keychain, the main adaptation is the hanging connection. Consider how your clasp or ring will interact with the top of the finished amigurumi before adding it permanently, and avoid assuming a decorative ornament loop is automatically strong enough for everyday bag movement.
Let Rudolph Be the Focal Detail
A bright nose already creates a strong center of attention. Adding multiple bells, bows, beads, or tags can make a small charm look crowded and increase opportunities for snagging. If you want extra personality, one restrained accent generally preserves the recognizable face more successfully than several competing additions.
Test the Charm on the Actual Bag
An ornament can hang beautifully on a stationary tree yet rotate differently from a moving bag handle. Clip your planned hardware temporarily in place and carry the bag around the house before finalizing the connection. That simple test reveals whether the face turns inward or the antlers strike the bag repeatedly.
Original Tutorial and Creator Credit
Creator: Pops de Milk Crochet
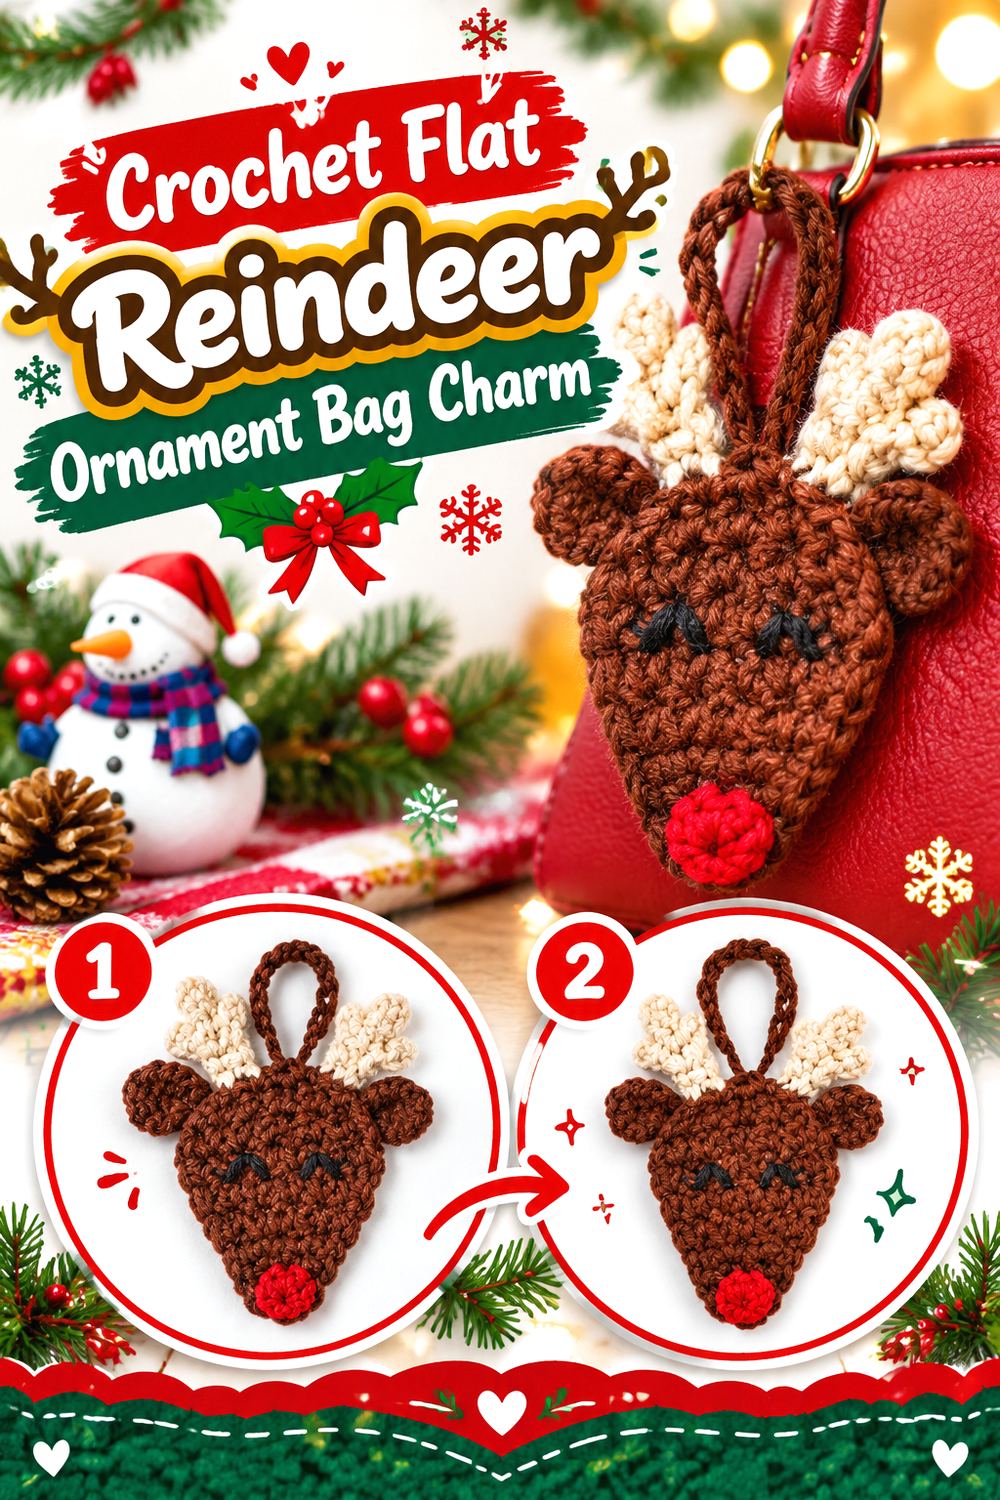
8. Crochet Flat Reindeer Ornament Bag Charm
The Crochet Crowd’s reindeer ornament provides a flatter alternative to the stuffed heads and full amigurumi figures in this collection. It was created as part of an advent-calendar series and is also presented for tree decoration or gift-topper use, making its decorative scale relevant to a lightweight bag accent.
A flatter charm can be appealing on a small purse because it adds less bulk and is less likely to knock against the bag as you walk. Its main weakness is that lightweight crochet can twist or flip, so the attachment position matters more than it does on a balanced stuffed figure.
Give a Flat Charm Enough Stability
If your completed ornament feels too floppy for bag use, a backing can be considered, but that is an independent modification rather than part of the original construction. Any backing should be neatly secured and should not make the edges stiff enough to curl awkwardly.
Keep the Loop Short
A long hanging loop gives a lightweight motif more room to spin. A shorter connection between the crochet piece and clasp usually keeps it closer to the bag and can reduce twisting. Before shortening anything permanently, make sure the clasp still opens comfortably around the intended handle or ring.
Original Tutorial and Creator Credit
Creator: The Crochet Crowd
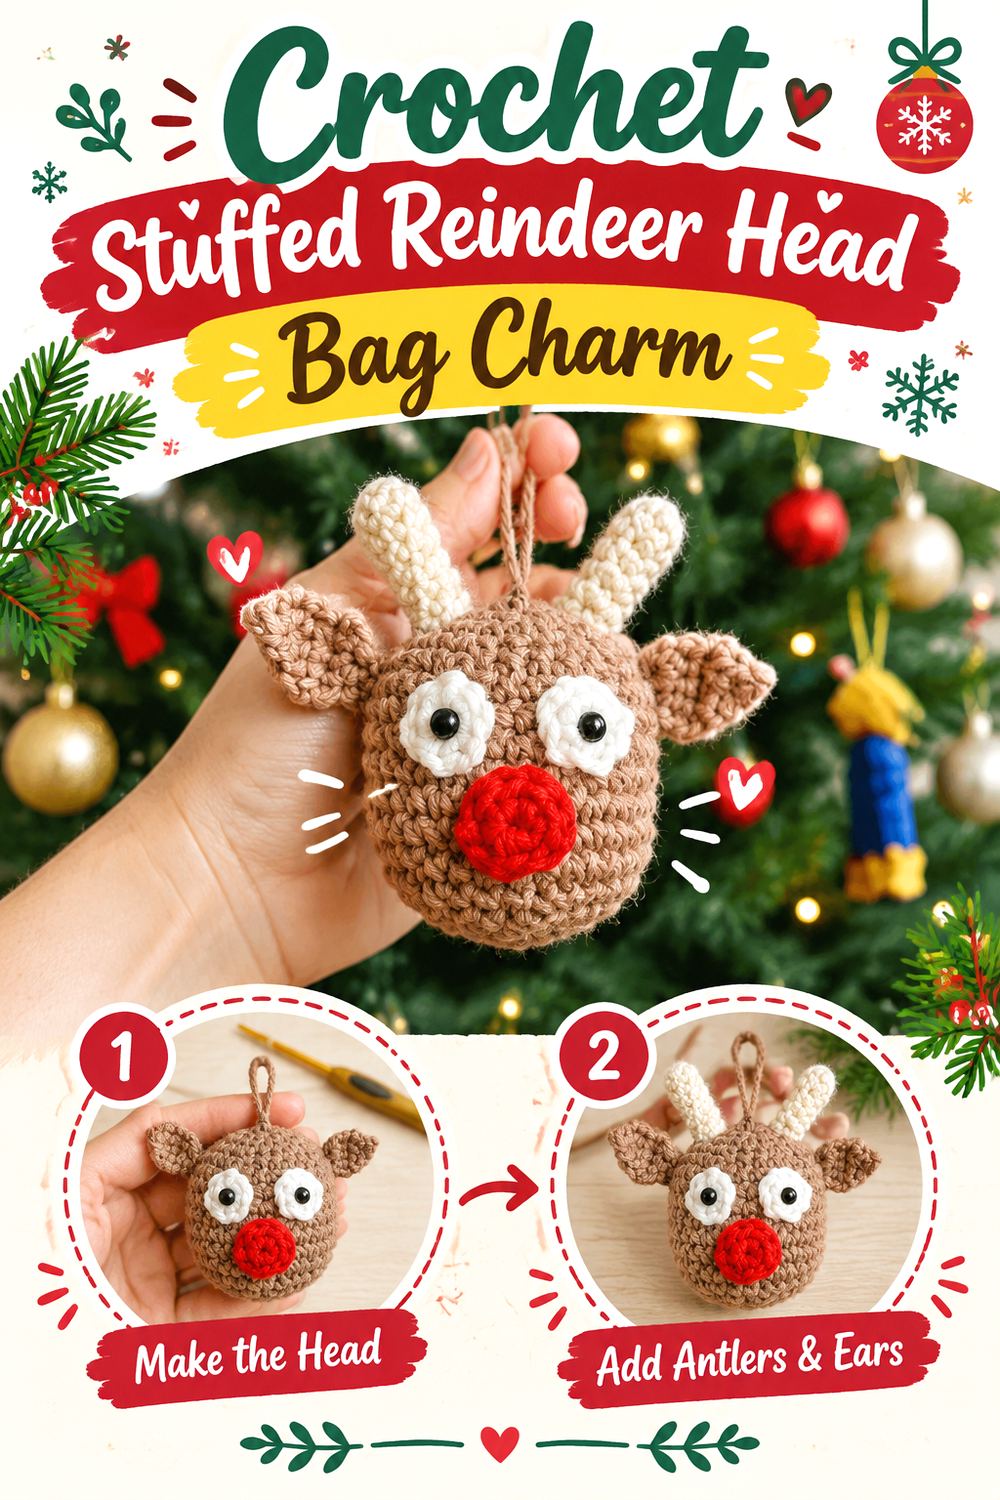
9. Crochet Stuffed Reindeer Head Bag Charm
Maria’s Blue Crayon takes the ornament in a more dimensional direction with a stuffed reindeer head. The original design uses a brown head, red nose, crocheted eye pieces with safety-eye centers, separate ears, and separate antlers. That combination produces a strongly defined face without adding a full body.
As a bag charm, this format gives you a useful compromise: the rounded stuffing creates visual presence while the short overall silhouette keeps the piece from dangling too far. The face is also broad enough for the features to remain visible when the charm is viewed from a slight angle.
Watch the Weight at the Crown
A stuffed head concentrates nearly all of its mass below one small hanging point. If you add a keyring, attach it to a structurally sound area rather than simply slipping a jump ring through one exposed stitch. The exact reinforcement method depends on your hardware and should be planned before the head becomes inaccessible.
Protect the Raised Facial Elements
Layered eyes and a sewn nose create appealing depth, but they also sit where a charm may rub against a bag. Check that thread ends are fully secured and that no edge lifts easily. If the bag is likely to see rough use, embroidered alternatives may be worth considering.
Use Antler Placement as a Balance Check
Before permanently attaching the antlers, place them temporarily and hold the head from its planned hanging point. A small imbalance at the top can make a rounded charm tilt noticeably. This is also a useful moment to check whether the antlers interfere with the clasp.
Original Tutorial and Creator Credit
Creator/Site: Maria’s Blue Crayon
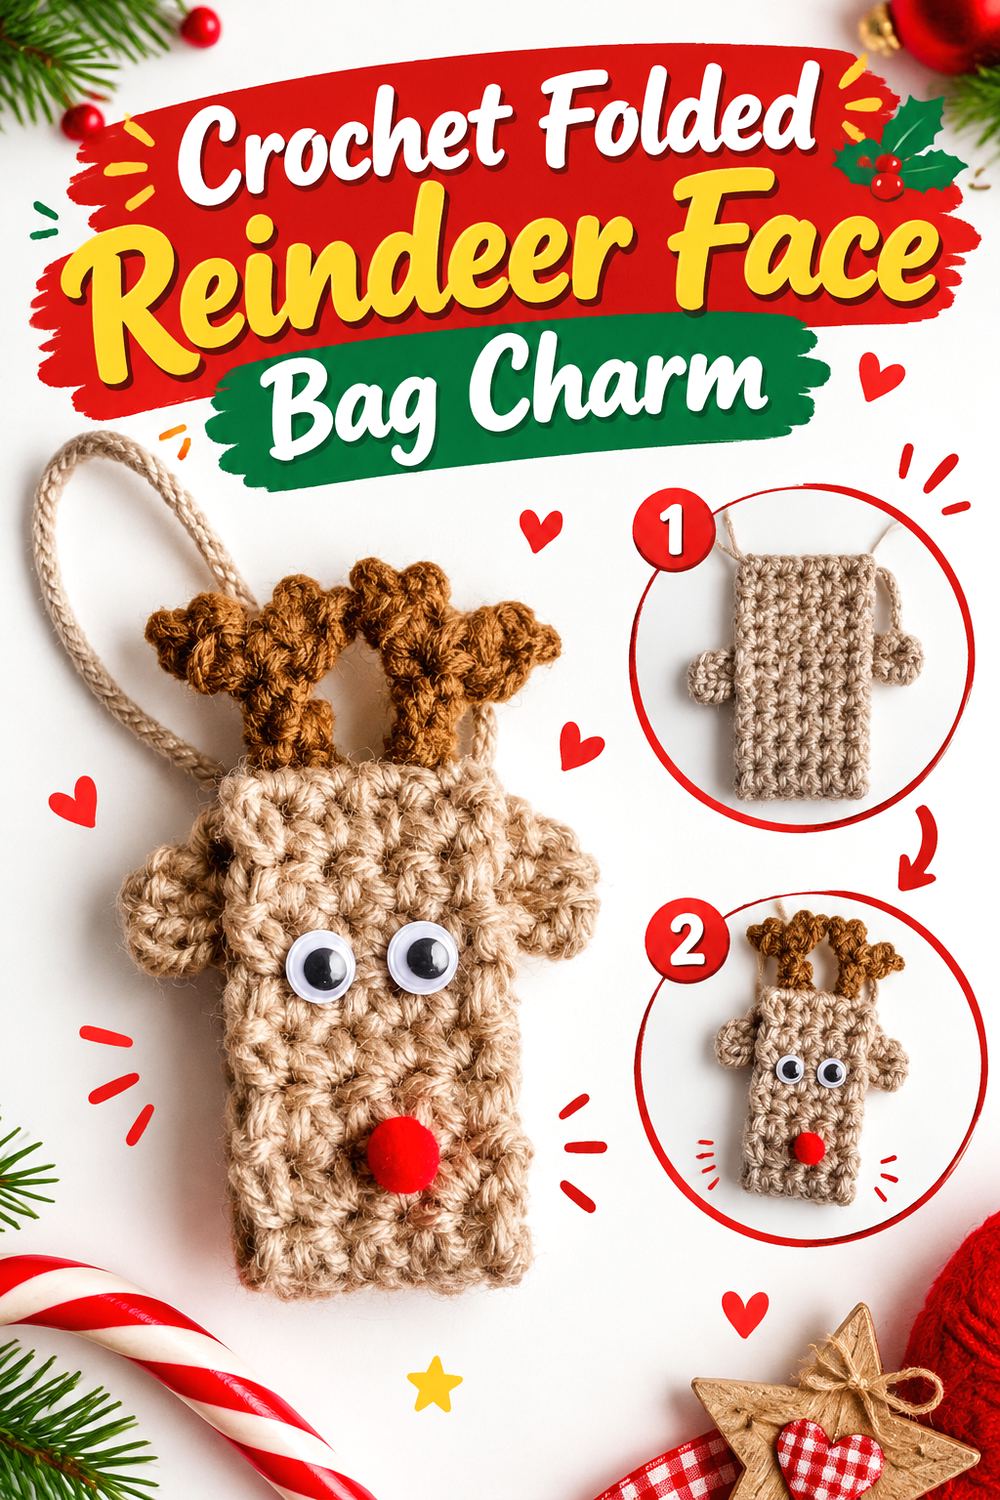
10. Crochet Folded Reindeer Face Bag Charm
Nana’s Crafty Home offers one of the most structurally unusual reindeer ideas here. The original ornament is made from a crocheted strip that is folded to form the face and ears, with separate antlers and facial details. The published sample is approximately 1¼ by 3 inches including the antlers, and the design can also function as a candy-cane holder.
That narrow profile is well suited to a small zipper-area charm when compared with bulkier stuffed heads. Because the construction relies on folding rather than stuffing, it also keeps the weight relatively concentrated in the crochet fabric and embellishments.
Keep the Fold From Distorting
A folded construction gets much of its finished identity from crisp positioning. When adapting it to a moving bag, make sure the joining area remains secure enough that repeated handling does not gradually open or skew the face. Avoid adding heavy hardware directly where it could pull the fold out of alignment.
Pick Facial Details for Durability
The original tutorial discusses several eye and nose options, including safety eyes, wiggly eyes, a button, a pom-pom, and embroidery. For a bag charm, consider how each will behave under friction rather than selecting solely by appearance. Glued or protruding components generally deserve more frequent checking than stitched embroidery.
Original Tutorial and Creator Credit
Creator/Site: Nana’s Crafty Home
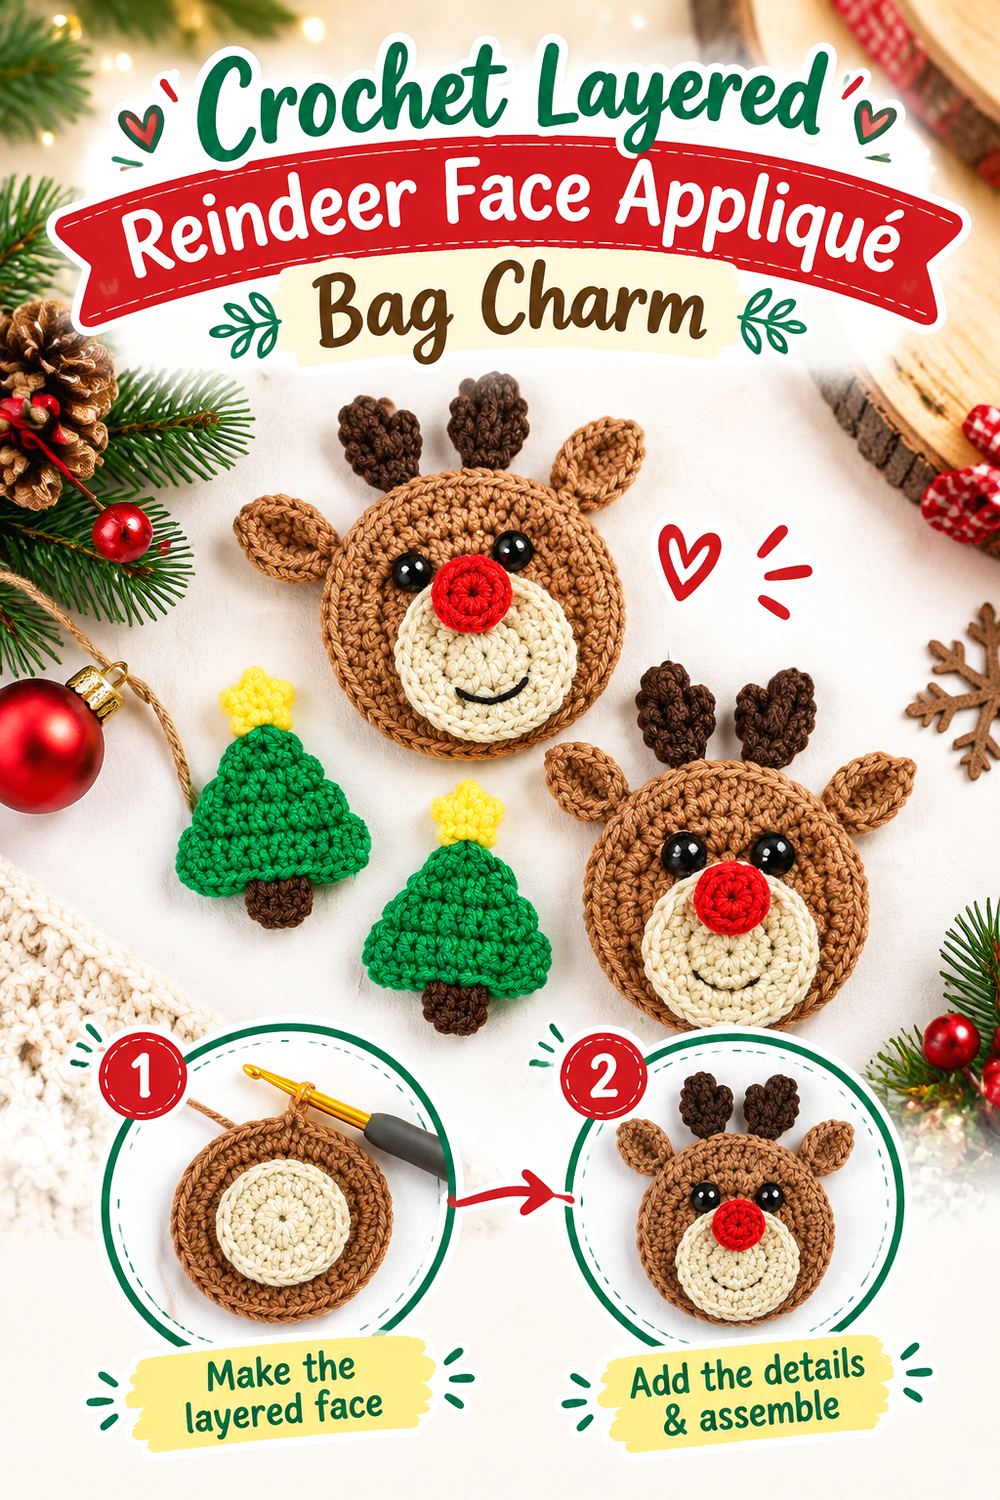
11. Crochet Layered Reindeer Face Appliqué Bag Charm
Passionate Crafter’s reindeer appliqué is built as a layered face rather than a stuffed figure. The tutorial combines a round head with a contrasting muzzle, red nose, ears, antlers, and eye details. It was originally developed as part of a Christmas blanket but is also suggested for hats, sweaters, and gift wrapping, confirming that the motif is intended to work independently as an embellishment.
For a bag charm, this style works best when you specifically want a flatter decorative piece. Turning an appliqué into a hanging charm requires your own attachment solution, and possibly support on the back, so those additions should remain clearly separate from the source pattern.
Preserve the Layered Face
The head, muzzle, and nose create visual depth even though the overall project is flat. If you add backing, avoid covering or compressing the dimensional edges from the front. The goal is to stabilize the charm without making the layered face look pressed or uneven.
Consider Two-Point Support for Wider Motifs
A broad appliqué hung from one extreme corner can tilt noticeably. Depending on the finished shape, a centered loop or discreet support across more than one stitch may produce a straighter hang. Test with temporary thread before committing to permanent hardware.
Original Tutorial and Creator Credit
Creator/Site: Passionate Crafter
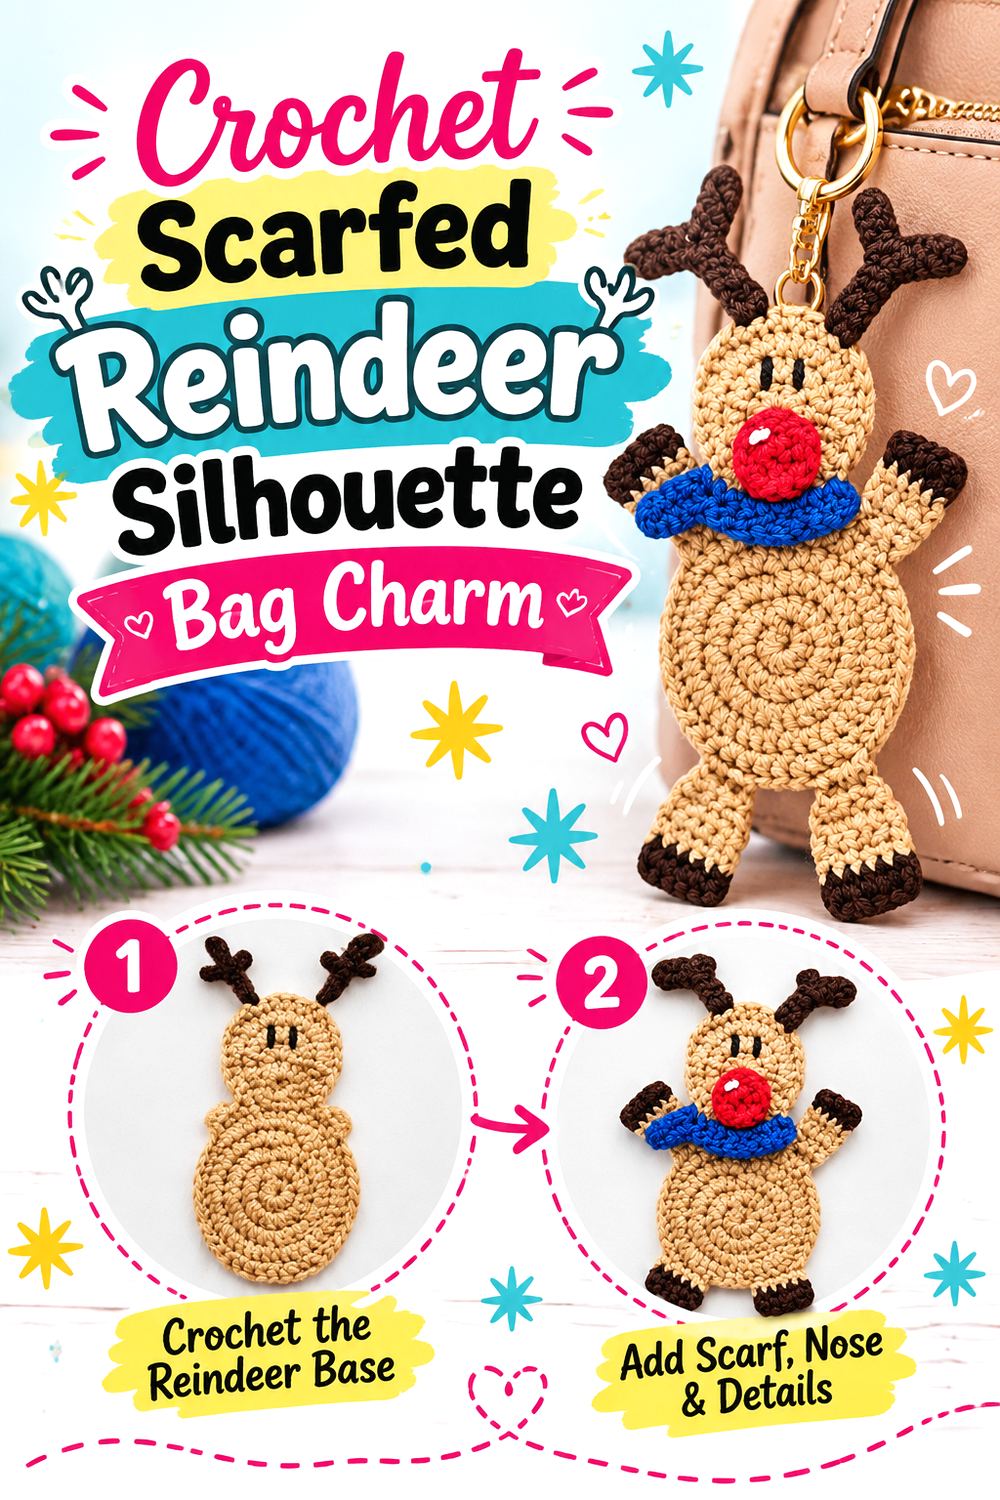
12. Crochet Scarfed Reindeer Silhouette Bag Charm
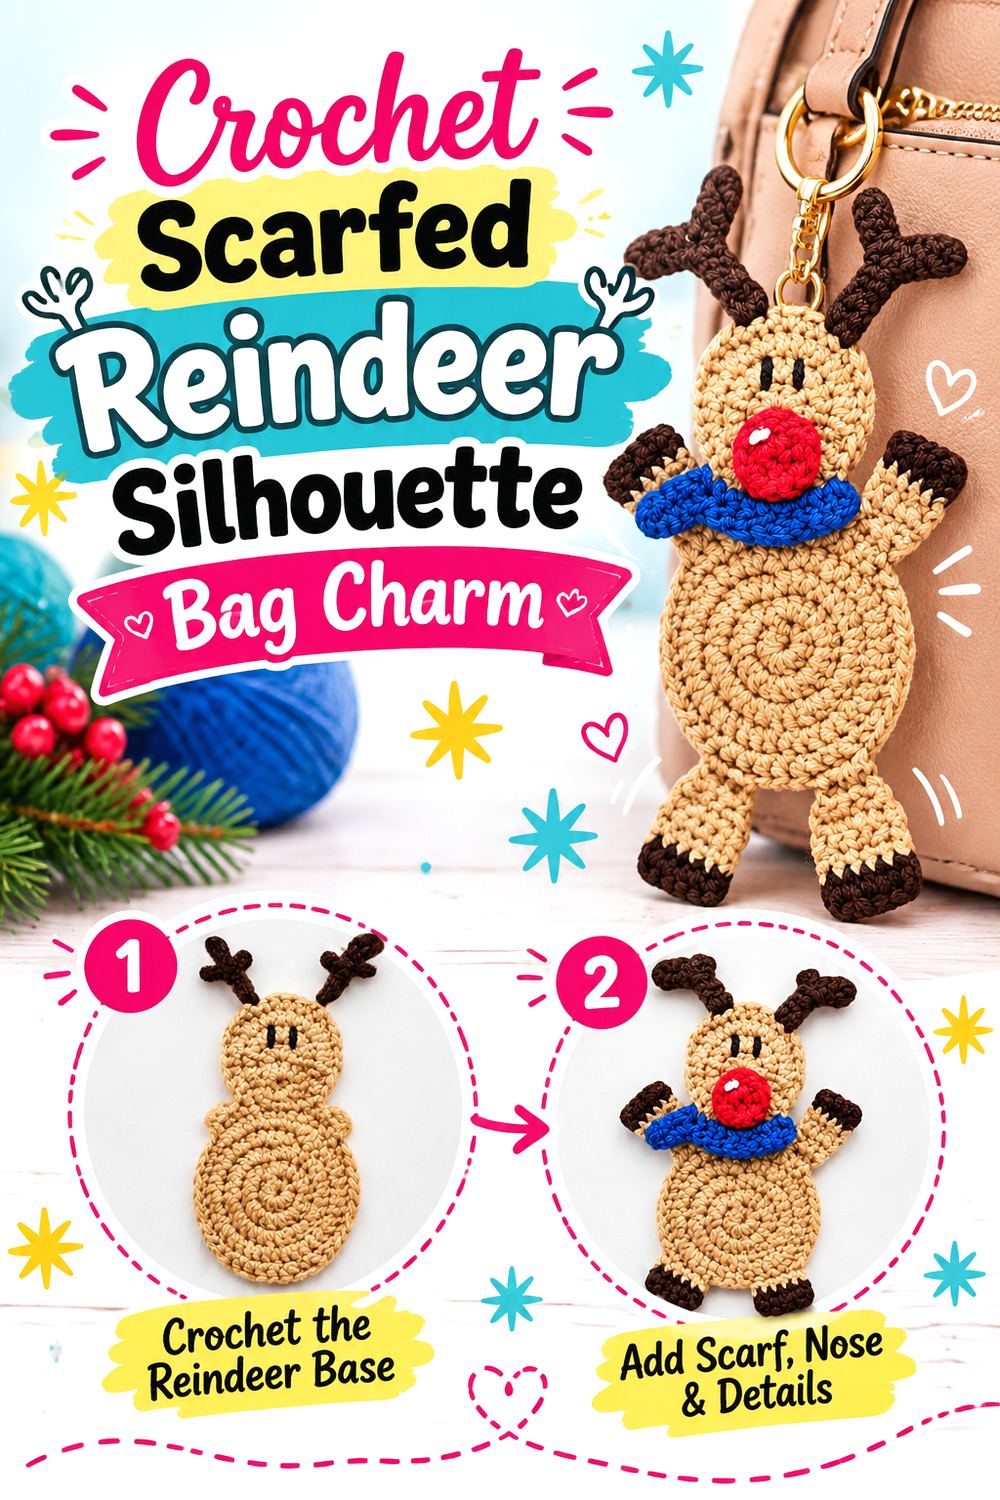
Lovable Loops offers a full reindeer appliqué with a scarf, producing a completely different profile from round face motifs. The published sample measures about 8 by 4 inches with the stated worsted-weight yarn and hook, so at its original scale it is better understood as an oversized statement accent than a conventional tiny zipper charm.
That size can work on a roomy tote, but readers wanting a compact charm would need to explore a smaller yarn-and-hook combination and accept that the result will be an adaptation rather than the tutorial’s documented dimensions. The scarf provides a built-in color accent, while the full body creates a recognizable deer silhouette even without much stuffing or bulk.
Decide Whether You Really Need to Downsize
A large flat charm can look intentional on a market tote, laptop bag, or holiday gift bag. Downsizing adds uncertainty because small antlers, legs, and scarf details may become harder to execute cleanly. Before changing yarn, pin a paper rectangle matching the published dimensions to your bag and judge the scale visually.
Avoid Stretching the Long Body
A longer appliqué has more opportunity to sag when suspended from the top. If you turn it into a hanging charm, consider whether the fabric needs unobtrusive support. Any lining or backing should be light enough that it does not turn a flexible motif into a stiff board.
Use the Scarf as the Color-Control Point
The scarf makes seasonal customization straightforward. A muted blue, green, cream, or rust accent can move the deer away from bright Christmas styling while keeping the woodland identity. Color changes are safer than structural alterations because they preserve the original proportions of the motif.
Original Tutorial and Creator Credit
Creator/Site: Lovable Loops
13. Crochet Minimal Deer Head Appliqué Bag Charm
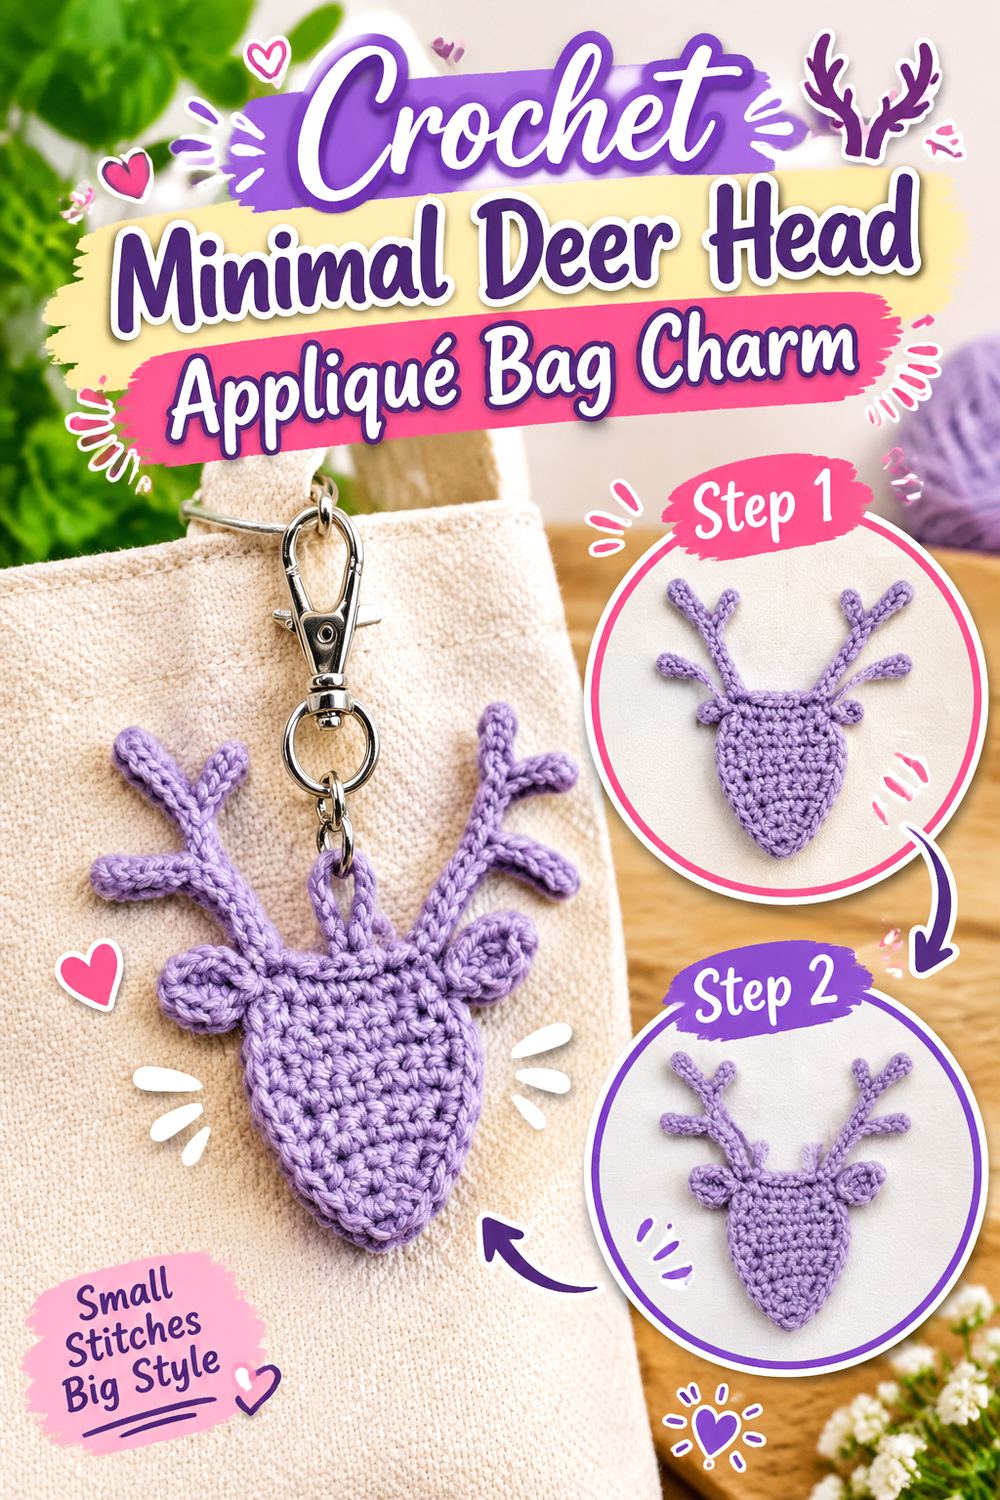
Crochet Jewel’s deer-head appliqué strips the idea down to a recognizable flat motif. The tutorial is specifically presented as a crochet deer head appliqué rather than a stuffed reindeer, making it a useful choice for a lightweight charm or for attaching directly to a fabric bag.
Because there is no bulky body, this option suits readers who want deer imagery without a dangling plush accessory. It can remain an appliqué sewn directly to a removable tag or be adapted into a hanging piece with backing and hardware. Either adaptation should preserve the clean outline that makes a minimal head motif effective.
Let the Silhouette Do the Work
With fewer dimensional elements, clean shaping becomes more important than added decoration. Blocking or gentle shaping, when appropriate for the chosen fiber, can help the head and antler outline read clearly. Follow the yarn’s care information before applying heat or aggressive blocking.
Keep Added Hardware Visually Light
A slim appliqué can be overwhelmed by thick chains or oversized clasps. If you turn it into a hanging charm, compare several hardware options against the motif before securing anything. The best match is usually large enough to function comfortably but not so heavy that it causes the fabric to curl.
Original Tutorial and Creator Credit
Creator: Crochet Jewel
14. Crochet Detailed Deer Appliqué Bag Charm
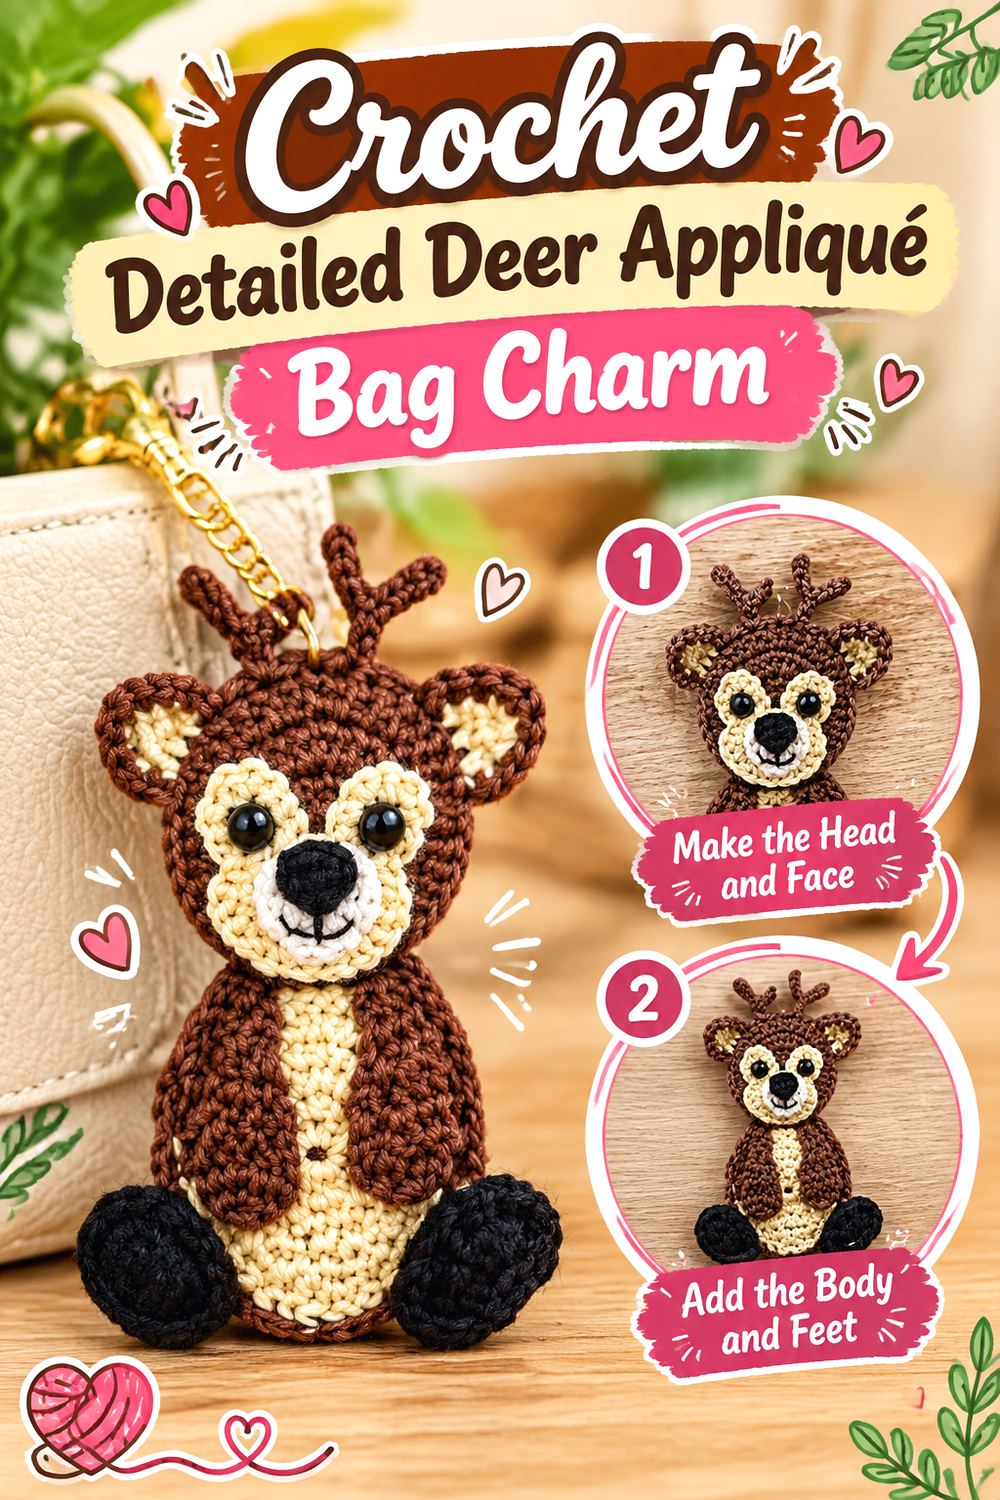
Kerri’s Crochet provides another flat deer direction, but the project is distinct from a simple round reindeer face. The creator identifies it as her own deer appliqué design and demonstrates the project as a step-by-step crochet tutorial using contrasting deer colors.
For bag-charm planning, an appliqué like this offers two routes: keep it flat and lightweight as a hanging embellishment, or sew it onto a sturdier removable tag. The second option can be useful when the original motif has several narrow points that you would rather not expose directly to repeated pulling.
Check Narrow Sections Before Hanging
Thin antlers, legs, or other small projections can behave differently when an appliqué is suspended instead of sewn flat to another textile. Gently flex the completed piece and identify areas that look vulnerable before choosing a hanging point. Extra reinforcement should support the motif without changing its visible shape.
A Removable Tag Can Protect the Crochet
Instead of placing a metal ring directly through the appliqué, another option is to mount the deer on a small fabric or crocheted tag and attach the tag to the bag. This is an original adaptation, not part of Kerri’s tutorial, but it can isolate the delicate crochet from hard hardware.
Original Tutorial and Creator Credit
Creator: Kerri’s Crochet
15. Crochet Popcorn Stitch Reindeer Bag Charm
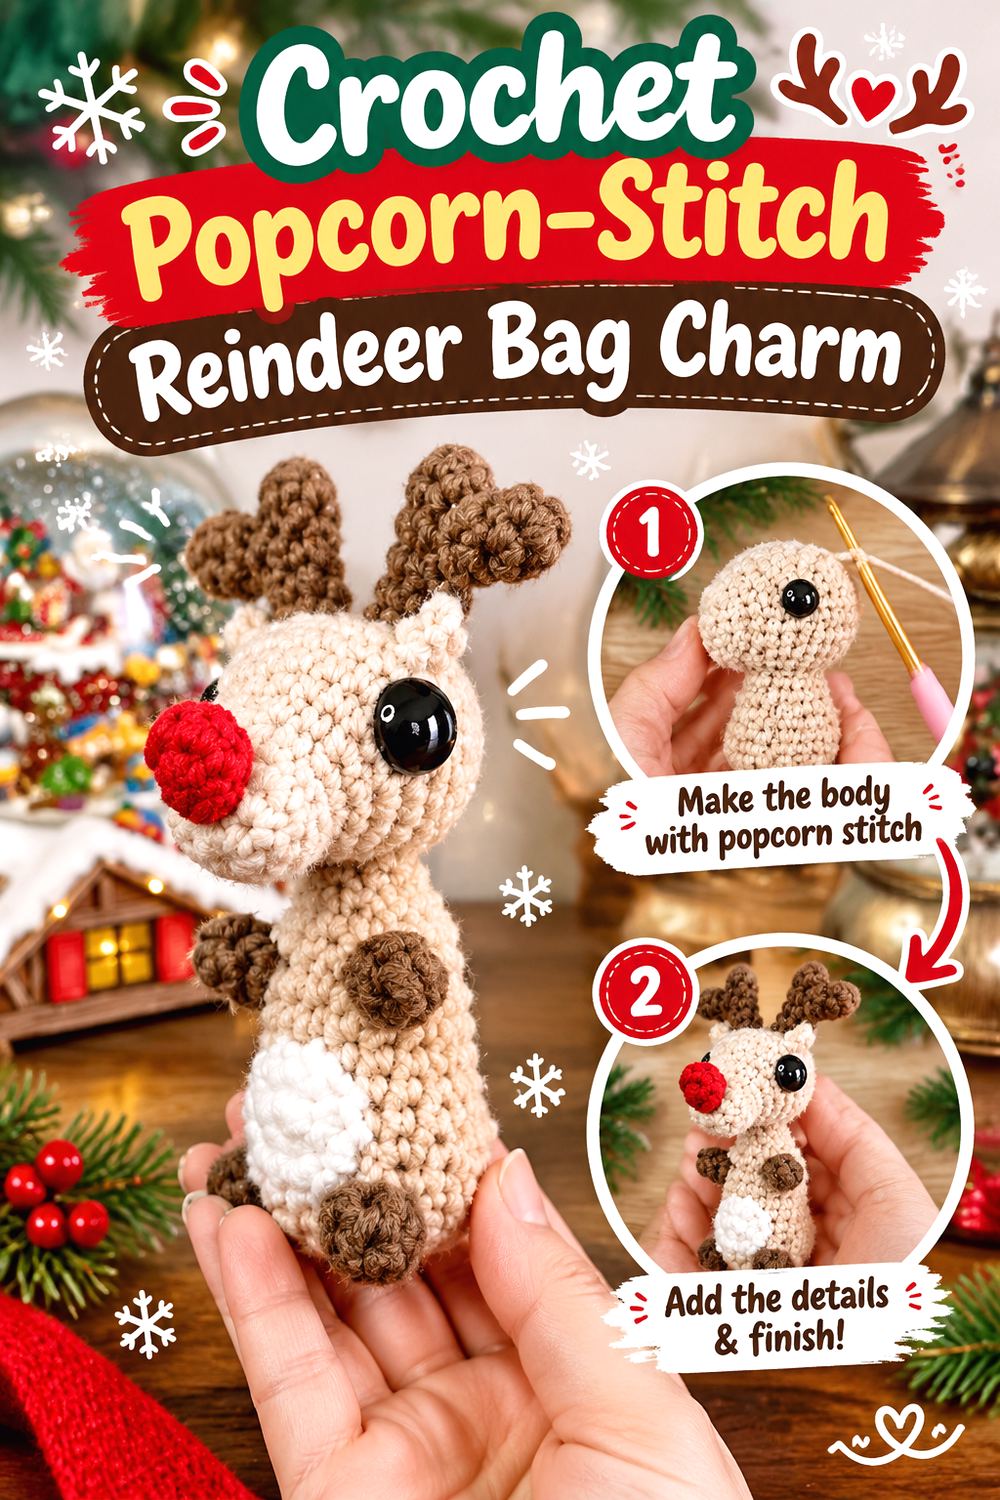
Skein Spider’s mini reindeer comes from the creator’s popcorn-stitch mini series, giving this idea a textural identity that the smoother amigurumi projects do not have. The video teaches a small reindeer with separate sections for the head, nose, body, antlers, belly, and assembly. The creator rates the tutorial for advanced beginners.
Texture is the main reason to choose this style. A popcorn-based surface creates stronger shadows and a more tactile finish, which can make a small charm stand out against a plain canvas backpack. That extra texture also means you should check whether the fabric catches easily on rough zippers or hook-and-loop closures.
Texture Can Increase Visual Size
Raised stitches make a small figure look more substantial even without using very thick yarn. That can be useful if you want a charm that reads clearly from a distance. If you substitute yarn, remember that fluffy fiber plus raised texture may blur the stitch definition that gives this design its character.
Keep the Belly Detail Visible
When a design depends on contrasting surface areas, hardware placement can accidentally hide an important feature. Hold the finished reindeer against the bag and see which side naturally faces outward before deciding where the final clasp should sit.
Test for Snagging
Run the finished charm gently over the bag fabric and around the zipper area before regular use. A highly textured stitch pattern may interact differently with woven canvas, knit bags, or exposed zipper teeth. If it repeatedly catches, move the charm to a smoother handle or side ring.
Original Tutorial and Creator Credit
Creator: Skein Spider
16. Crochet Baby Reindeer Ornament Bag Charm
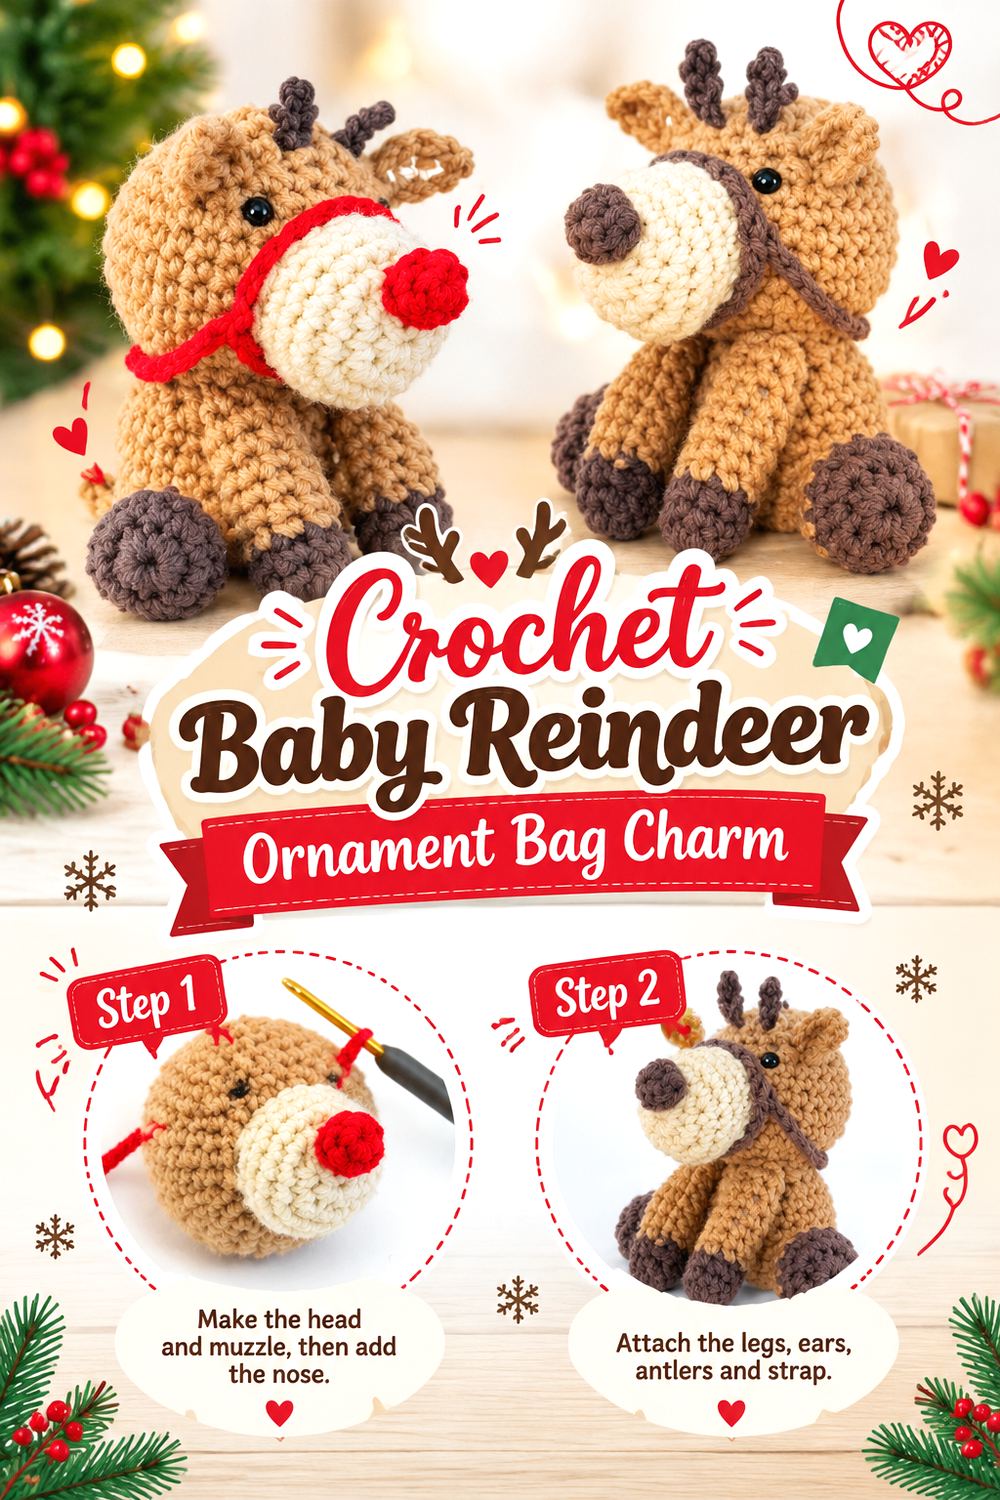
Repeat Crafter Me’s mini baby reindeer has the proportions of a small stuffed character, with the original sample measuring approximately 6 inches tall by 5 inches wide. The designer presents the project as an ornament, gift topper, or festive display piece and includes an optional reins detail.
Those published dimensions make it one of the larger ideas here. Rather than pretending it will behave like a tiny zipper charm, treat the original-size version as a statement accessory for a tote or backpack handle. A smaller interpretation would require yarn and tool experimentation and should not be assumed to reproduce the source’s exact look.
Match a Larger Charm to Stronger Hardware
A larger stuffed figure needs an attachment point appropriate to its finished weight. Avoid hanging a substantial amigurumi from a delicate decorative zipper pull without checking what that pull was designed to handle. A bag handle ring or sturdy external loop is usually a more sensible location.
Decide Whether to Keep the Reins
The optional reins add character, but loose loops can introduce another catch point when the charm moves through crowded spaces. For a display bag they can be a charming detail; for daily commuting, a cleaner version may be easier to live with.
Use the Size as a Styling Feature
Instead of forcing every project into a tiny scale, an intentionally oversized deer can function more like a plush bag mascot. That distinction gives this idea a reason to exist beside the compact keychains. Pair it with a simple bag so the larger crochet form has room to be seen.
Original Tutorial and Creator Credit
Creator/Site: Repeat Crafter Me
17. Crochet Mini Rudolph Head Bag Charm
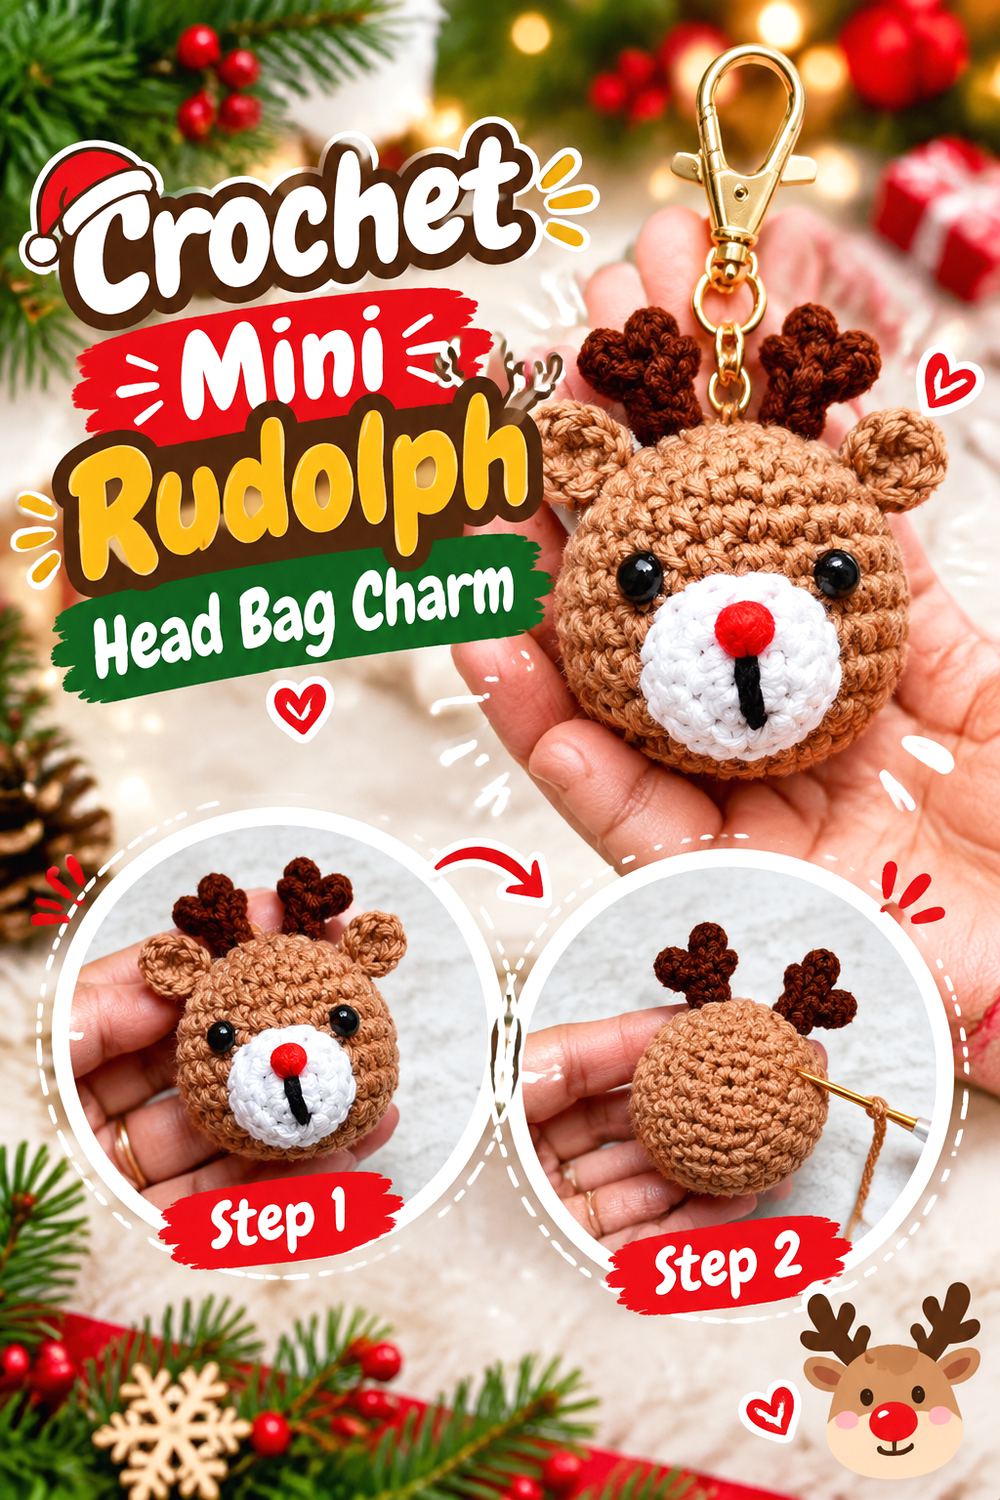
Cute Crochet’s Rudolph ornament concentrates the design into a small amigurumi head with separate ears, snout, and antlers. The video shows the head being stuffed and finished with recognizable reindeer facial details, giving this final idea a compact, face-forward form rather than a full hanging animal.
It is a good choice when you want a Christmas-specific charm that remains visually simple. The rounded head can sit close to a bag handle, while the red-nose association supplies most of the seasonal character without requiring a scarf, outfit, or large body.
Secure the Snout Before the Charm Sees Use
A dimensional muzzle sits on the most exposed side of the charm, so inspect the joining seam carefully after assembly. Repeated rubbing against a bag can reveal loose sections that would never matter on a stationary ornament. Fix any weak area before adding the final clasp.
Give the Antlers Clearance
When hardware sits immediately behind or between the antlers, the clasp can push them forward or distort their position. Hold the completed head beneath the intended ring and confirm that the antlers have enough room to keep their shape while the clasp opens and closes.
Original Tutorial and Creator Credit
Creator: Cute Crochet
Which Crochet Deer Bag Charm Style Should You Choose?
For the smallest everyday accessory, start with a tutorial already designed as a keychain or with one of the compact ornament heads. They require fewer assumptions about scale and generally keep the charm close to the bag. Flat appliqués are the lightest direction and make sense when bulk or swinging bothers you, although they may need your own backing or hanging solution.
Low-sew minis reduce some assembly points, while traditional stuffed heads offer greater facial depth. The scarfed appliqué and baby reindeer are noticeably larger choices and work better when you deliberately want a statement accessory. For a bag that sees daily commuting, prioritize secure construction and snag resistance; for a seasonal display tote, more elaborate antlers and decorative details may be worth the trade-off.
Conclusion
These 17 crochet deer bag charm ideas cover much more than one tiny brown amigurumi repeated in different colors. You can choose a purpose-designed keychain, a low-sew mini, a rounded stuffed face, a textured popcorn-stitch reindeer, a lightweight appliqué, or a larger baby-deer mascot depending on how much bulk and movement your bag can accommodate.
The biggest practical difference is how each project handles scale and attachment. Small keychain patterns need the least modification, while ornaments and appliqués require more thought about hardware, reinforcement, and how the crochet will behave when it moves. Once you have chosen the form that suits your bag, use the credited original tutorials for the creators’ exact construction details and make any bag-specific adaptations conservatively.
Frequently Asked Questions
Can I turn any crochet deer ornament into a bag charm?
Many small ornaments can inspire bag charms, but the hanging method deserves separate attention. A tree ornament normally hangs still and carries very little external stress, while a bag charm swings, rubs against fabric, and can be pulled accidentally. Check the original project’s size, weight, attachment area, and protruding details first. If you add a clasp, reinforcement, or backing that the creator did not specify, treat it as your own modification rather than part of the tutorial.
What yarn is most practical for a crochet deer bag charm?
There is no single yarn that is best for every design. Smooth yarn can make tiny facial features and antlers easier to see, while chenille or plush yarn produces a softer, more dimensional appearance. Yarn thickness also changes the finished size and weight. For any substitution, choose a hook that produces sufficiently dense fabric for the intended project and compare your result with the source before assuming the published dimensions still apply.
How can I keep crochet antlers from getting damaged?
Start by choosing a charm location where the antlers will not constantly strike zipper teeth or hook under other straps. Firm, neatly finished crochet tends to retain a small shape better than very loose fabric, but construction varies by tutorial. Avoid adding hard internal supports unless you understand how they will affect safety and care. For an everyday bag, a simpler antler outline may be more practical than an elaborate branching shape.
Should I use safety eyes on a deer bag charm?
That depends on the intended user and how the charm will be handled. Small detachable components can be inappropriate where young children may gain access to them, and Cuddly Stitches Craft specifically recommends embroidery rather than safety eyes or buttons for children under three. Even for adult accessories, routinely inspect hard facial components because repeated friction can loosen them. Embroidery provides an alternative when fewer detachable pieces are preferred.
How do I stop a flat deer appliqué from curling when it hangs?
First check whether gentle shaping or blocking is appropriate for the fiber you used. If the appliqué remains too flexible, a lightweight backing can sometimes add stability, but that changes the original project. Keep any backing smaller than or aligned with the crochet edges so it does not dominate the motif. A centered, relatively short hanging connection can also reduce the tendency for a wide appliqué to twist or fold.
Can I make a published deer pattern smaller for a keychain?
Usually you can experiment with finer yarn and a correspondingly suitable hook, but the final reduction is not guaranteed to be proportional. Very small antlers, ears, muzzles, and safety-eye placements can become difficult or stop looking balanced. If compact size is the main priority, beginning with one of the tutorials already designed as a keychain or miniature is more predictable than substantially shrinking a larger amigurumi.