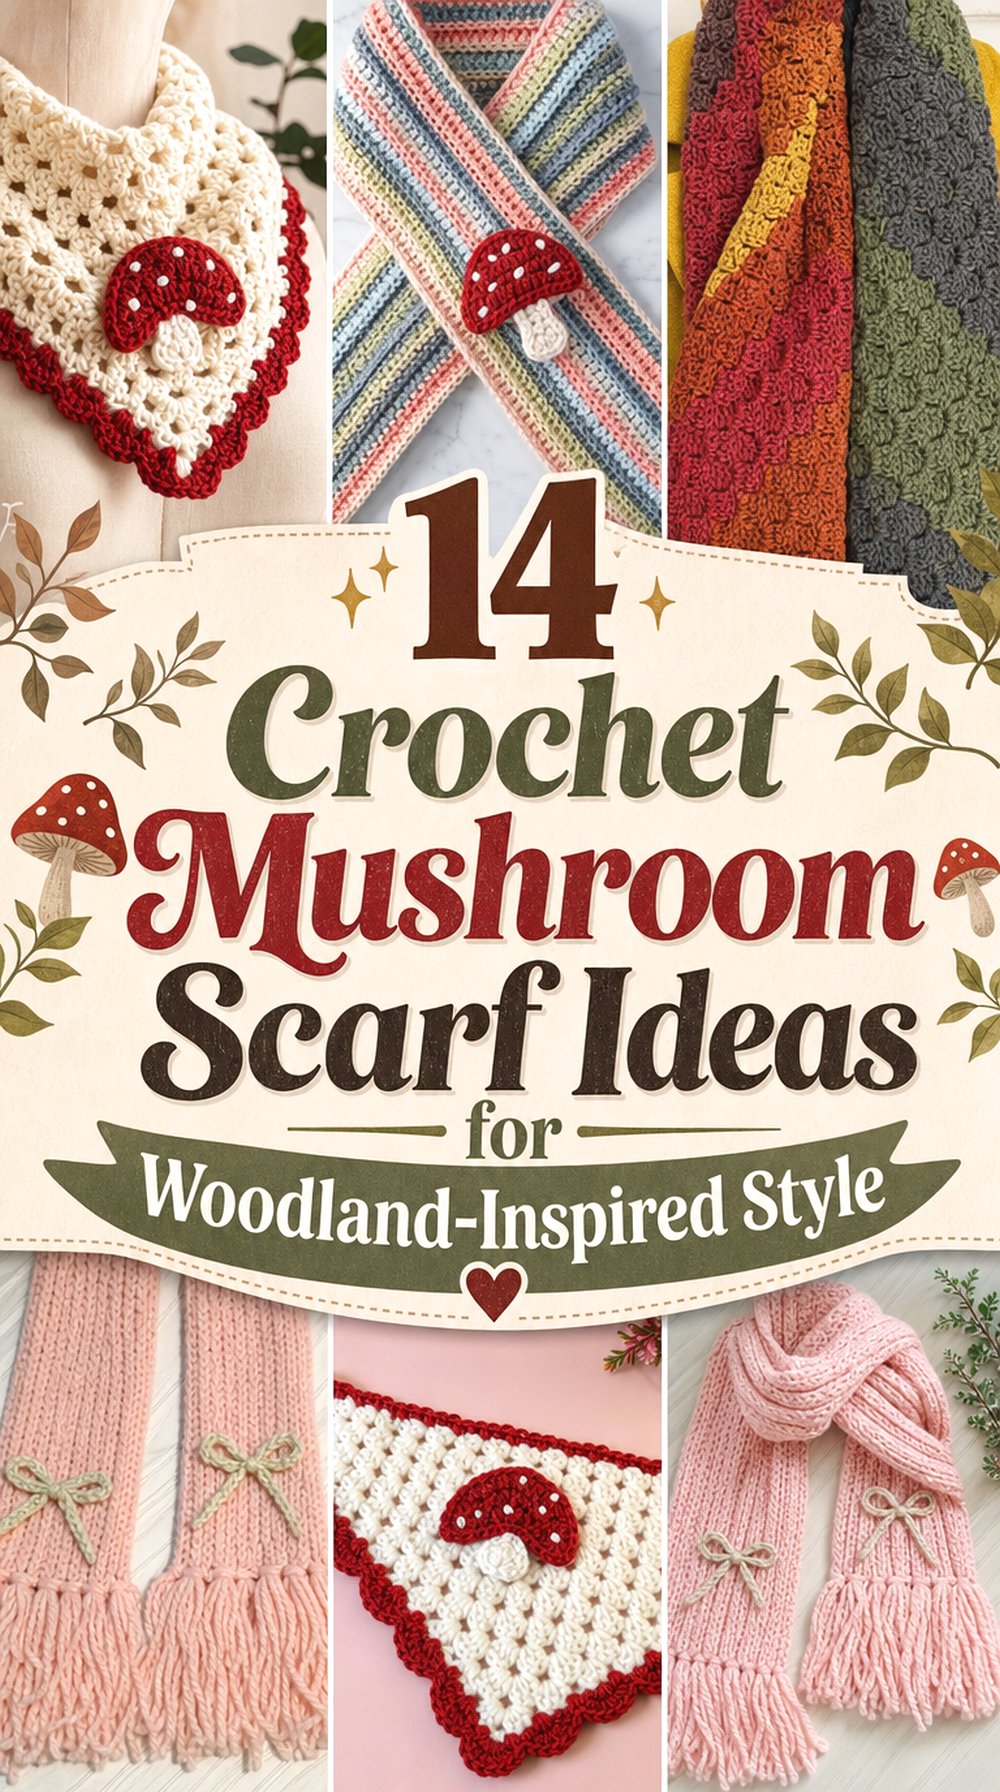
14 Crochet Mushroom Scarf Ideas for Woodland-Inspired Style
A crochet mushroom scarf can take several very different forms. The fungi may be built directly into the stitch texture, made as separate appliqués, translated into pixel or mosaic colorwork, assembled as repeated motifs, or concentrated into one statement area. The scarf itself can also change completely—from a narrow neck tie or keyhole scarf to a triangle, infinity loop, hooded scarf, or chunky winter cowl.
The ideas below are organized around those meaningful differences rather than simple color changes. Several featured tutorials teach the mushroom treatment directly. Others teach a clearly identified scarf construction that can serve as the base for an original mushroom adaptation. In those cases, you will need to choose or create the mushroom motif separately. That distinction matters when planning scale, drape, motif placement, and finishing.
Quick List
- Crochet Mushroom Forest Stitch Scarf
- Crochet Enoki Cluster Scarf
- Crochet Mushroom Appliqué Bandana Scarf
- Crochet Mushroom-Stitch Triangle Scarf
- Crochet Mushroom-Cap Hooded Scarf
- Crochet Spotted Mushroom Infinity Scarf
- Crochet Mushroom Keyhole Scarf
- Crochet Pixel Mushroom C2C Scarf
- Crochet Mushroom Mosaic Scarf
- Crochet Mushroom Granny Square Scarf
- Crochet Open-Mesh Mushroom Appliqué Scarf
- Crochet Skinny Mushroom Accent Scarf
- Crochet Buttoned Mushroom Scarflette
- Crochet Mushroom Bow-Tie Scarf
Choose the Mushroom Technique Before the Scarf Shape
The mushroom method has a bigger effect on the finished scarf than the color palette. A mushroom stitch creates the imagery inside the fabric, so there are no separate pieces to attach. Appliqués give you more freedom over placement but add another layer that can affect drape. Granny squares make the motif modular, while C2C and mosaic approaches turn the mushroom into a graphic that depends heavily on scale and contrast.
Consider the scarf shape at the same time. A broad rectangle gives a graphic mushroom room to read, while a very narrow scarf is usually better suited to small end accents. A triangle provides a natural central focal point, and a hood lets the mushroom cap become part of the silhouette itself. Choosing these two elements together prevents a detailed motif from being squeezed into a shape that cannot display it clearly.
Plan Drape, Width, and Motif Scale Together
Scarves need enough flexibility to fold, wrap, or knot without becoming awkward around the neck. Dense colorwork, multiple layers of appliqués, thick joins, or heavily repeated motifs can all make a fabric feel more substantial. That may work well for a compact winter scarf but less well for a light bandana or narrow neck scarf.
Before committing to a long project, make and finish a small sample of the fabric or motif you intend to use. For modular designs, compare the blocked width of the motif with the scarf width you actually want. For graphic techniques such as C2C or mosaic, determine how many usable cells or repeats fit across the planned width before choosing the mushroom artwork. When adapting a tutorial, do not assume a different yarn, hook, or motif will reproduce the source dimensions.
Think About Which Side Will Be Visible
A mushroom scarf rarely stays perfectly flat while it is being worn. Long rectangular scarves flip at the ends, infinity scarves rotate around the neck, and skinny scarves expose their edges constantly. That makes the reverse side and attachment method more important than they might be on a wall hanging or pillow.
With appliqués, check that attachment yarn and tails are tidy from the back. With directional mushrooms, decide whether the motifs should all face one way when the scarf is laid flat or appear upright from both ends when worn. C2C and mosaic designs require their own reverse-side planning. Triangle bandanas and hooded scarves give you more control because one side normally serves as the obvious public-facing surface.
1. Crochet Mushroom Forest Stitch Scarf
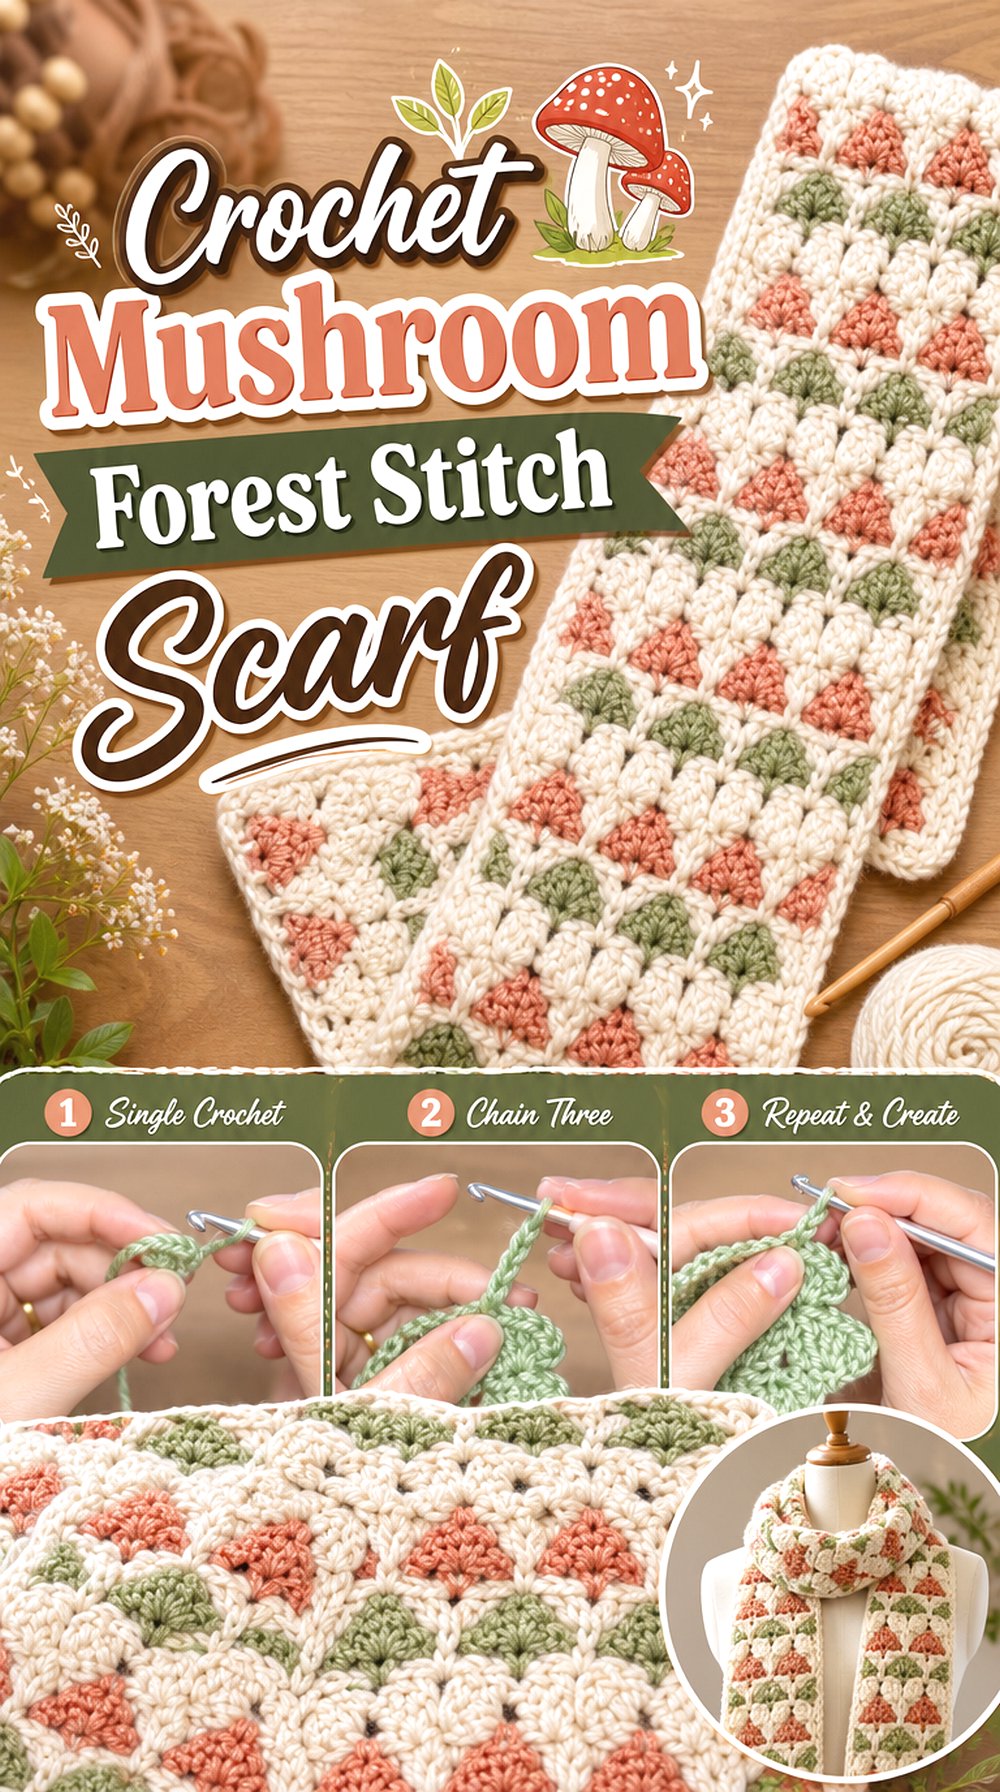
This scarf approach puts mushrooms directly into the crochet fabric rather than attaching separate motifs afterward. The stitch demonstrated by Change Path Crochet creates repeating slanted mushroom forms and was developed for the creator’s Mushroom Forest Scarf. That makes it a strong option when you want an unmistakably mushroom-themed accessory without building the scarf from individual pieces.
The repeating texture gives the scarf visual movement while leaving the overall form simple. Because the mushroom shapes are part of the fabric, this idea also avoids the extra thickness that a field of sewn appliqués could add.
Diagonal Mushrooms Create Movement Without Added Appliqués
A repeated slanted motif naturally leads the eye along the length of the scarf. That makes the design especially effective on a straightforward rectangle where the stitch pattern can remain the main feature. Before changing yarn or hook size, make a sample and check whether the mushroom shapes are still recognizable after the fabric relaxes. A motif that looks clear while stretched on the hook may read differently once the scarf is hanging vertically.
Lacy Fabric Needs Enough Drape to Hang Cleanly
The Mushroom Forest concept has visible open space around its motifs, so yarn behavior matters. A fabric that is too rigid can keep the mushroom rows from settling naturally; one that stretches excessively may pull the motifs out of proportion. Instead of relying only on the yarn label, examine a finished sample by hanging it vertically for a while. That gives a more relevant preview of how a scarf-length piece may behave.
Check the Reverse Before Committing to Full Length
Long scarves routinely flip over at the ends, so inspect both sides of the mushroom stitch before deciding it suits your preferred styling. You do not need both sides to look identical, but the reverse should still appear intentional enough for a wearable accessory. This checkpoint is especially useful if you plan contrasting colors, because carried strands, joins, and woven ends can become much more noticeable than they are in a single-color sample.
Creator: Change Path Crochet
2. Crochet Enoki Cluster Scarf
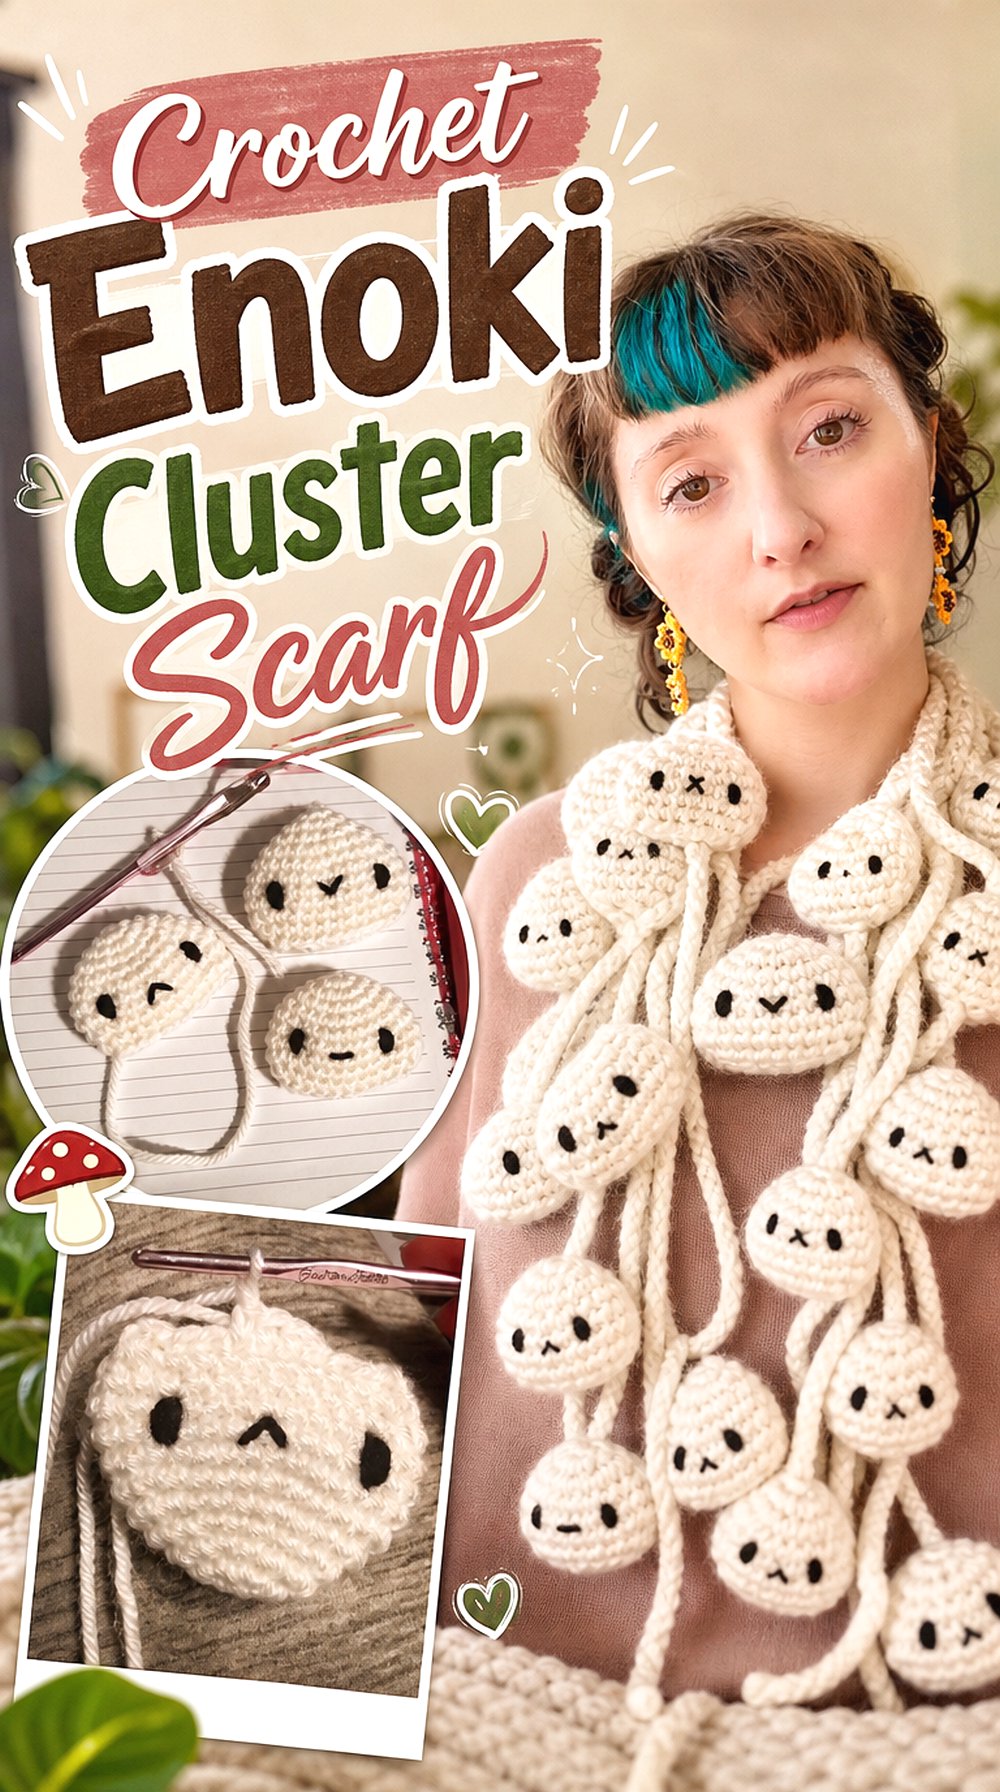
Instead of representing the familiar rounded toadstool cap, this scarf takes inspiration from clustered enoki mushrooms. That gives it a much less conventional silhouette and makes the entire scarf feel more sculptural than a flat motif design. Lisa HELLOhappy revisited an older enoki scarf design in 2025 and openly noted that the original version lacked structure and was not immediately identifiable as enoki, which is valuable information when considering an adaptation.
This is a good choice for readers who want the mushroom shape itself to determine the accessory rather than simply decorating a standard scarf.
The Enoki Silhouette Needs Clear Separation
Enoki mushrooms are recognized partly through their grouped narrow forms. If those forms collapse into one another visually, the scarf can lose the idea that makes it distinctive. When choosing yarn, prioritize enough stitch definition to see the separate shapes rather than judging softness alone. Lay a sample against the clothing colors you normally wear as well; low contrast between the scarf and outfit can make an already subtle silhouette harder to recognize.
Structure Matters More Here Than on a Flat Motif Scarf
A normal rectangular scarf can still function if its fabric becomes quite fluid. A sculptural mushroom interpretation depends more heavily on holding recognizable edges and proportions. That does not mean the scarf should be stiff, but it does make a finished sample important. Hold it vertically, fold it as you would wear it, and see whether the clustered forms remain distinguishable without constant arranging.
The Creator’s Critique Is a Useful Design Check
Because the creator herself describes limitations of the earlier scarf, this tutorial gives you something unusual: a clear reason to evaluate the final silhouette rather than automatically reproducing every visual choice. If you adapt the concept, periodically view the scarf from several feet away. That simple check can tell you whether it reads as mushrooms at wearable scale or only makes sense when viewed close up.
Creator: Lisa HELLOhappy
3. Crochet Mushroom Appliqué Bandana Scarf
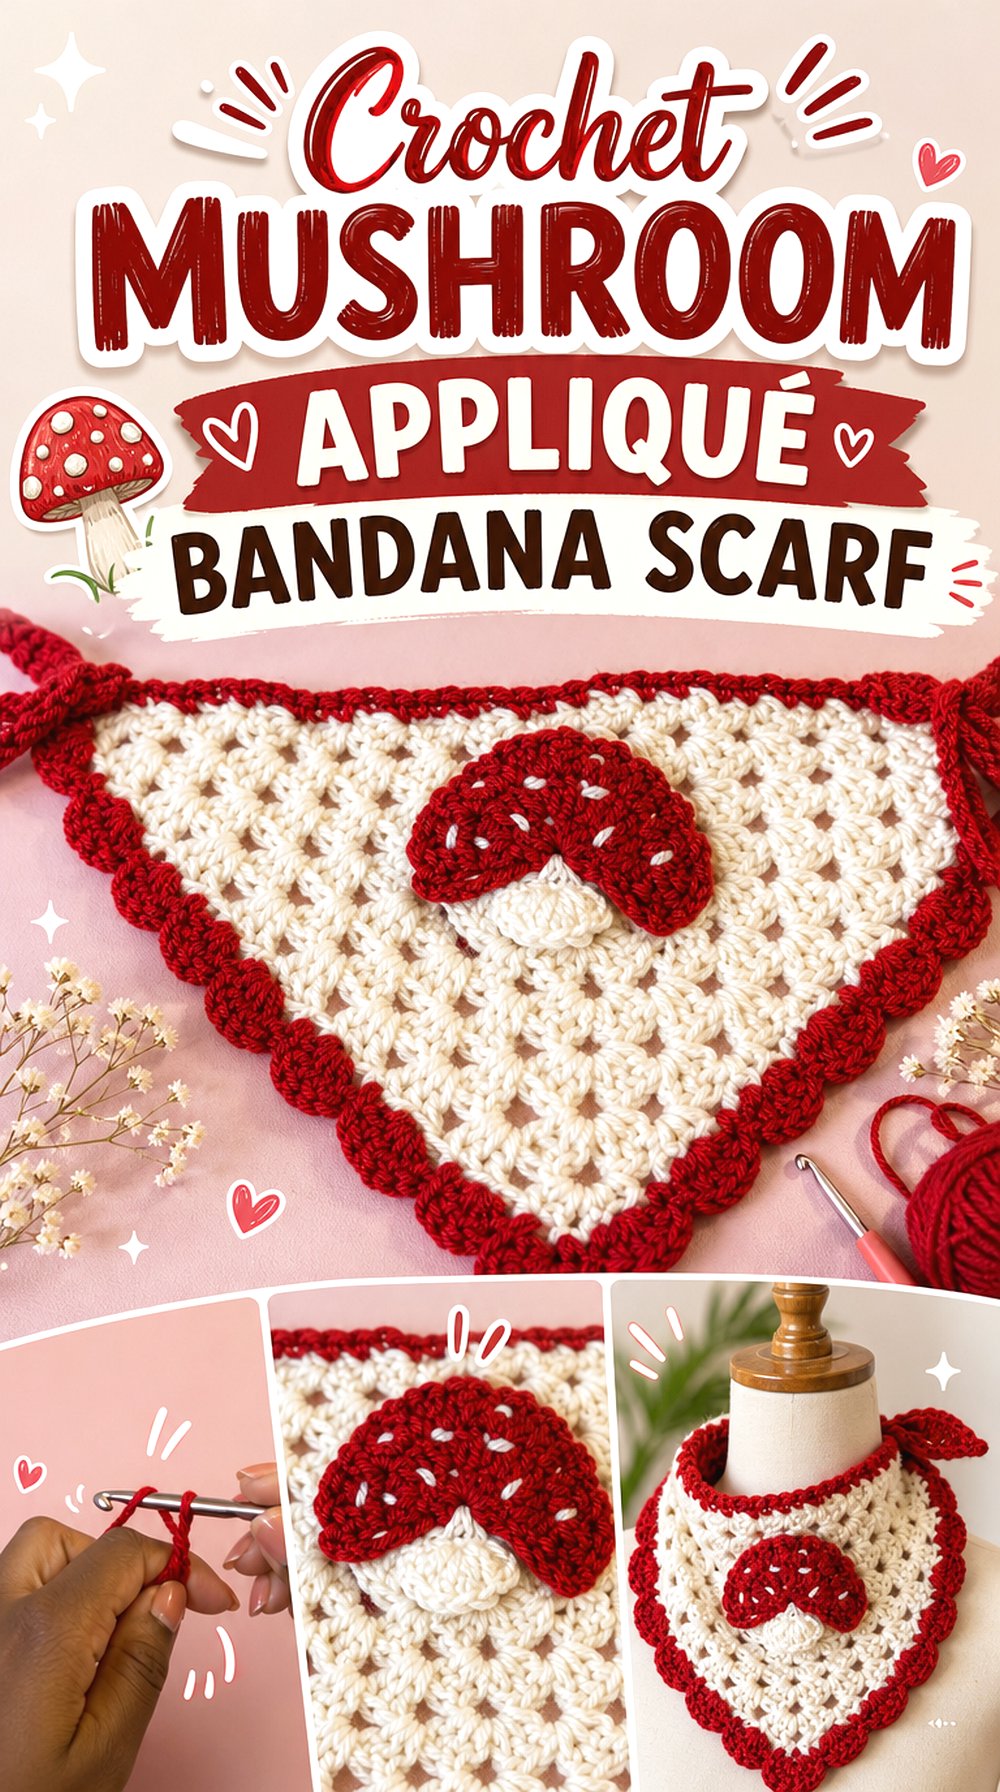
A triangle bandana provides a compact way to wear the mushroom theme without committing to a full winter scarf. The trperrymakes tutorial combines a crochet bandana with a mushroom appliqué and a scalloped border, so the fungi are a deliberate surface feature rather than something implied only through color.
Because the triangular shape already creates a defined center, one well-placed mushroom can have more impact than a long line of repeated motifs. The finished accessory can work primarily as a hair scarf, but the same planning principles are useful if you prefer tying a small triangle loosely at the neck.
Keep the Mushroom Clear of the Tie Zone
The central triangle is the most reliable place for a dimensional or layered focal motif. Decorations placed too close to the narrow ties may bend sharply, disappear beneath a knot, or rub where the bandana is secured. Before sewing anything permanently, tie the plain bandana the way you expect to wear it and mark the part that remains visible. Place the mushroom inside that dependable display area rather than guessing while the piece is flat.
The Scalloped Edge Already Adds Visual Detail
A decorative border and a mushroom appliqué compete for attention if both are oversized or highly contrasted. Decide which element should lead. If the mushroom is your focus, quieter edging can frame it rather than overwhelm it. If you love the scalloped outline, a simpler mushroom palette may give the two features more space. This is especially relevant on a small accessory where every decorative element occupies a large percentage of the visible surface.
Check Coverage Before Scaling the Appliqué
A mushroom that looks modest beside an unfinished triangle can become disproportionately large once the bandana is tied and part of the fabric disappears around the head or neck. Finish the basic shape first whenever possible, then temporarily position the appliqué. Viewing it from normal wearing distance is more useful than judging it flat on a table.
Creator: trperrymakes
4. Crochet Mushroom Stitch Triangle Scarf
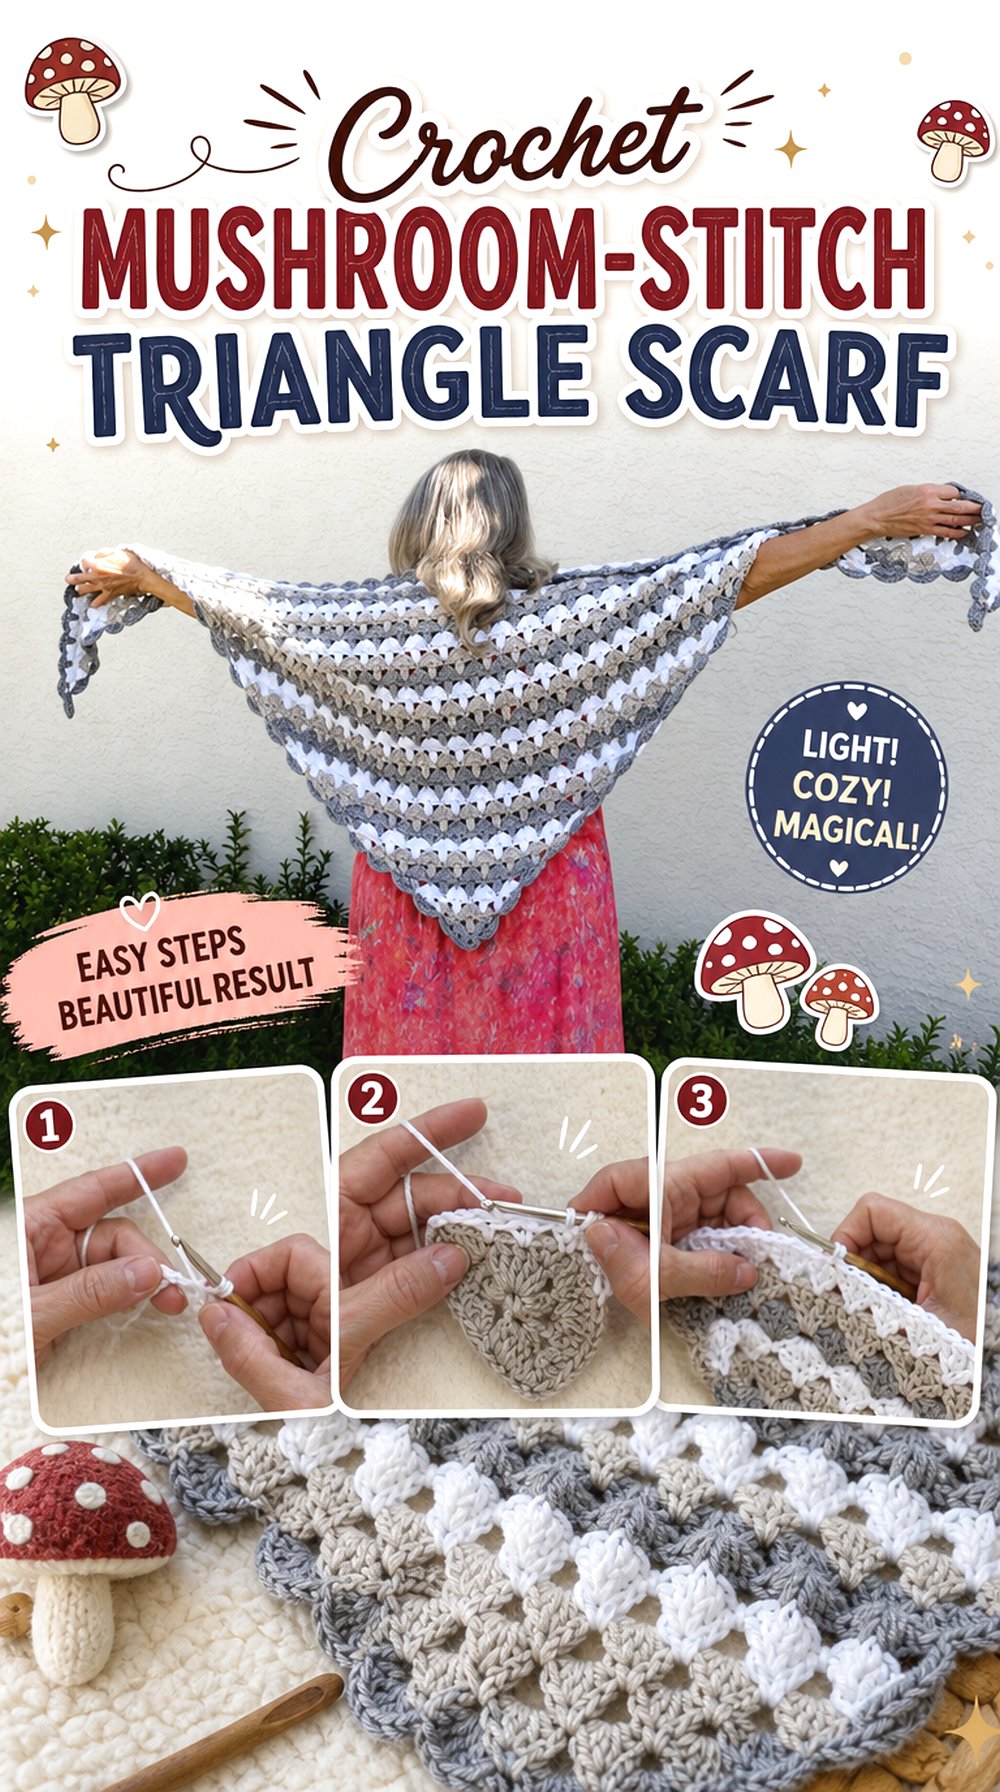
A triangle moves the mushroom pattern away from the traditional long rectangle and concentrates the design around a central point. Twisted Yarns uses a mushroom illusion stitch in a triangular shawl construction, with shells, clusters, and other crochet elements creating the fungi effect in the fabric itself.
Worn closer to the neck, the same triangular form can function as a statement scarf. It is particularly suited to readers who prefer mushroom imagery that emerges from the stitch pattern instead of attached decorations. The widening rows also offer a different visual rhythm from the repeated vertical run of a conventional scarf.
The Triangle Gives the Texture Room to Read
As the triangle expands, there is progressively more horizontal room for the mushroom texture. That can make the motif easier to appreciate than forcing a similar stitch into a very narrow strip. If you intend to wear the piece primarily as a scarf rather than a shoulder wrap, check the depth periodically. More fabric is not automatically better; an oversized center point may bunch beneath a coat or sit lower than you want.
Color Changes Affect Motif Separation
The tutorial uses color deliberately to help the mushroom illusion appear distinct. For an adaptation, compare adjacent shades in ordinary indoor light before beginning the full piece. Colors that look different in skeins can merge once crocheted together. If the mushroom effect relies on seeing boundaries between stitch groups, adequate value contrast can be more important than choosing a large number of colors.
The Center Point Should Hang Rather Than Buckle
Triangle scarves draw attention directly to the lowest point, so shaping problems are difficult to hide. As the piece grows, lay it flat without stretching and then drape it around your shoulders. If the center puckers, waves, or twists noticeably, address tension or gauge differences before adding substantial length. Finishing and blocking can refine fabric, but they should not be expected to correct a severe shape problem.
Creator: Twisted Yarns
5. Crochet Mushroom Cap Hooded Scarf
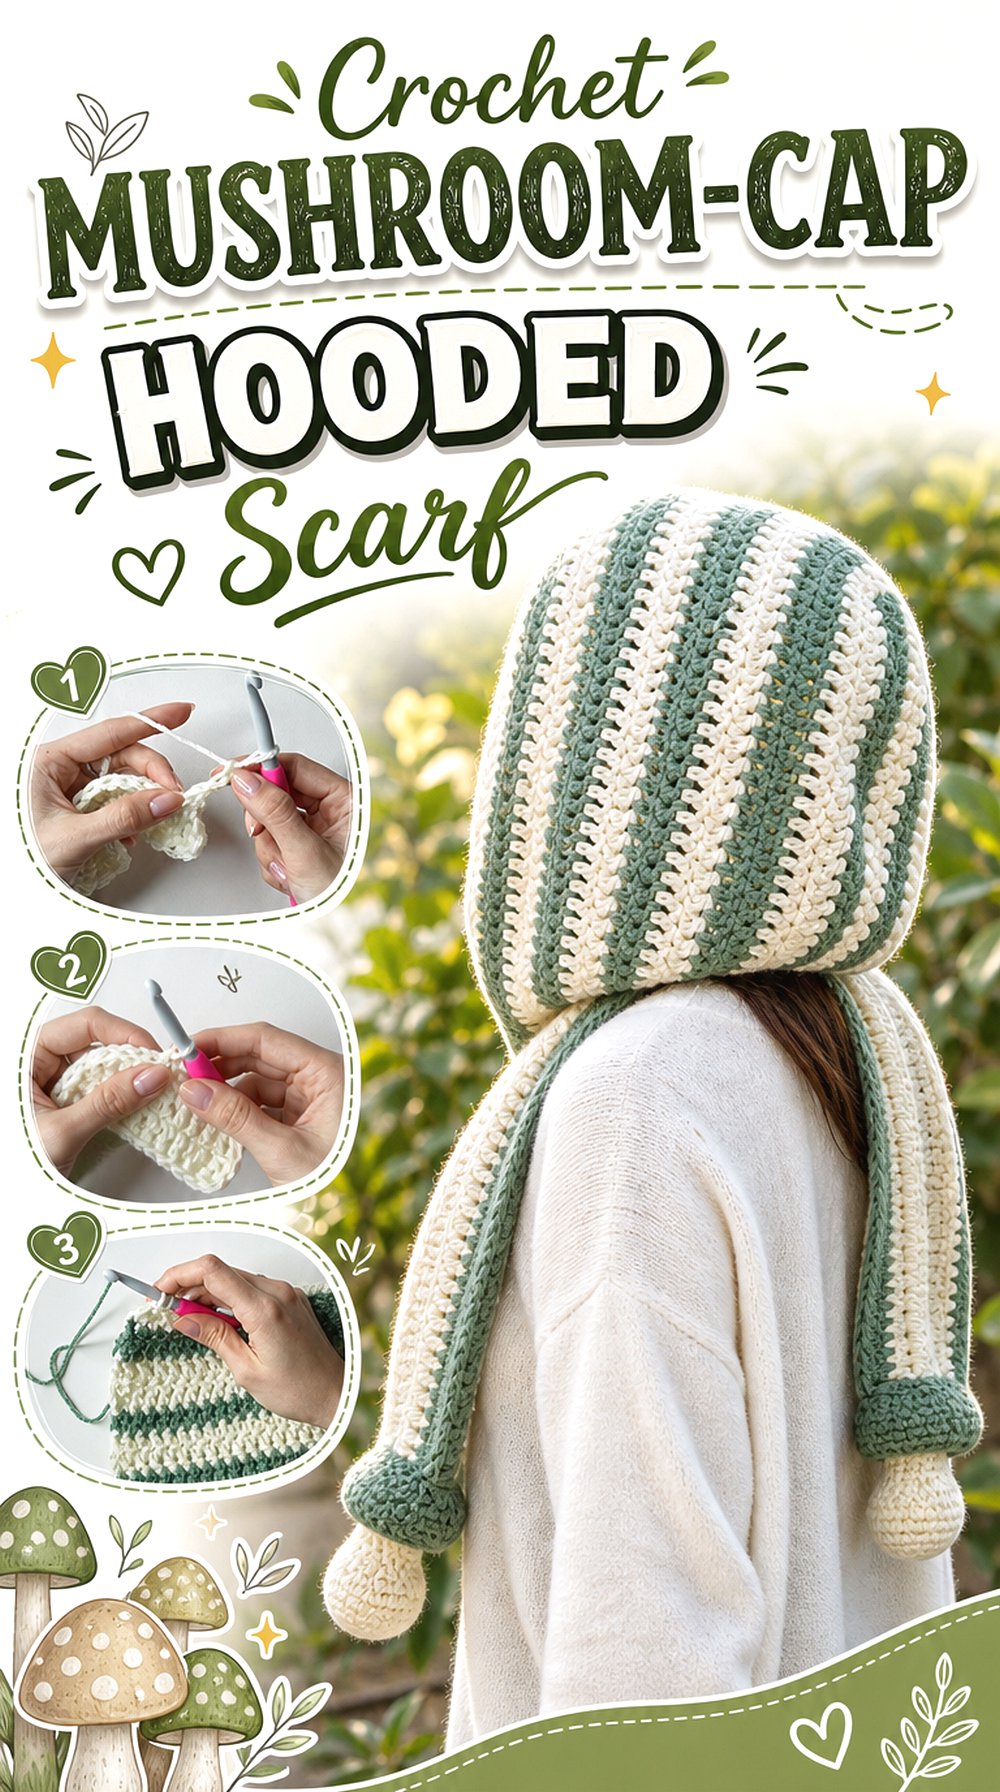
A hooded scarf allows the mushroom idea to affect the entire silhouette. One practical adaptation is to treat the hood as the mushroom cap, reserving spots or other mushroom markings for that upper section while keeping the long scarf ends quieter. This produces a much stronger theme than scattering small mushrooms evenly across the whole piece.
The VivCrochets source teaches a hooded scarf construction rather than a mushroom design. Its finished form combines a hood and scarf in one accessory, making it a useful base for this adaptation; you will need to plan the mushroom decoration separately.
Put the Cap Effect on the Hood, Not Everywhere
A mushroom cap is immediately associated with a rounded upper form, so the hood gives you a natural place to concentrate strong color and spots. Leaving the scarf tails more restrained keeps the costume-like idea wearable and prevents the design from becoming visually crowded. Before adding spots, put the finished hood on and mark the areas that are actually visible from the front and side.
Try the Hood On Before Adding Surface Motifs
A hood changes shape once it is on a head. A spot that looks centered on a flat piece may migrate toward a seam, fold underneath, or sit directly on the crown. Temporary placement with removable markers lets you evaluate the composition while worn. This matters more than achieving perfect flat symmetry because the scarf will primarily be seen in three dimensions.
Extra Layers Can Change How the Hood Falls
Surface motifs add local thickness and weight. Several dense appliqués near one side of a soft hood may make that side hang differently. Keep the distribution balanced and compare the hood before and after pinning the proposed decorations. If the change is noticeable before sewing, consider fewer or lighter motifs rather than assuming the final attachment will solve the issue.
Creator: VivCrochets
6. Crochet Spotted Mushroom Infinity Scarf
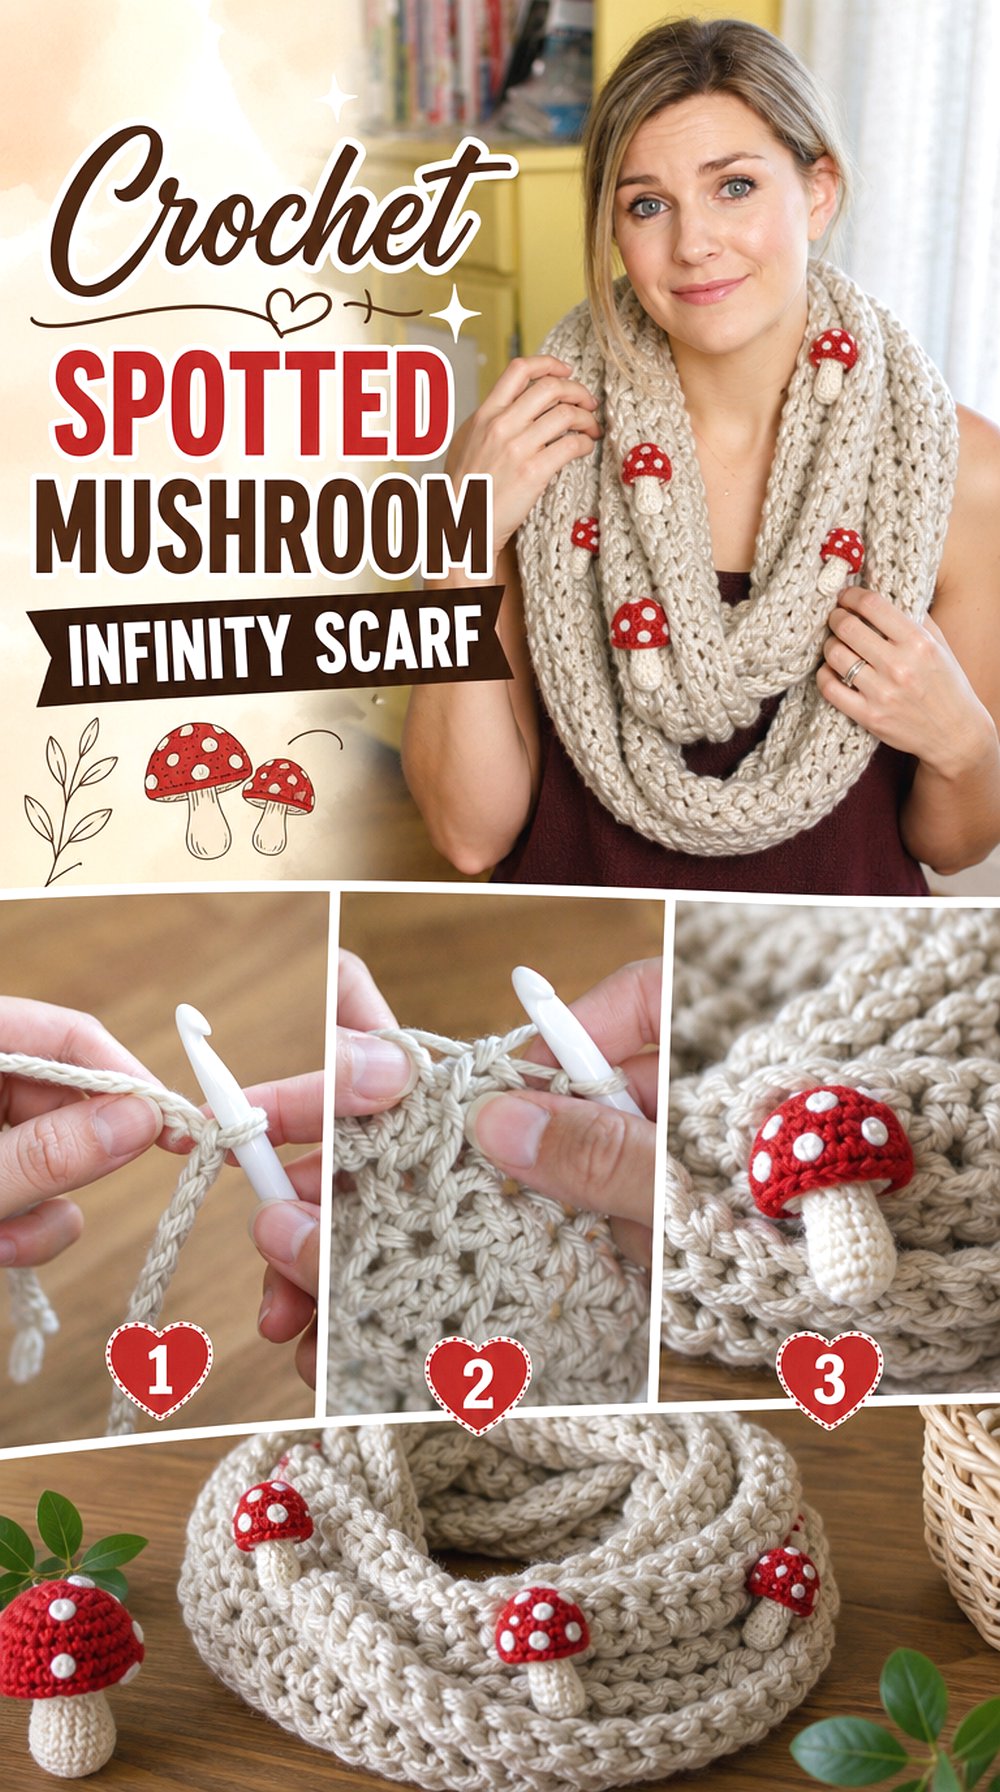
An infinity scarf removes loose ends and creates a continuous loop, making it useful when you want mushroom details distributed around the neck rather than hanging vertically. The Melanie Ham tutorial provides the infinity-scarf construction for this concept; it is not itself a mushroom tutorial.
For the adaptation, you could reserve one section for flat mushroom motifs or use a cap-inspired spotted color treatment around part of the loop. The important decision is not simply how many mushrooms to add, but where they will remain visible once the scarf is doubled or twisted around the neck.
An Infinity Loop Keeps Rotating as You Wear It
Unlike a flat rectangular scarf, an infinity loop rarely stays in one fixed orientation. That makes a single precisely centered mushroom less dependable. Before attaching directional details, wrap the undecorated loop several ways and identify the zones that repeatedly face outward. A loose distribution of motifs may work better than a composition that depends on one exact front.
Give the Statement Motif Space Between Wraps
If the scarf is long enough to wrap more than once, two layers may overlap directly over the chest. Place large decorations with that overlap in mind. A mushroom that is attractive on the flat loop can disappear entirely under the second wrap. Pinning paper or yarn markers in the intended locations is a low-effort way to test placement before committing.
Neck Softness Matters More Than Maximum Detail
Any raised mushroom elements positioned near the back or sides of the neck will be felt as well as seen. Keep the most dimensional features on outward-facing areas and reserve softer, flatter fabric for the contact zone. That trade-off lets the accessory stay comfortable without giving up the theme.
Creator: Melanie Ham
7. Crochet Mushroom Keyhole Scarf
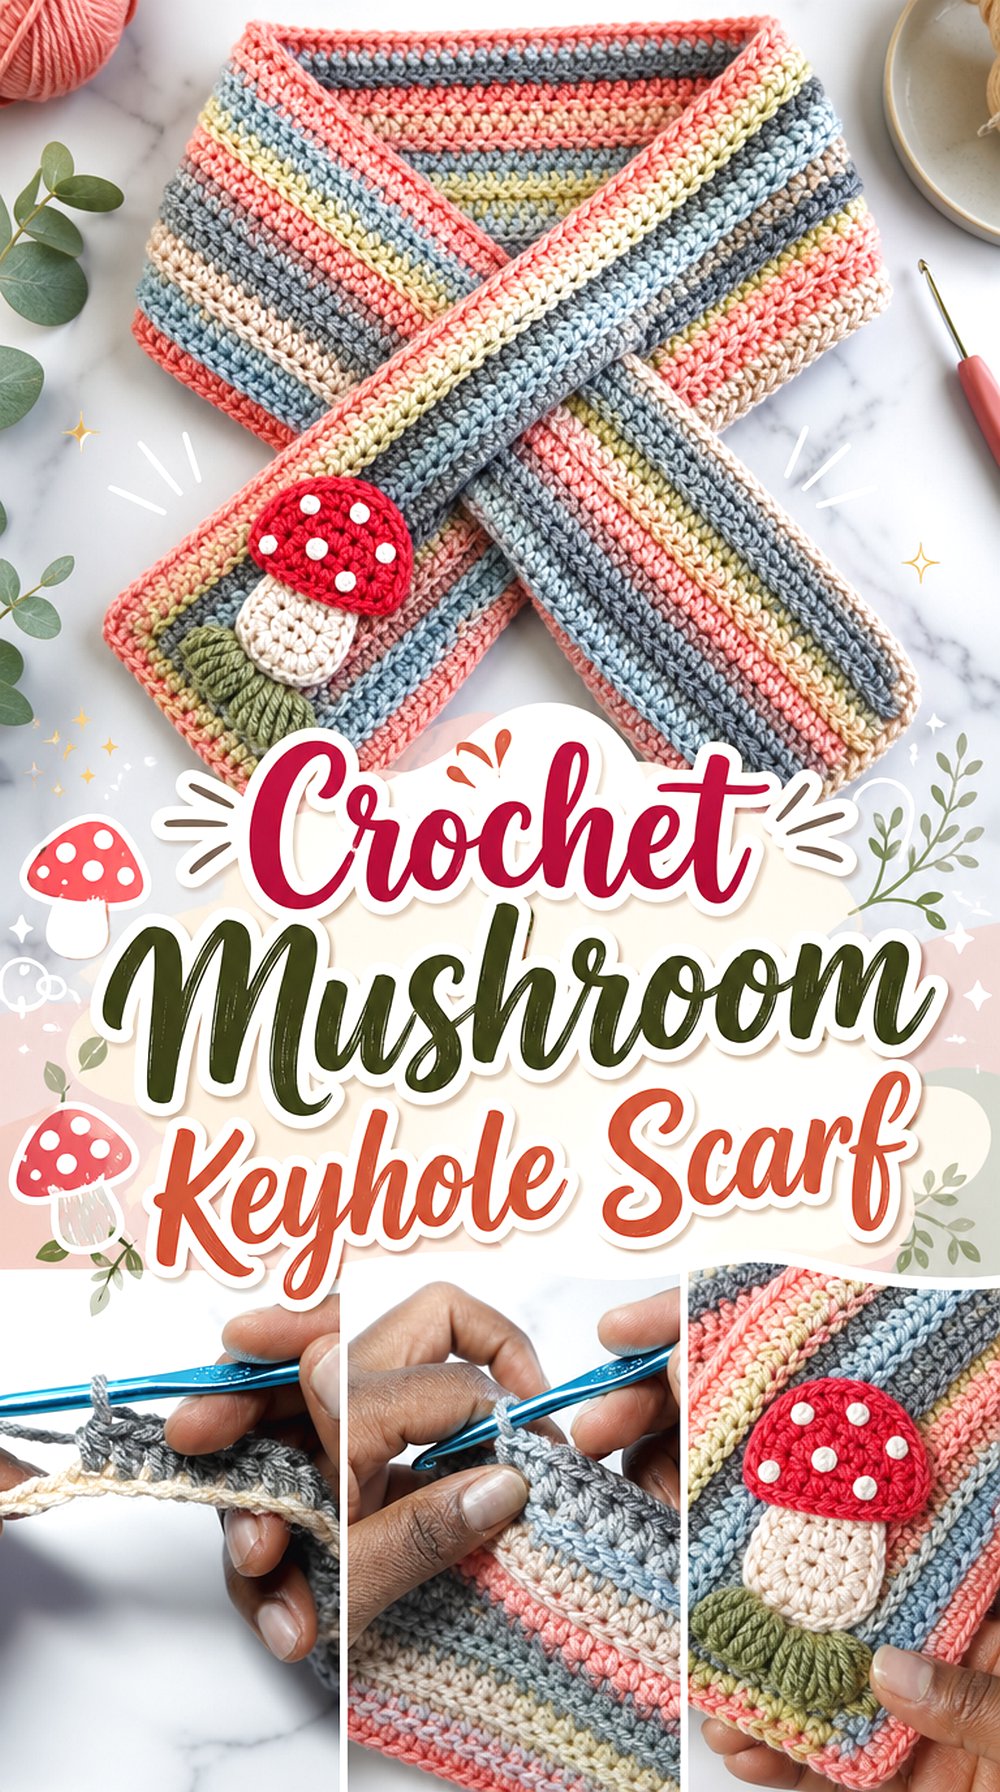
A keyhole scarf secures one end through an opening in the other, which gives a mushroom design a natural front focal area. Instead of decorating the entire length, you can concentrate the fungi near the visible end or around the lower front panel. That keeps the concept readable while preserving a relatively plain section around the back of the neck.
Atreyu Crochet’s tutorial teaches the keyhole scarf construction rather than a mushroom motif. The mushroom element is therefore an adaptation, but the closure makes this base particularly useful for deliberate motif placement.
The Keyhole Creates a Natural Focal Point
Because the scarf is pulled through itself, its final orientation is more controlled than an infinity loop. Put the undecorated scarf on first and identify which surface of the pull-through end faces forward. That is the strongest location for a single mushroom, a compact cluster, or a contrasting cap-inspired panel.
Keep Decoration Clear of the Opening
The keyhole must remain functional. Thick appliqués, fringe, or raised details positioned too close to the opening can make the scarf harder to pull through or can stretch the opening unevenly. Mark the complete working area of the keyhole before decorating, including the space needed for the thickest part of the opposite end to pass through comfortably.
Test the Pull-Through End at Finished Thickness
Any added mushroom motif increases local thickness. Temporarily pin the planned decoration in place and test the closure before sewing it permanently. If the embellished section catches, move the motif lower rather than enlarging the opening automatically. Preserving the original proportions of the keyhole may keep the scarf sitting more securely.
Creator: Atreyu Crochet
8. Crochet Pixel Mushroom C2C Scarf
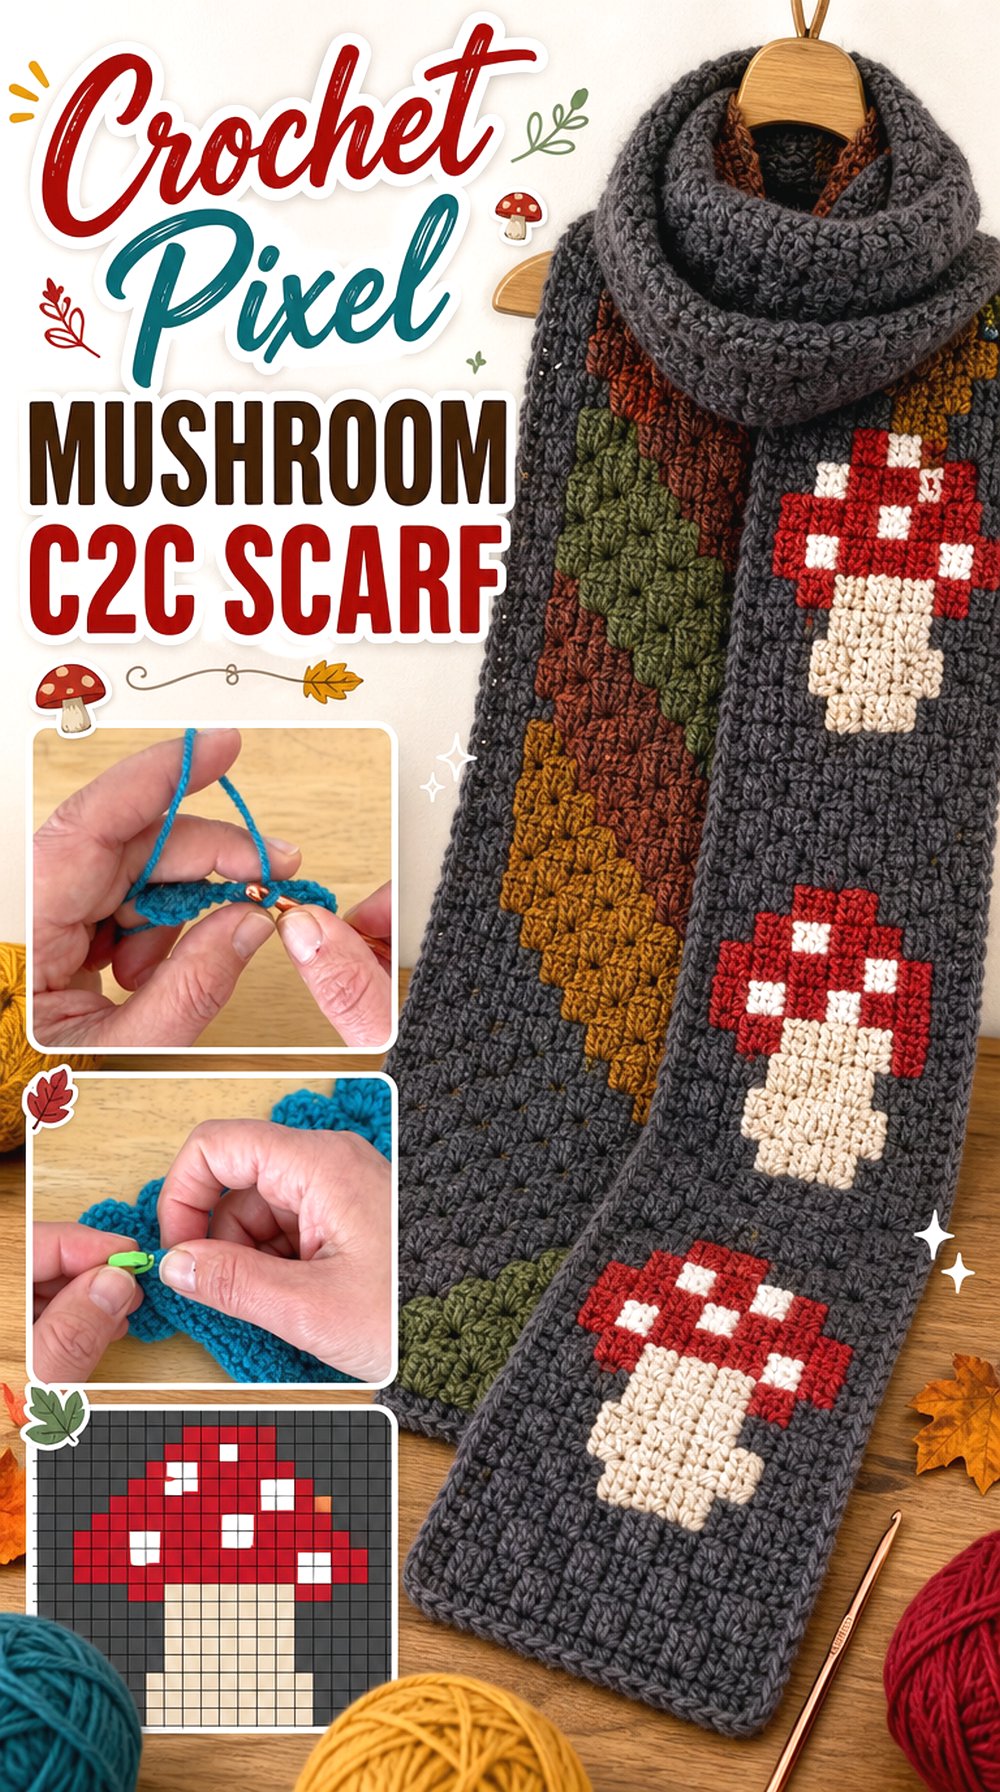
Corner-to-corner crochet is well suited to blocky graphics because the fabric grows through diagonal units that can be mapped visually. That makes a pixel-style mushroom a natural adaptation for a scarf with a more graphic, retro look. Cozy Loop Crochet’s tutorial teaches a complete C2C scarf and shows the diagonal construction, increase, decrease, and finished scarf.
The source does not supply a mushroom graph. Choose or design that graphic separately, and confirm that its proportions are compatible with the scarf width before starting the colorwork.
A Pixel Mushroom Needs Enough Grid Width to Read
Very detailed pixel artwork can fail on a narrow scarf because there are too few horizontal units to distinguish the cap, stem, and surrounding negative space. Start by deciding the usable scarf width in C2C blocks, then select artwork that fits that grid. Enlarging a graph after starting can alter both width and overall scarf proportions.
Frequent Color Changes Can Add Bulk
Multiple yarn changes introduce ends or carried sections that may make a narrow accessory thicker in isolated areas. A simpler mushroom graphic with fewer tiny color islands can be cleaner than a highly detailed image translated directly from pixel art. Inspect the reverse as you work because scarf ends flip more often than blankets or wall pieces.
Plan the Full Graphic Before the Long Run
C2C is directional, so determine whether you want one large mushroom, mirrored mushrooms at both ends, or a repeating field before beginning the main scarf length. This is also the point to decide what should happen when the accessory is wrapped. A mushroom positioned precisely in the center of a flat scarf may end up at the back of the neck when worn.
Creator: Cozy Loop Crochet
9. Crochet Mushroom Mosaic Scarf
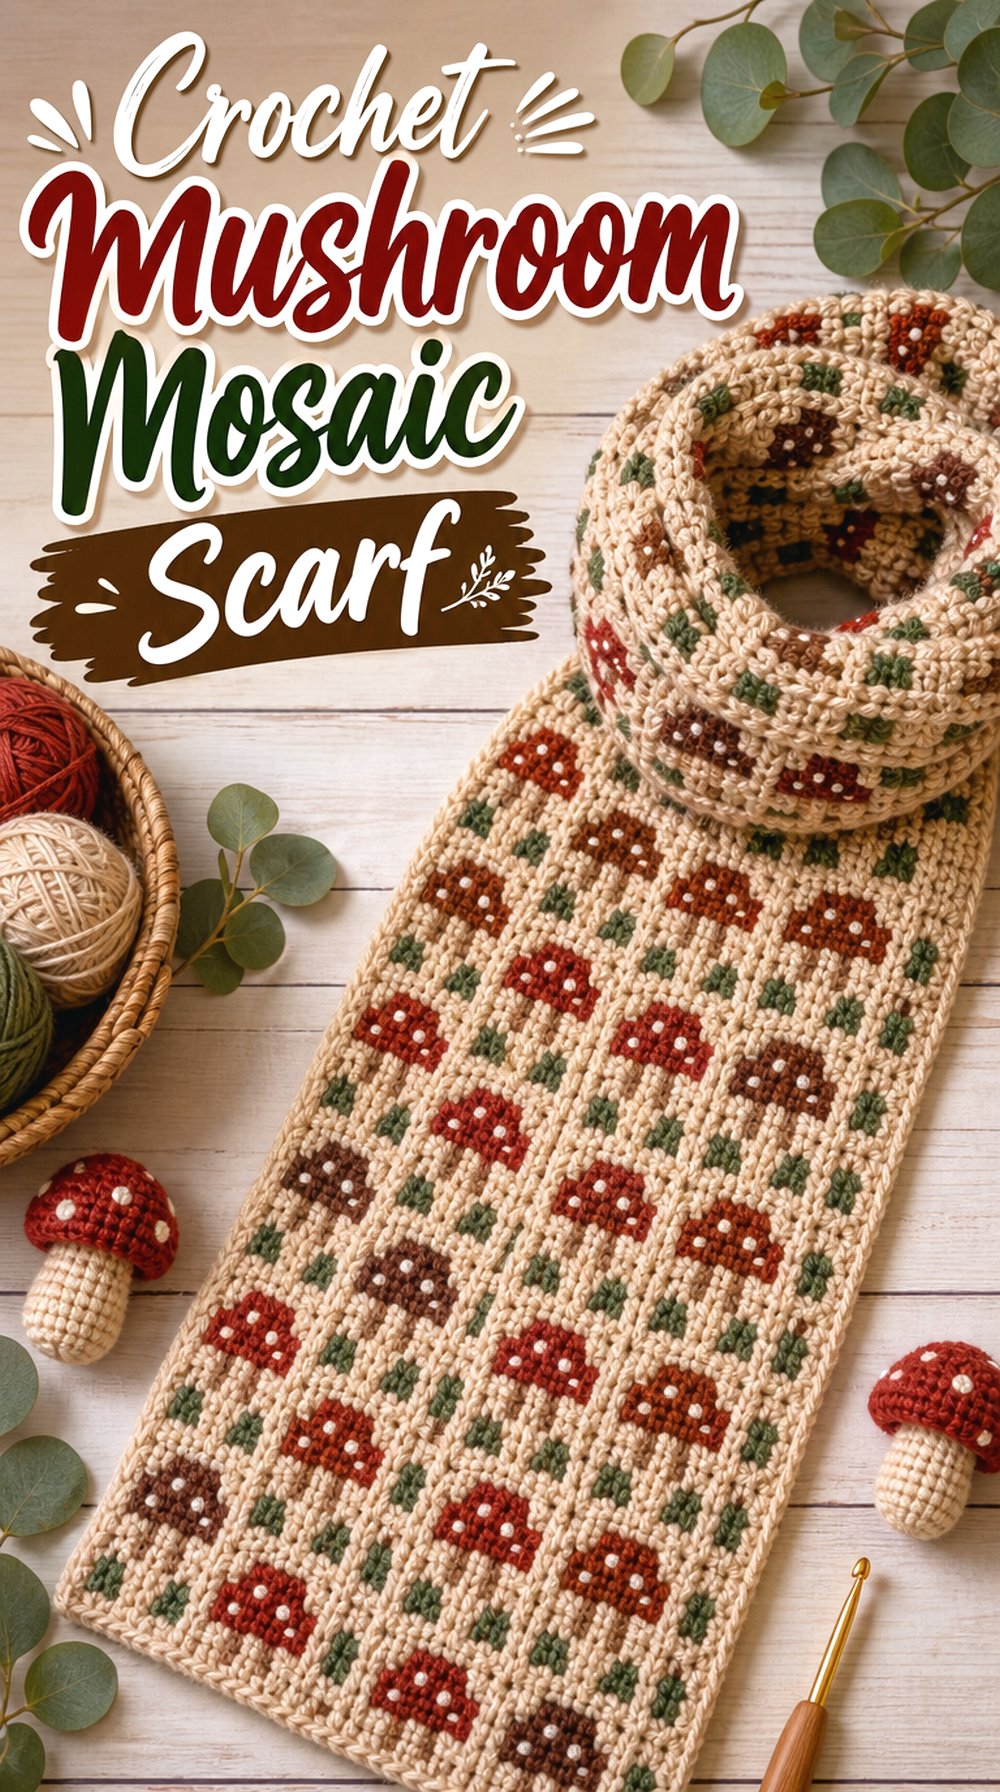
Mosaic crochet offers a different graphic route: rather than building a picture from chunky diagonal pixels, contrasting stitches can create a flatter geometric pattern across a rectangular scarf. A mushroom-compatible mosaic chart could turn caps and stems into a more abstract repeated border or allover design.
The EyeLoveKnots tutorial demonstrates the Through the Window scarf and inset mosaic technique, not a mushroom chart. Treat it as the construction and technique reference, then select mushroom imagery that genuinely works with your chosen mosaic method.
Mosaic Fabric Can Feel Denser Than Openwork
Overlapping stitches and multiple colors can produce a more substantial fabric than a lacy scarf. That can be welcome for a winter accessory, but you should sample the technique before assuming a long version will have the same movement as a simple rectangle. Bend and fold the swatch rather than judging only its flat appearance.
Contrast Determines Whether the Mushroom Reads
A mushroom motif loses its purpose if the foreground and background merge visually. Photograph a small color sample in grayscale or simply squint at it from a few feet away; if the two tones appear almost identical, the graphic may be harder to read. Strong value separation can be more useful than choosing two colors merely because they look attractive beside each other in skeins.
A Border Can Tidy the Vertical Edges
The Through the Window scarf uses a border around the finished fabric, and the source also discusses carried yarn along the side. For a mushroom adaptation with repeated color changes, think about edge treatment before beginning. A planned border can frame the graphic and conceal some side-edge transitions, but it will also increase the final width slightly.
Creator: Yarn Crafts | EyeLoveKnots | Cre8tion Crochet
10. Crochet Mushroom Granny Square Scarf
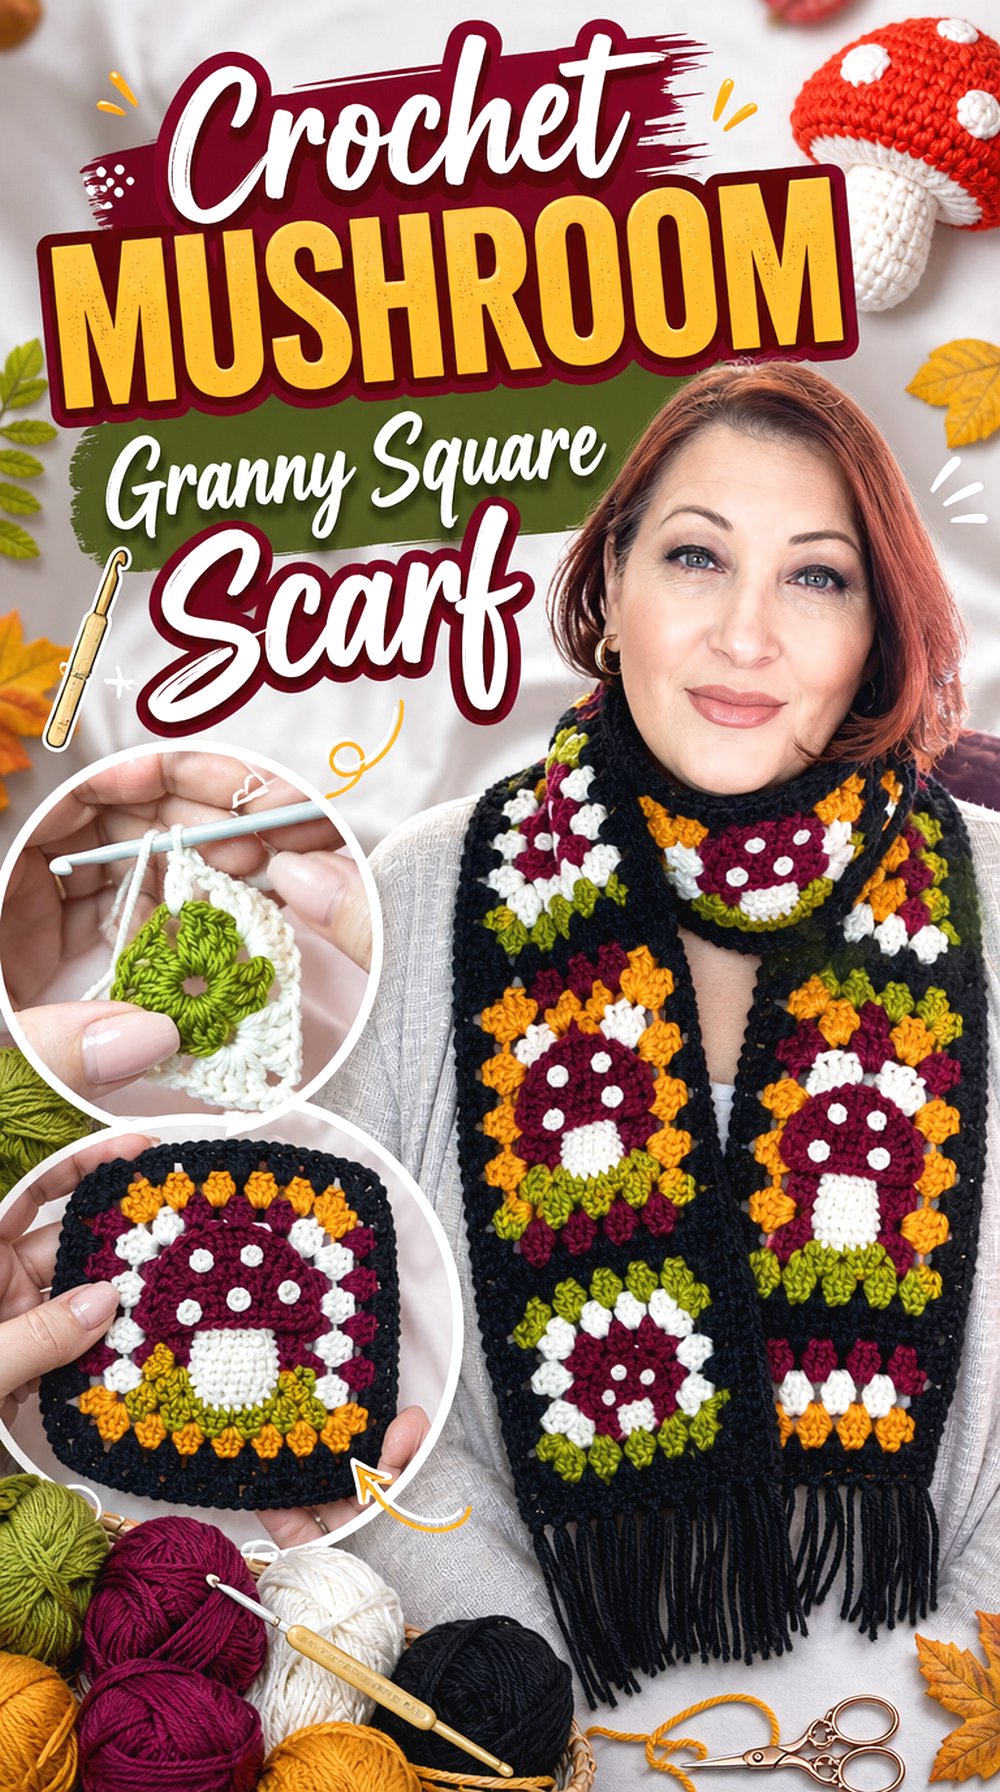
A granny-square scarf makes mushroom placement modular. Instead of forcing the same motif continuously across a rectangle, each mushroom can occupy its own square, with plain or simpler filler squares controlling how busy the final accessory feels. The approach is especially useful if you want repeated upright mushrooms with clear borders around them.
OMGrannySquare’s tutorial teaches a finished scarf built from traditional granny squares, not mushroom squares. Use it for the scarf layout and joining concept, then substitute a compatible mushroom-square design only after comparing finished dimensions.
Blocked Square Size Controls the Entire Scarf
Do not plan the scarf from an unfinished mushroom square. Complete and block one representative motif first, then measure it. A small difference repeated across many joined squares can noticeably alter total length. If you intend to alternate mushroom and plain squares, both designs should reach compatible blocked dimensions without one needing to be stretched aggressively during joining.
Orientation Matters Once Mushrooms Have a Top
Traditional granny squares can often be rotated without anyone noticing. Mushroom squares are directional. Lay the complete scarf arrangement on a flat surface before joining and decide whether every mushroom should face the same end or whether the scarf should reverse direction near the center so motifs appear upright from both hanging ends.
The Join Becomes Part of the Finished Graphic
A highly contrasting join creates a visible grid around every mushroom, while a quieter join lets individual squares merge into a longer strip. Neither approach is automatically better. Compare a couple of joined sample motifs before finishing the full scarf, especially if the mushroom square already includes a strong border. Too many competing outlines can make a relatively small motif feel cramped.
Creator: OMGrannySquare
11. Crochet Open Mesh Mushroom Appliqué Scarf
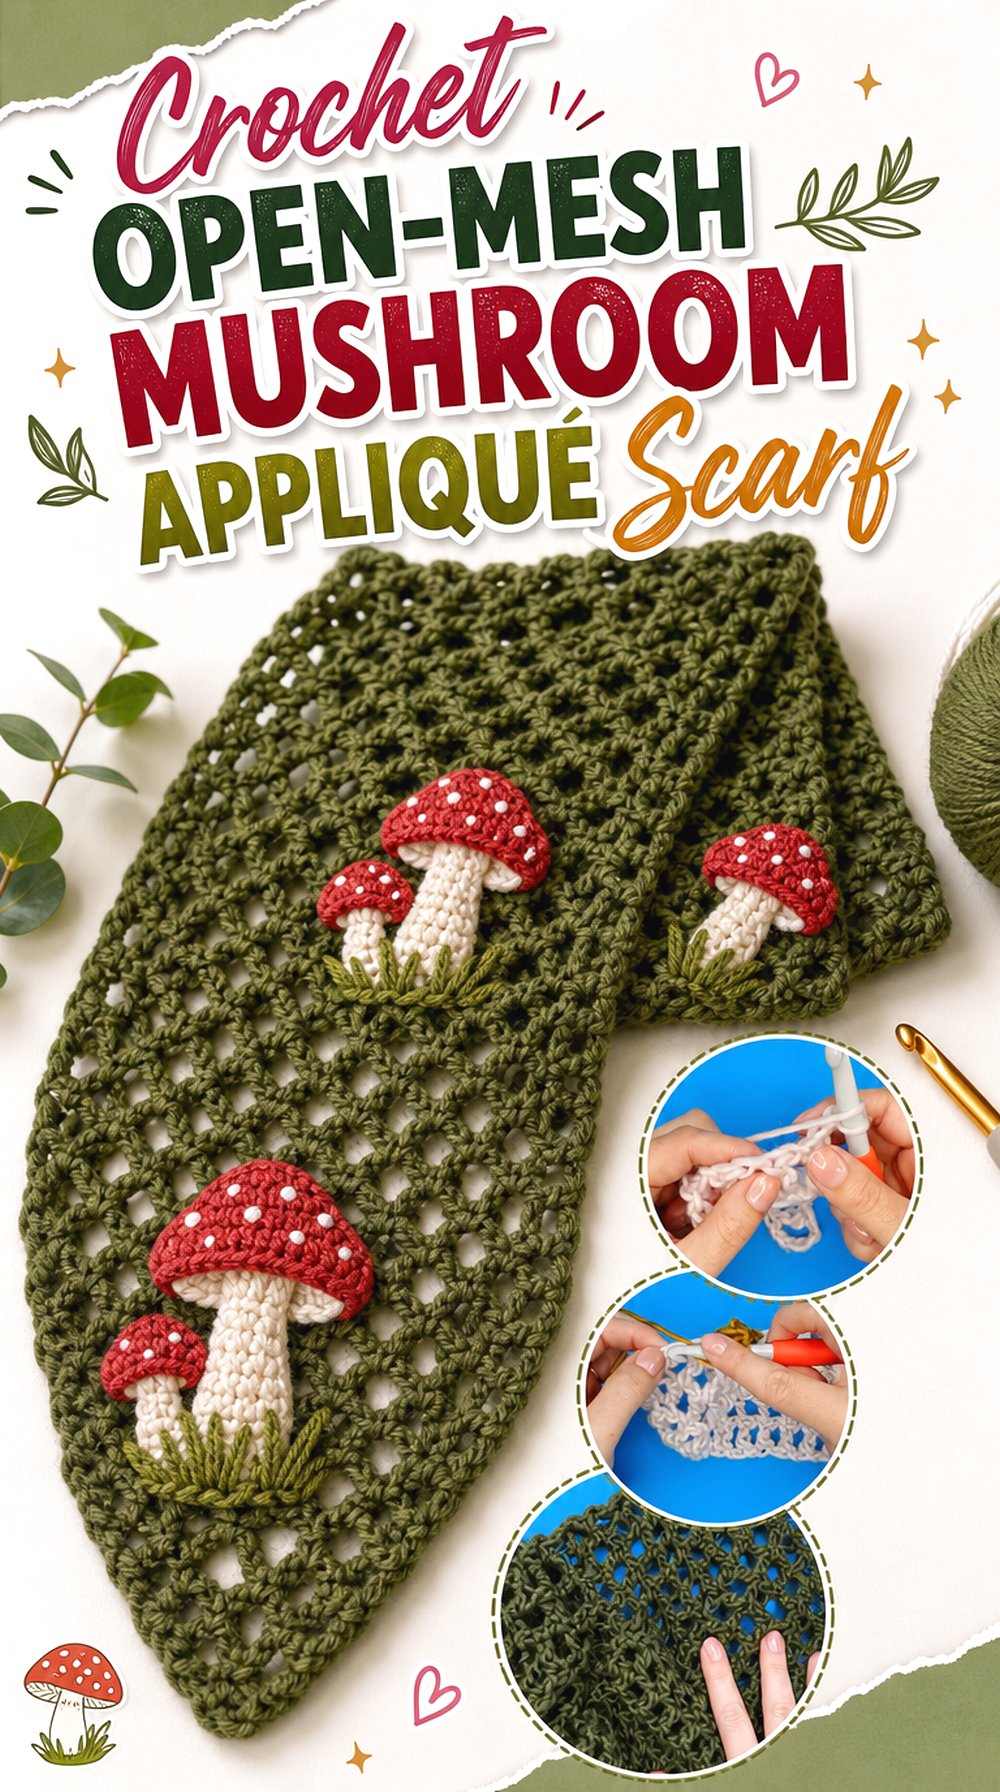
An open-mesh scarf creates strong contrast between airy fabric and solid mushroom appliqués. Instead of covering the entire accessory, keep the mushrooms as deliberate accents—perhaps a cluster toward each end—so the mesh still has room to show. Hooked by Robin’s tutorial provides the chunky mesh scarf base and demonstrates its finished form; the source does not include mushroom motifs.
This concept is noticeably different from the integrated Mushroom Forest stitch because the mushroom shapes remain separate visual objects placed over a more open background.
Open Mesh Does Not Support Every Appliqué Equally
A dense appliqué needs enough underlying fabric for secure attachment. On large mesh openings, some edges may fall over empty space rather than stitches. Pin the finished mushroom to the scarf and check where attachment points actually land. If much of the motif floats unsupported, reduce its scale, change its position, or choose a denser section rather than pulling the mesh together to force a connection.
End Clusters Reduce Distortion Through the Neck Area
Keeping most appliqués toward the lower scarf ends preserves a softer, uninterrupted section around the neck. It also puts the fungi where they are more likely to be seen instead of buried under a coat collar. Try the plain scarf on and mark where the fabric stops wrapping tightly before deciding the decoration zone.
Match Motif Weight to the Background Fabric
A substantial mushroom can pull a very open scarf downward at one point. Temporarily attach the proposed motif and hang the scarf for a while. If the fabric stretches noticeably around it, a smaller or flatter mushroom may produce a cleaner result. This checkpoint is more useful than judging both components separately on a worktable.
Creator: Hooked by Robin
12. Crochet Skinny Mushroom Accent Scarf
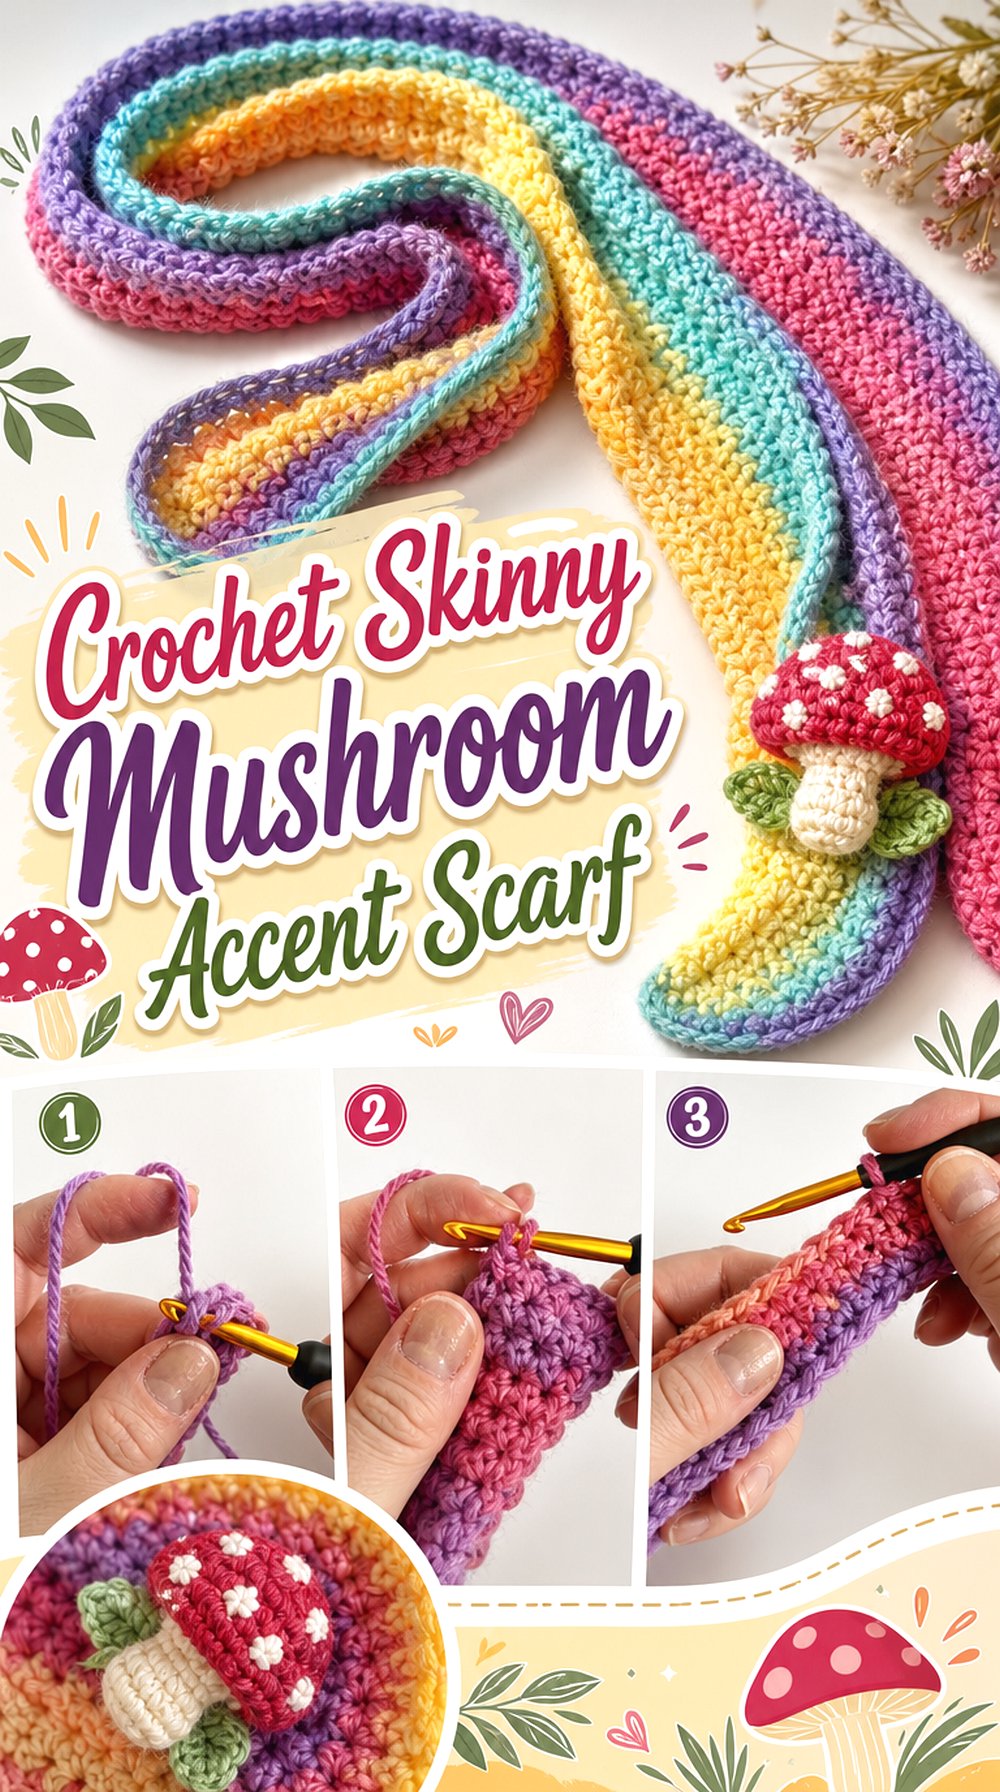
A skinny scarf asks for a different mushroom strategy because there is very little width for a full scene or detailed cap-and-stem repeat. Small mushroom accents near the pointed or hanging ends can preserve the narrow silhouette while still making the theme obvious. Another option is to let mushroom-inspired colors carry most of the center and save the actual fungi for one or two focal areas.
Krampolinka’s tutorial demonstrates a long, narrow scarf rather than a mushroom design. That makes it a useful base when you want the trendier skinny proportion but prefer to add your own small mushroom treatment.
Narrow Width Rewards Simple, High-Contrast Details
On a very slim scarf, a mushroom with too many small elements can become visually muddy. Compare the proposed motif width with the finished scarf rather than with the yarn skein. If almost no background remains around the mushroom, simplify or reduce it so the cap and stem retain a clear outline.
End Motifs Keep the Center Comfortable
The middle of a skinny scarf may be wrapped several times or tied closely around the neck. Flat, undecorated fabric moves more easily in this area. Concentrating appliqués or dimensional details at the free ends keeps them visible and reduces the chance that they become trapped inside a knot.
Long Edges Become a Major Part of the Look
Because there is relatively little center fabric, the two long edges are always prominent. Uneven tension or a distorted edge can compete with tiny mushroom details more than it would on a broad scarf. Lay the scarf flat periodically and check that both edges remain balanced before spending time on the decorative finishing.
Creator: Krampolinka Crochet Designer and Free Patterns
13. Crochet Buttoned Mushroom Scarflette
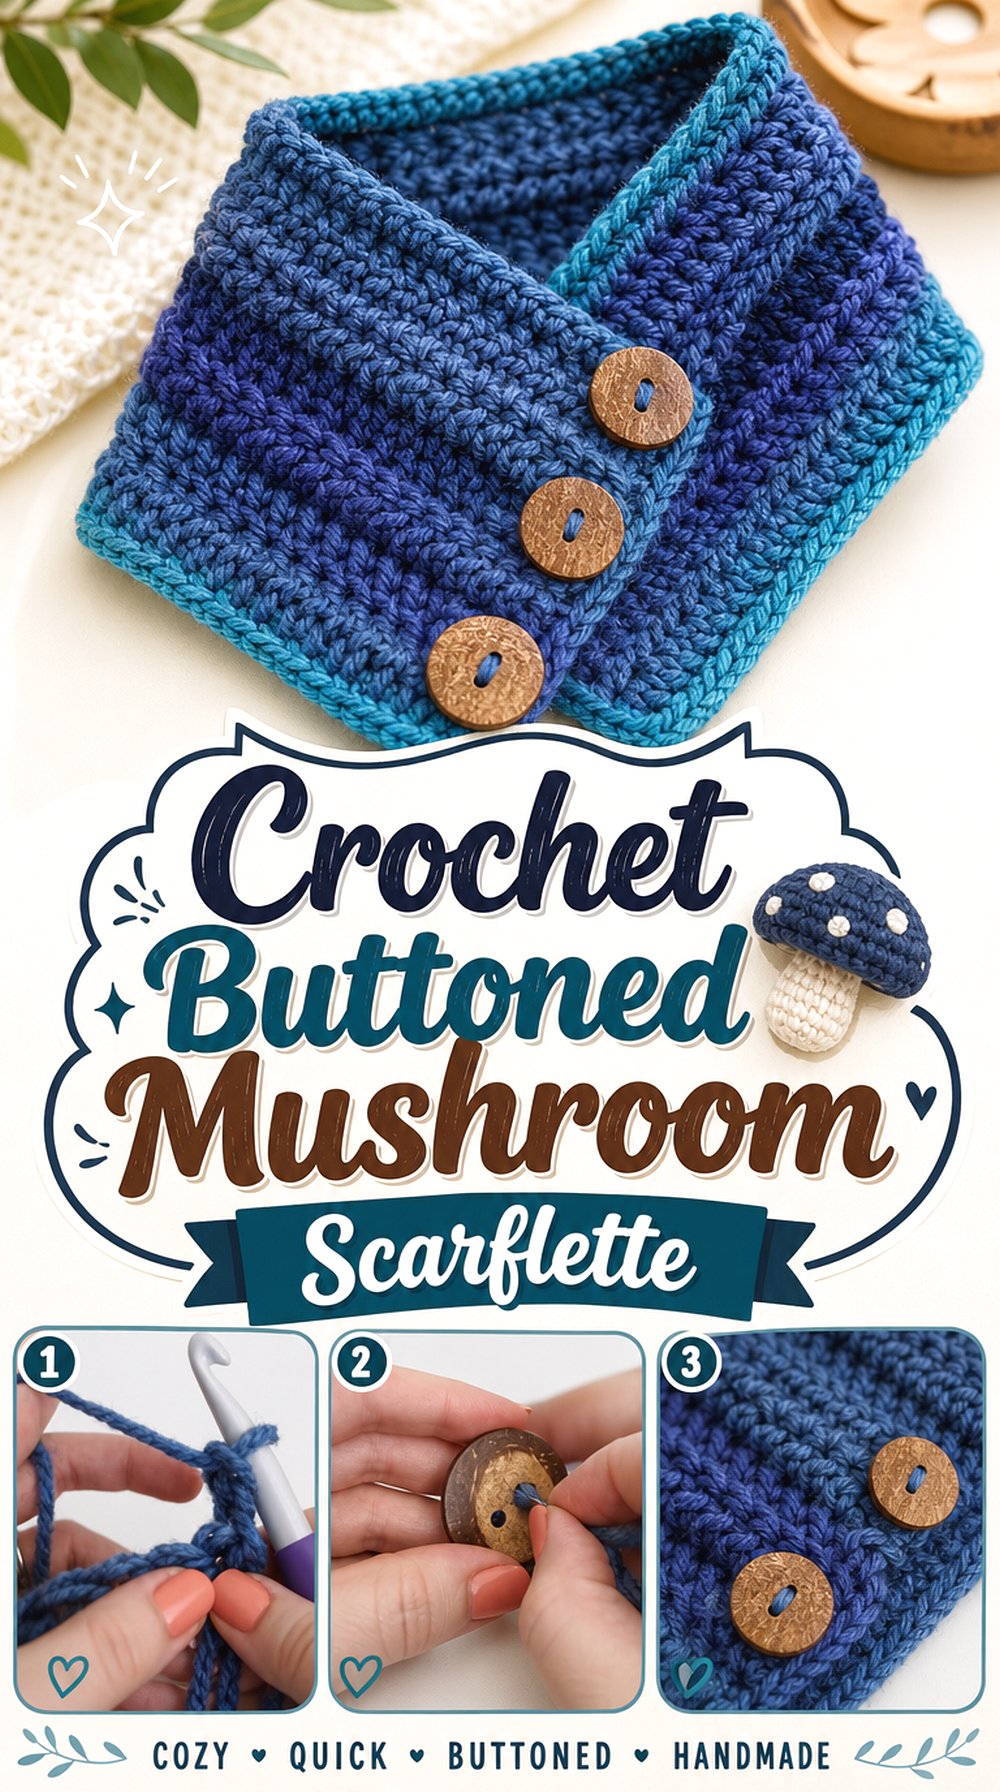
A buttoned scarflette keeps the accessory close to the neck and creates a defined overlapping front panel. That front overlap is a natural canvas for a mushroom appliqué or small group of fungi, while standard functional buttons handle the closure. Amanda Crochets’ tutorial demonstrates a three-button cowl/scarf construction rather than mushroom decoration.
This option is useful when you prefer a compact winter neck warmer to long hanging scarf ends. The closure also gives the finished piece a stable orientation, so directional mushrooms are easier to position than they are on a rotating infinity loop.
Keep Mushroom Details Away From Working Button Areas
Buttons and their corresponding openings need room to move through the fabric cleanly. Do not place thick stems, spots, or appliqué edges directly across the working closure zone. Button the finished plain scarflette first, mark the portion that does not flex during fastening, and position decorative mushrooms there.
Closure Placement Controls the Visible Front Panel
A buttoned scarf can be styled in more than one overlapping arrangement. Decide which configuration you actually expect to use before attaching a directional mushroom. A motif centered perfectly in one arrangement may shift to the side in another. If you want multiple styling options, a small scattered composition can be more forgiving than one large central cap.
Bulky Texture Can Compete With Tiny Mushrooms
The source cowl uses a substantial ribbed-looking fabric and large buttons. If your mushroom details are very small, they may disappear against that texture. Either increase the visual simplicity of the motif or place it on a relatively uninterrupted patch of fabric. Strong contrast and clean silhouette usually matter more than adding additional spots or embellishments.
Creator: Amanda Crochets
14. Crochet Mushroom Bow Tie Scarf
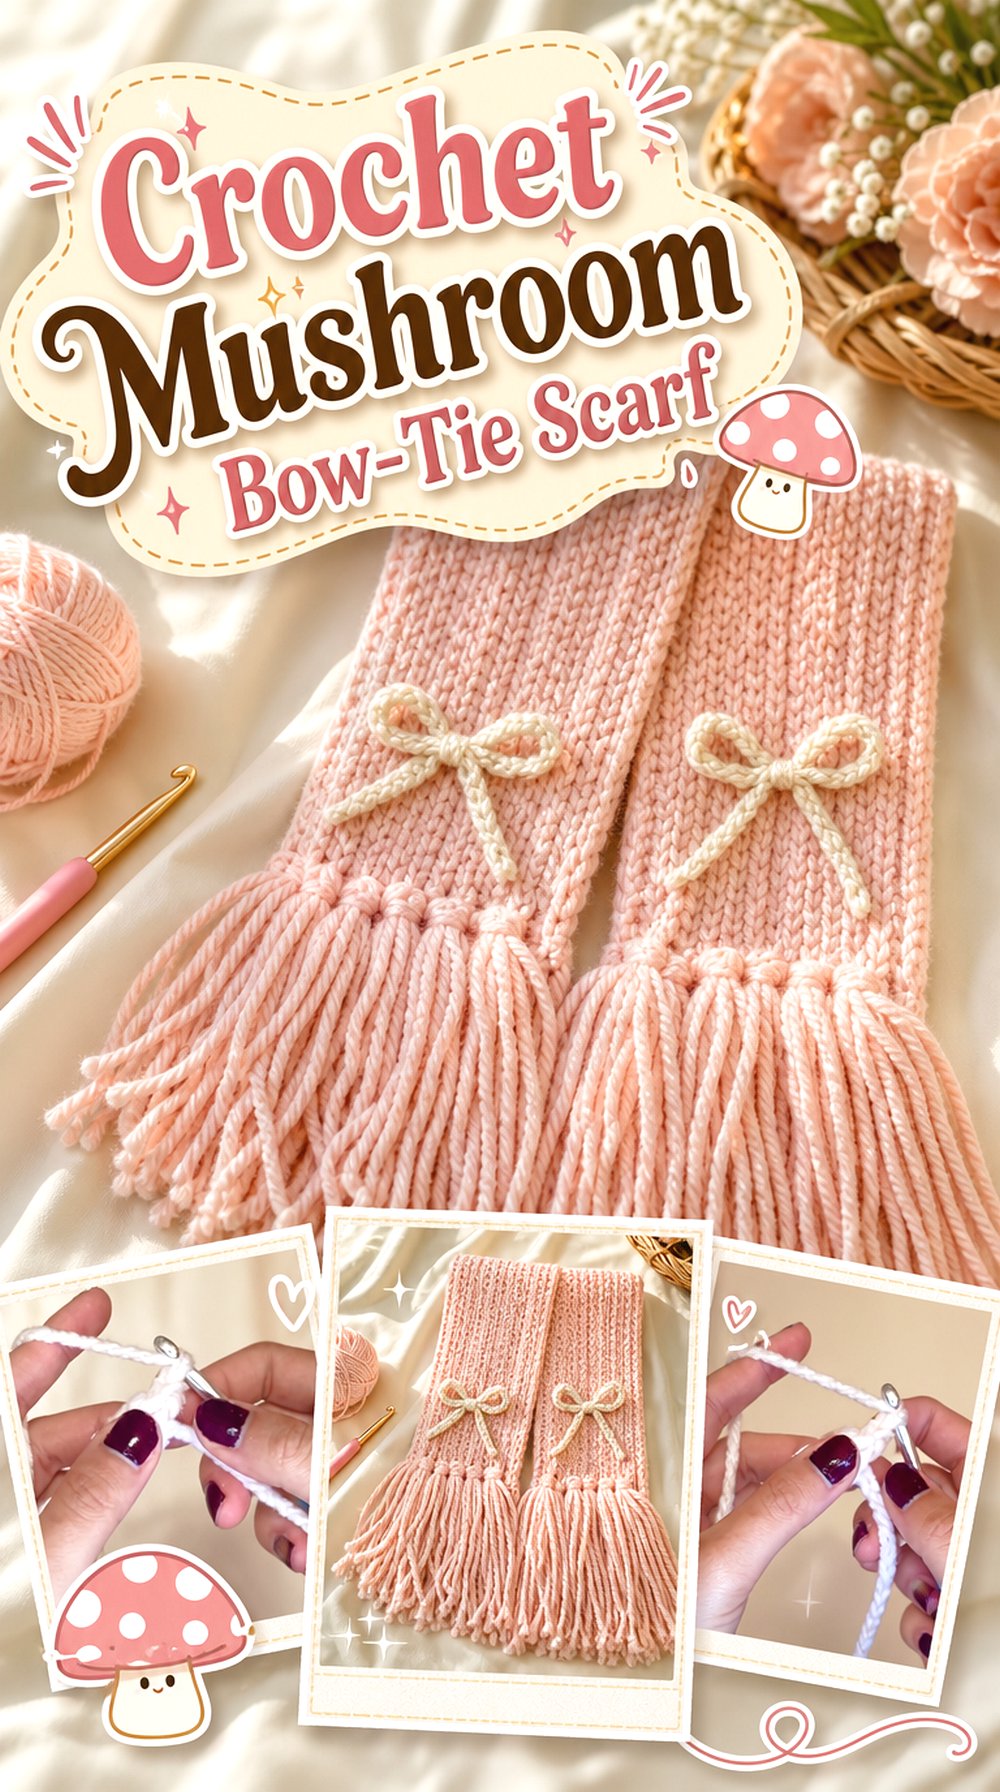
This final idea leans into the whimsical side of mushroom crochet. A bow-accented scarf already has a decorative, playful character, so small fungi placed near the scarf ends can feel intentional rather than added as an afterthought. The center can remain relatively simple for comfortable wrapping, with bows and mushroom motifs sharing the visual attention lower down.
The gias.yarniverse tutorial teaches the bow scarf itself, including the finished scarf and bow accents; it does not teach mushroom motifs. Use the scarf as the structural starting point and design the mushroom embellishment separately.
Decorative Ends Work Better Than an Overloaded Center
Bows and mushrooms are both recognizable shapes. Repeating both across the entire scarf can quickly become busy. Keeping the main decoration toward the hanging ends lets the scarf retain a clean neck section while giving the eye one obvious area of interest. Arrange all proposed embellishments together before attaching any of them permanently.
Keep the Neck Section Flat Under a Knot
A bow scarf may be tied or wrapped in ways that put pressure on the center fabric. Dimensional mushroom caps in that zone can create uncomfortable lumps and may become hidden anyway. Mark the portion that forms the knot or primary wrap, then keep raised decorations outside it. Flat color changes are a better way to carry the mushroom palette through the middle.
Balance Bows and Mushrooms So Neither Disappears
If both elements use similar size, color, and contrast, they can visually merge. Decide whether the mushrooms or bows should be dominant. For a stronger fungi theme, keep the bows quieter and let the mushroom caps provide the highest contrast. For a more subtle interpretation, reverse that relationship and use the mushrooms as small secondary details.
Creator: gias.yarniverse
Which Mushroom Scarf Style Should You Choose?
The strongest choice depends on how literally you want the mushrooms built into the project.
| If you want… | Good directions to compare | Main planning issue |
|---|---|---|
| Mushrooms built directly into the fabric | Mushroom Forest Stitch or Mushroom-Stitch Triangle Scarf | Stitch definition and drape |
| A clearly shaped fungi statement | Enoki Cluster Scarf | Structure and recognizable silhouette |
| Removable-looking surface emphasis | Bandana, Mesh Scarf, Skinny Scarf, or Bow-Tie Scarf | Appliqué scale and attachment |
| A graphic mushroom image | C2C or Mosaic Scarf | Grid size, contrast, and reverse side |
| Modular repeated mushrooms | Granny Square Scarf | Blocked square dimensions and orientation |
| A secure neck accessory | Keyhole, Infinity, or Buttoned Scarflette | Motif position after fastening |
| The mushroom shape in the whole silhouette | Mushroom-Cap Hooded Scarf | Hood fit and balanced decoration |
A motif-led tutorial is the most direct route when you want the mushroom itself to determine the crochet fabric. Construction-led adaptations provide more control over how the finished scarf fits, fastens, or wraps, but they require separate planning for the fungi.
Conclusion
The most useful way to choose among these 14 crochet mushroom scarf ideas is to decide what should carry the theme. The Mushroom Forest and mushroom-stitch triangle options integrate fungi into the fabric, while the enoki scarf changes the silhouette itself. C2C, mosaic, and granny-square versions suit a more graphic approach, and the hooded, keyhole, infinity, mesh, skinny, buttoned, and bow styles give you specific ways to adapt the theme around fit and function.
Before adding mushrooms to any construction-led tutorial, finish a sample or the basic scarf shape and check drape, visible area, and motif scale. Use the original tutorials near each idea for their exact construction details rather than assuming that one scarf’s measurements or materials transfer directly to another.
Frequently Asked Questions
Can I turn any crochet scarf tutorial into a mushroom scarf?
Many scarf constructions can support a mushroom adaptation, but the motif must suit the available space and fabric. A broad rectangle can carry a large graph or repeated squares, while a skinny scarf usually needs smaller accents. Open mesh may not offer enough attachment points for a heavy appliqué, and a keyhole scarf needs clear space around its opening. Treat the basic scarf and mushroom motif as two compatible design components rather than assuming they can always be combined unchanged.
What is the clearest mushroom method for a narrow scarf?
Small, simple motifs near the hanging ends are usually easier to read than a detailed allover mushroom scene squeezed into a narrow strip. Strong contrast between cap, stem, and background also helps. If you want a graphic mushroom spanning the full width, first establish the number of usable stitches, squares, or C2C units across the scarf and then choose artwork simple enough to fit that scale.
How can I stop mushroom appliqués from pulling a scarf out of shape?
Start by comparing the weight and density of the appliqué with the scarf fabric. Pin the completed motif temporarily and hang the scarf vertically before sewing it down. If the surrounding fabric stretches or sags noticeably, use a smaller or flatter motif, move it to a more stable area, or choose a denser scarf base. Avoid tightening attachment stitches enough to gather the background fabric.
Should mushrooms face the same direction on both scarf ends?
Not necessarily. If every mushroom faces the same direction when the scarf is laid flat, one end may appear upside down when both ends hang over the chest. Mirroring the motif direction around the center can make both ends appear upright when worn. The better choice depends on the scarf shape and how you normally wrap it, so test the layout on your body before joining directional motifs permanently.
Will mosaic or C2C mushroom scarves feel stiffer than lacy versions?
They can produce a more substantial fabric because graphic colorwork often contains denser stitch structures or additional yarn transitions, but the final behavior also depends on yarn, hook, tension, width, and the specific technique. Make a realistic sample and fold it the way a scarf will be worn. That gives better information than assuming a technique will be flexible or stiff based on appearance alone.
How do I know whether mushroom granny squares will work for a scarf?
Finish and block one mushroom square first. Its actual blocked dimensions determine how wide a one-square scarf will be and how long a repeated sequence may become. If you plan to combine mushroom squares with plain fillers, make one of each and compare their blocked size before joining. Directional motifs also need a layout check so the mushrooms face intentionally once the scarf hangs from the neck.