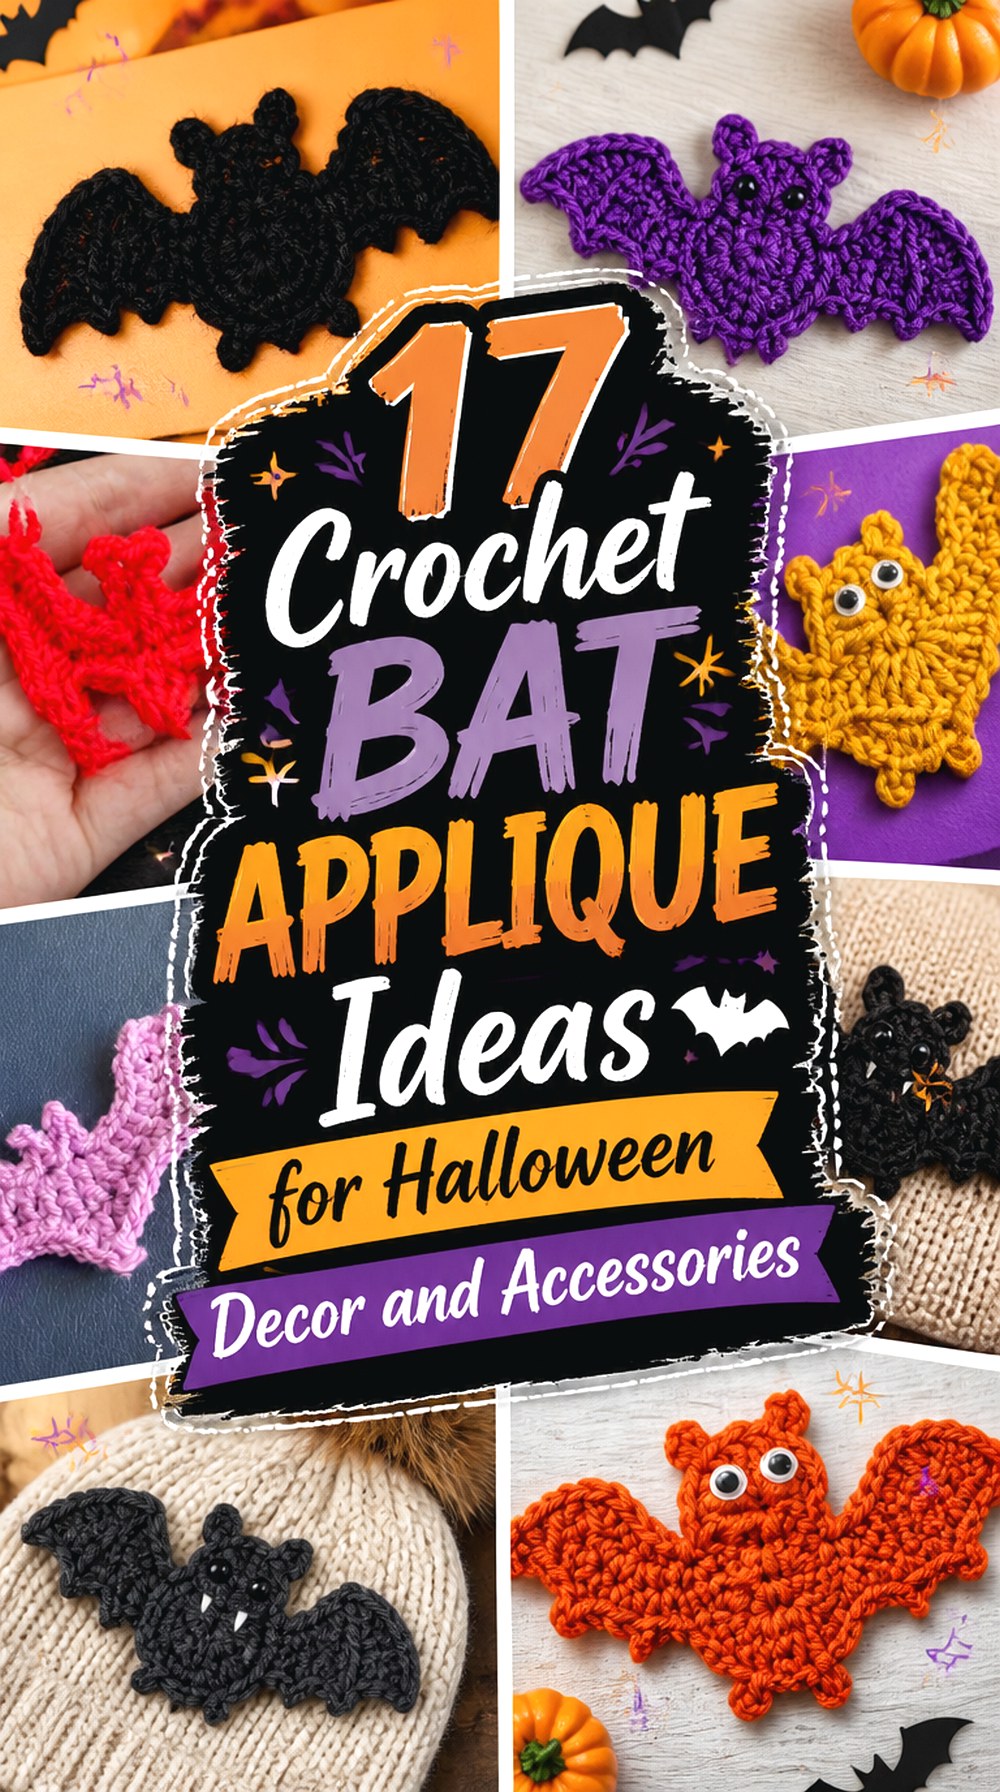
17 Crochet Bat Applique Ideas for Halloween Decor and Accessories
Crochet bat appliques can range from tiny, low-profile silhouettes to wide-winged character motifs with faces and separate details. That difference matters when you are choosing a bat for a hat, bag, blanket, garland, costume, or wall display. A compact motif that sits neatly on a cup cozy may disappear on a large cushion, while a broad bat designed for display can overwhelm a small accessory.
These 17 ideas focus on those practical differences. You will find one-row bats, no-sew options, graphic silhouettes, character-style appliques, repeatable decorations, and motifs whose scale can be adjusted through yarn and hook choices. Each project is paired with a different original YouTube creator so you can use the article for planning and comparison, then follow the credited tutorial for the exact crochet construction.
Quick List
- Crochet Tiny Bat Applique for Beanies
- Crochet Cotton Bat Applique for Tote Pockets
- Crochet Flying Bat Applique Garland
- Crochet No-Sew Bat Applique Wall Display
- Crochet Wide Bat Applique for Belt Bags
- Crochet One-Row Bat Applique Gift Topper
- Crochet Silly Bat Applique for Blanket Corners
- Crochet Variable-Scale Bat Applique Patch Set
- Crochet Compact Bat Applique for Cup Cozies
- Crochet Halloween Bat Applique for Framed Decor
- Crochet Two-Scale Bat Applique Wreath
- Crochet Character Bat Applique for Throw Pillows
- Crochet Graphic Bat Applique for Costume Accents
- Crochet Mini Bat Applique Swarm
- Crochet Cute Bat Applique for Hair Clips
- Crochet Pointed-Wing Bat Applique for Bags
- Crochet Medium Bat Applique for Jacket Patches
Choose the Bat Silhouette Before Choosing Its Final Use
A bat’s width, wing shape, and amount of detail determine where it will read clearly. Small, simple silhouettes are useful when the background area is limited, such as a hat, cup cozy, hair accessory, or gift topper. Wider motifs need more uninterrupted space, making them stronger candidates for cushions, tote fronts, jackets, wreaths, and wall pieces.
Character bats with separate heads, faces, or contrasting features also create more visual detail than plain silhouettes. That can be helpful on a large background but unnecessarily busy on a tiny accessory. Before attaching any applique, place the finished bat on the actual project and view it from normal use or display distance. The right question is not simply whether the bat physically fits, but whether its ears, wing points, body, and overall outline remain recognizable.
Match Yarn Weight and Motif Bulk to the Surface
The tutorials in this collection demonstrate that bat appliques do not need one universal yarn weight. Examples range from lighter yarns used for small motifs to medium-weight yarns that produce more substantial bats. OhMeOhMyCrochet uses weight-four cotton in its tutorial, while Butterfly Craft demonstrates a lighter-size yarn example; GoldenLucyCrafts specifically shows how changing yarn and hook size can create different finished scales.
That choice affects more than dimensions. A thicker applique can feel prominent on a bag or wreath but add unnecessary bulk to a soft hat or garment. Make one sample first when the motif will be repeated. Compare its finished weight, stiffness, and blocked dimensions with the surface you plan to decorate instead of assuming a yarn substitution will behave exactly like the creator’s version.
Position and Finish Bat Appliques Before Permanent Attachment
Bat wings create several points and curves that can reveal poor placement quickly. Temporarily pin or baste the applique first, then check nearby seams, bag zippers, garment edges, folds, handles, and borders. A bat that appears centered while a project lies flat may shift visually once a bag closes or a garment is worn.
For several bats, arrange the whole group before attaching the first one. Changing direction and spacing can suggest flight, while overly tight spacing can merge separate black motifs into one dark area. Blocking or gentle shaping can also help establish the intended outline before attachment when appropriate for the yarn.
Treat facial embellishments separately from the crochet itself. Lizfaerie Crafts’ associated pattern information specifically warns against seed-bead eyes for babies or very young children, so use secure, age-appropriate finishing when a project is intended for children.
1. Crochet Tiny Bat Applique for Beanies
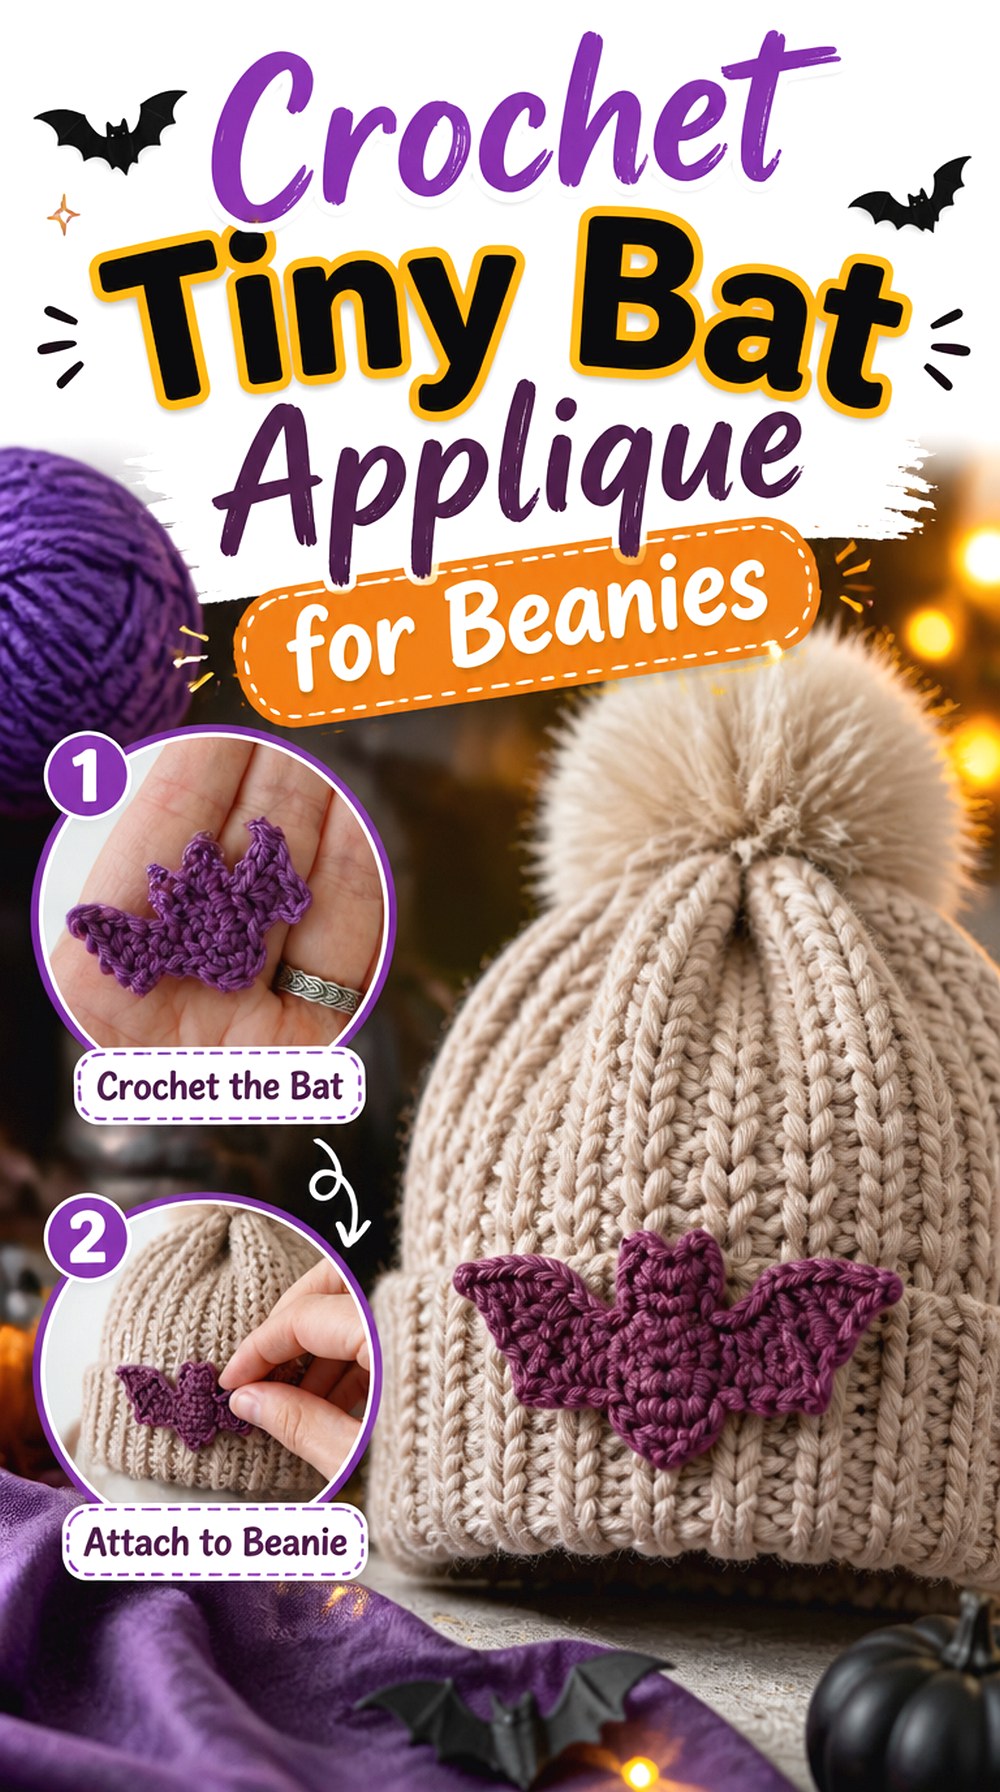
This tiny bat route is useful when you want Halloween detail without covering most of the finished item. HappyBerry Crochet’s tutorial presents a small bat applique and specifically suggests applications such as bags and hats. The demonstration uses sport/baby-weight yarn with a 3 mm hook, while also explaining that other yarn-and-hook combinations can be used.
For a beanie, the compact silhouette is the advantage. One bat can sit above the brim as a focal point, or several could form a small off-center cluster. Make the hat first whenever possible so you can judge the motif against the actual curved surface rather than choosing its scale from a flat measurement alone.
Keep a Tiny Bat Clear of Hat Seams
A small motif needs surprisingly little interference to become hard to read. Place it away from a prominent seam, folded brim junction, pom-pom attachment, or other strong detail. Temporarily pin the bat while the hat is being worn or placed on a head form. A position that looks centered on an empty flattened beanie may shift once the fabric stretches into its normal shape.
Fine Yarn Keeps the Accent Visually Light
A lighter yarn can help preserve the idea of a small surface embellishment rather than creating a thick patch. If you substitute a substantially heavier yarn, make a sample before committing because both the dimensions and visual weight will change. That matters especially on softer hats, where an overly stiff applique may behave differently from the surrounding fabric.
2. Crochet Cotton Bat Applique for Tote Pockets
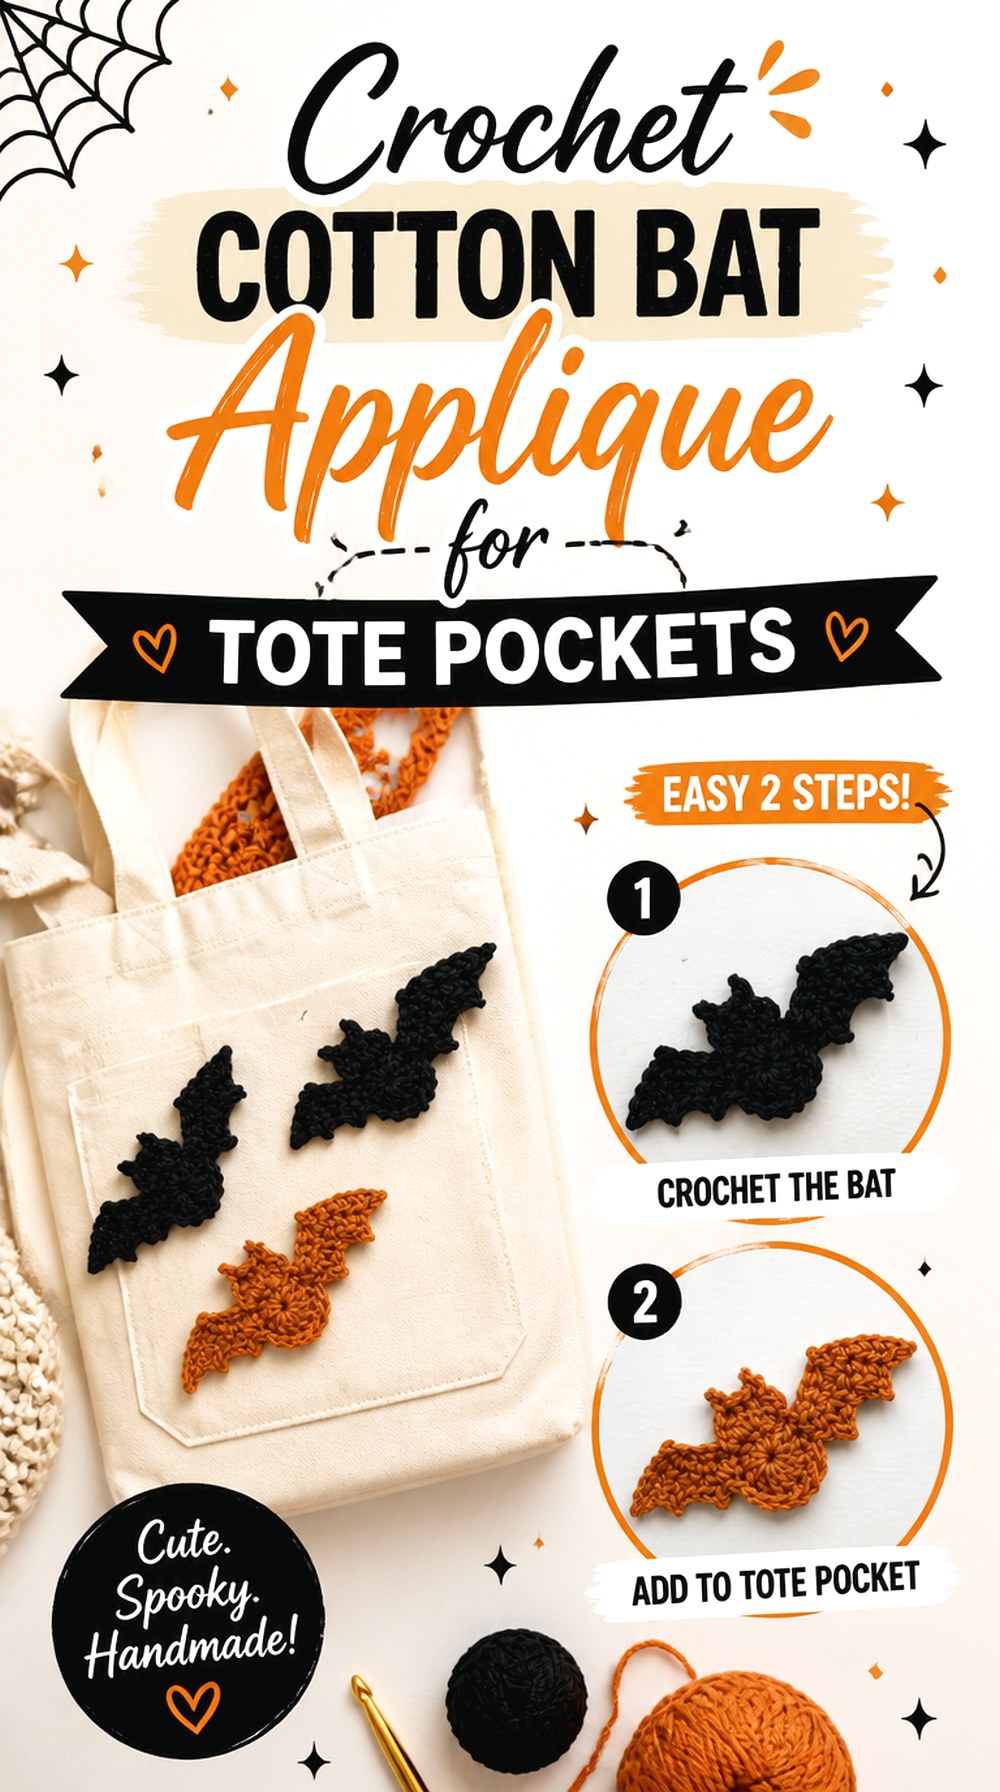
OhMeOhMyCrochet’s bat provides a horizontally stretched motif that suits a relatively clean rectangular background. The creator demonstrates the applique in weight-four cotton with a 3.5 mm hook, making this a useful reference if you want a clearly defined bat that can become a single focal feature rather than part of a crowded Halloween scene.
A tote pocket is a practical placement because its boundaries give you a natural composition area. The applique tutorial does not construct the tote itself, so establish the pocket dimensions and attachment seams separately. Leave enough plain fabric around the bat that the wing tips remain clearly visible after the pocket is sewn into place.
Cotton Gives the Wing Edges a Crisp Read
The source uses cotton, which is worth noticing when comparing its finished appearance with softer or fuzzier yarn choices. Fiber substitution can change definition and drape even when the numerical yarn weight appears similar. If sharp wing points are important to your version, crochet one bat in the intended yarn and judge the actual outline before making a coordinated set.
Leave Breathing Room Around a Tote Motif
Avoid sizing the bat so precisely that both wing tips almost touch the pocket edges. That leaves little tolerance for seams, edging, or small changes after finishing. A surrounding border of visible background fabric usually makes the silhouette easier to recognize and gives you more flexibility when positioning the pocket on the larger bag.
Original Tutorial and Creator Credit
Creator: OhMeOhMyCrochet
3. Crochet Flying Bat Applique Garland
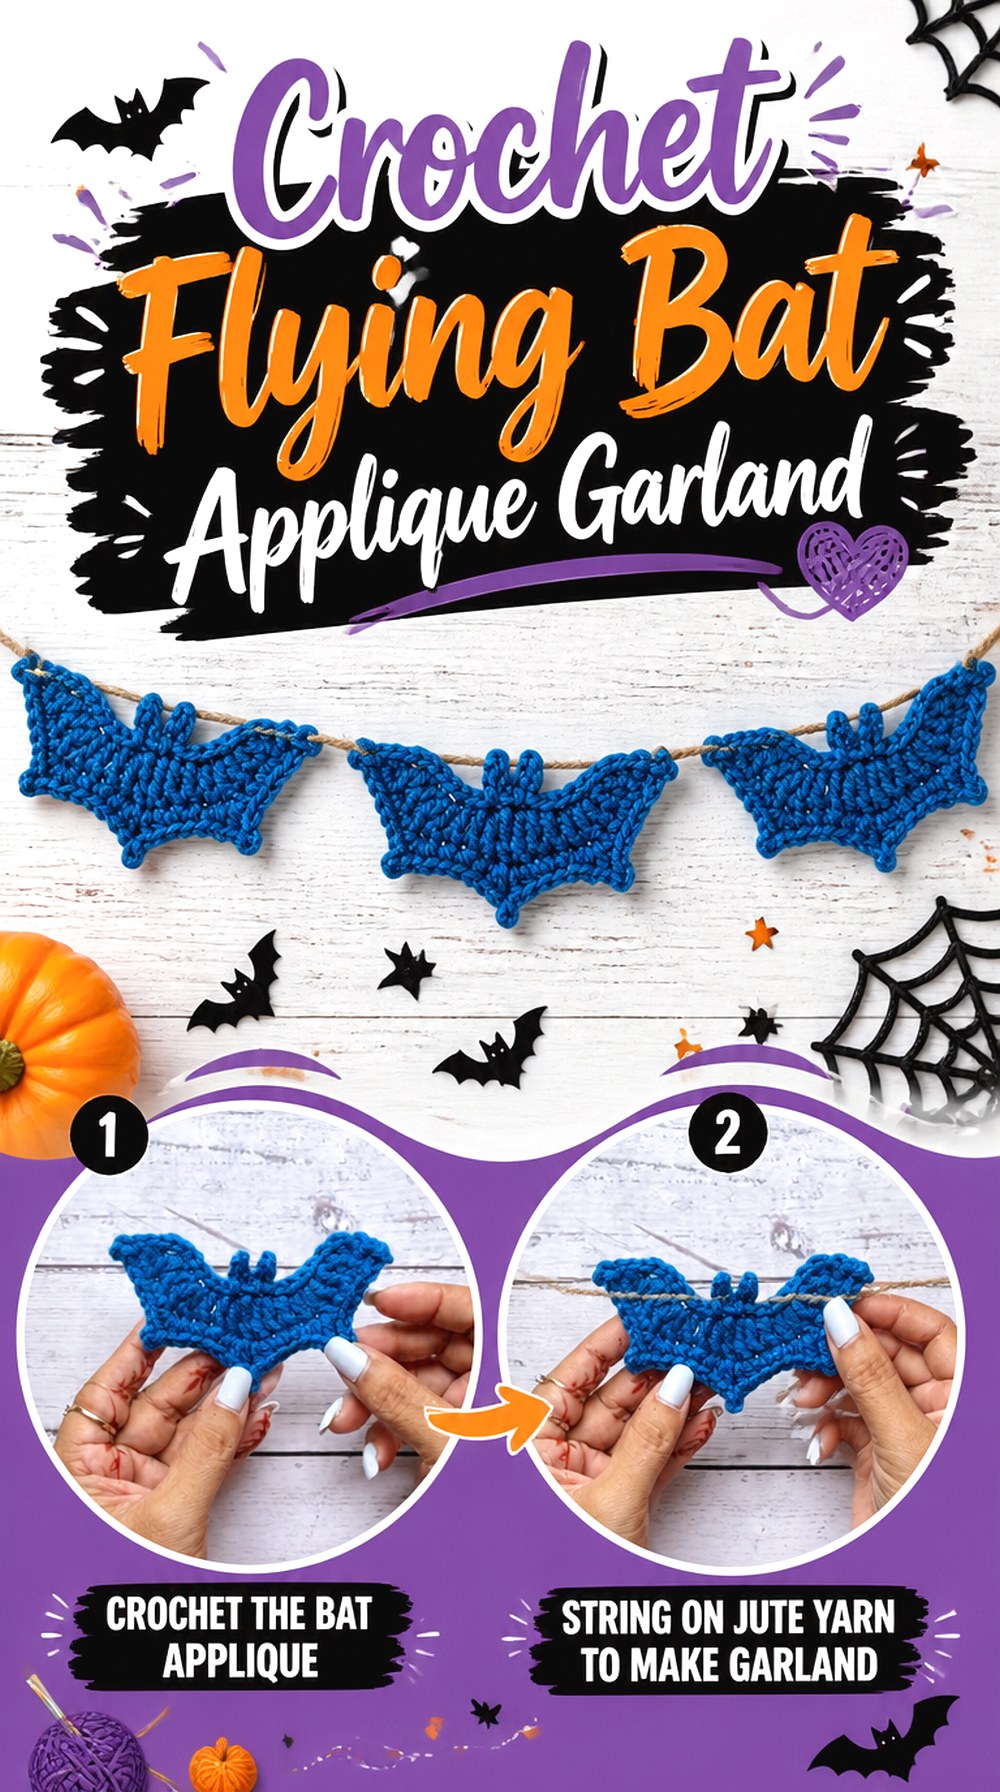
A garland becomes more interesting when the bats behave as a group rather than as identical pieces placed at rigid intervals. The Crochet Chemistry specifically presents its bat applique as a Halloween decoration or bunting component, making the tutorial a particularly direct match for this use. The creator also discusses customization rather than limiting the design to one color treatment.
Make one completed bat first and use its actual width to plan the display. This tells you much more than estimating from the yarn label. A long mantel may support generous gaps and varied angles, while a shorter door or shelf display may need fewer motifs rather than a compressed row.
Repetition Works Better With Planned Spacing
Lay all completed bats along the intended cord or background before securing them. Equal spacing creates a more orderly bunting effect, while changing the gaps can make the group feel like bats moving through the air. Neither approach is automatically better, but accidental crowding can hide individual wing shapes, especially when dark motifs overlap visually.
Vary Flight Angles Before Joining the Garland
Every bat does not need to sit perfectly level. Small changes in angle can give a repeated motif set more movement without requiring different patterns or extra colors. Test those rotations on a table first. Extreme angles may make some bats appear upside down rather than airborne, so view the full arrangement from the direction it will actually be displayed.
Original Tutorial and Creator Credit
Creator: The Crochet Chemistry
4. Crochet No Sew Bat Applique Wall Display
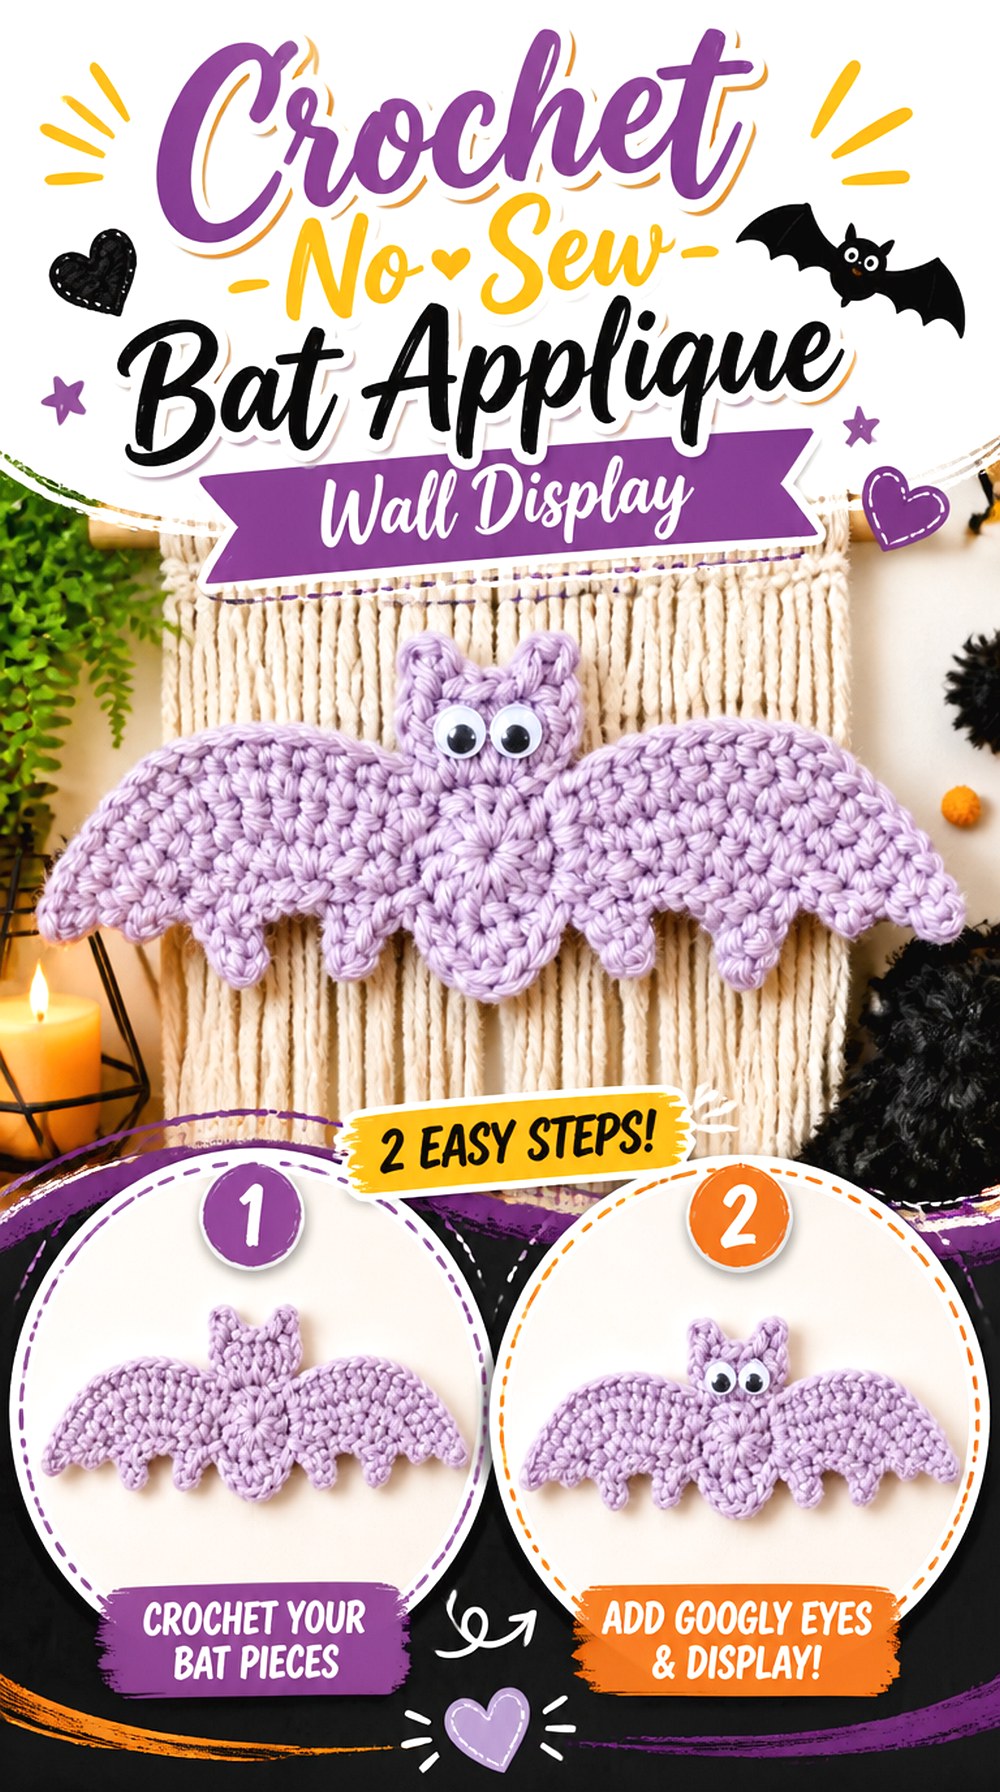
Pora Pora Crochet’s version is a useful choice when you prefer a bat motif that avoids separate sewing during the crochet construction. The tutorial presents it specifically as a bat applique and Halloween decoration, which makes it easy to imagine several finished bats arranged across a fabric banner, wreath backing, or temporary wall display.
The no-sew construction does not mean the finished applique must remain unattached. It simply gives you a more self-contained motif before you decide how to display it. For wall decor, consider making the mounting method reversible so the bats can be stored flat or moved to a different seasonal arrangement later.
A No-Sew Motif Simplifies Batch Making
When each bat comes off the hook as one finished crochet unit, there are fewer separate pieces to organize before creating a repeated display. That is especially useful when you want several motifs. Still make the first bat completely before committing to the batch so you can check its actual scale against the available wall, banner, or wreath area.
Wall Displays Need a Consistent Hanging Line
Individual bats may look balanced on a table yet appear uneven when viewed across a room. Establish the overall top, bottom, or diagonal line of the display first, then position the bats within it. This allows varied wing angles without making the arrangement look accidental. Temporary pins or removable placement aids are useful while you judge the composition.
Original Tutorial and Creator Credit
Creator: Pora Pora Crochet
5. Crochet Wide Bat Applique for Belt Bags
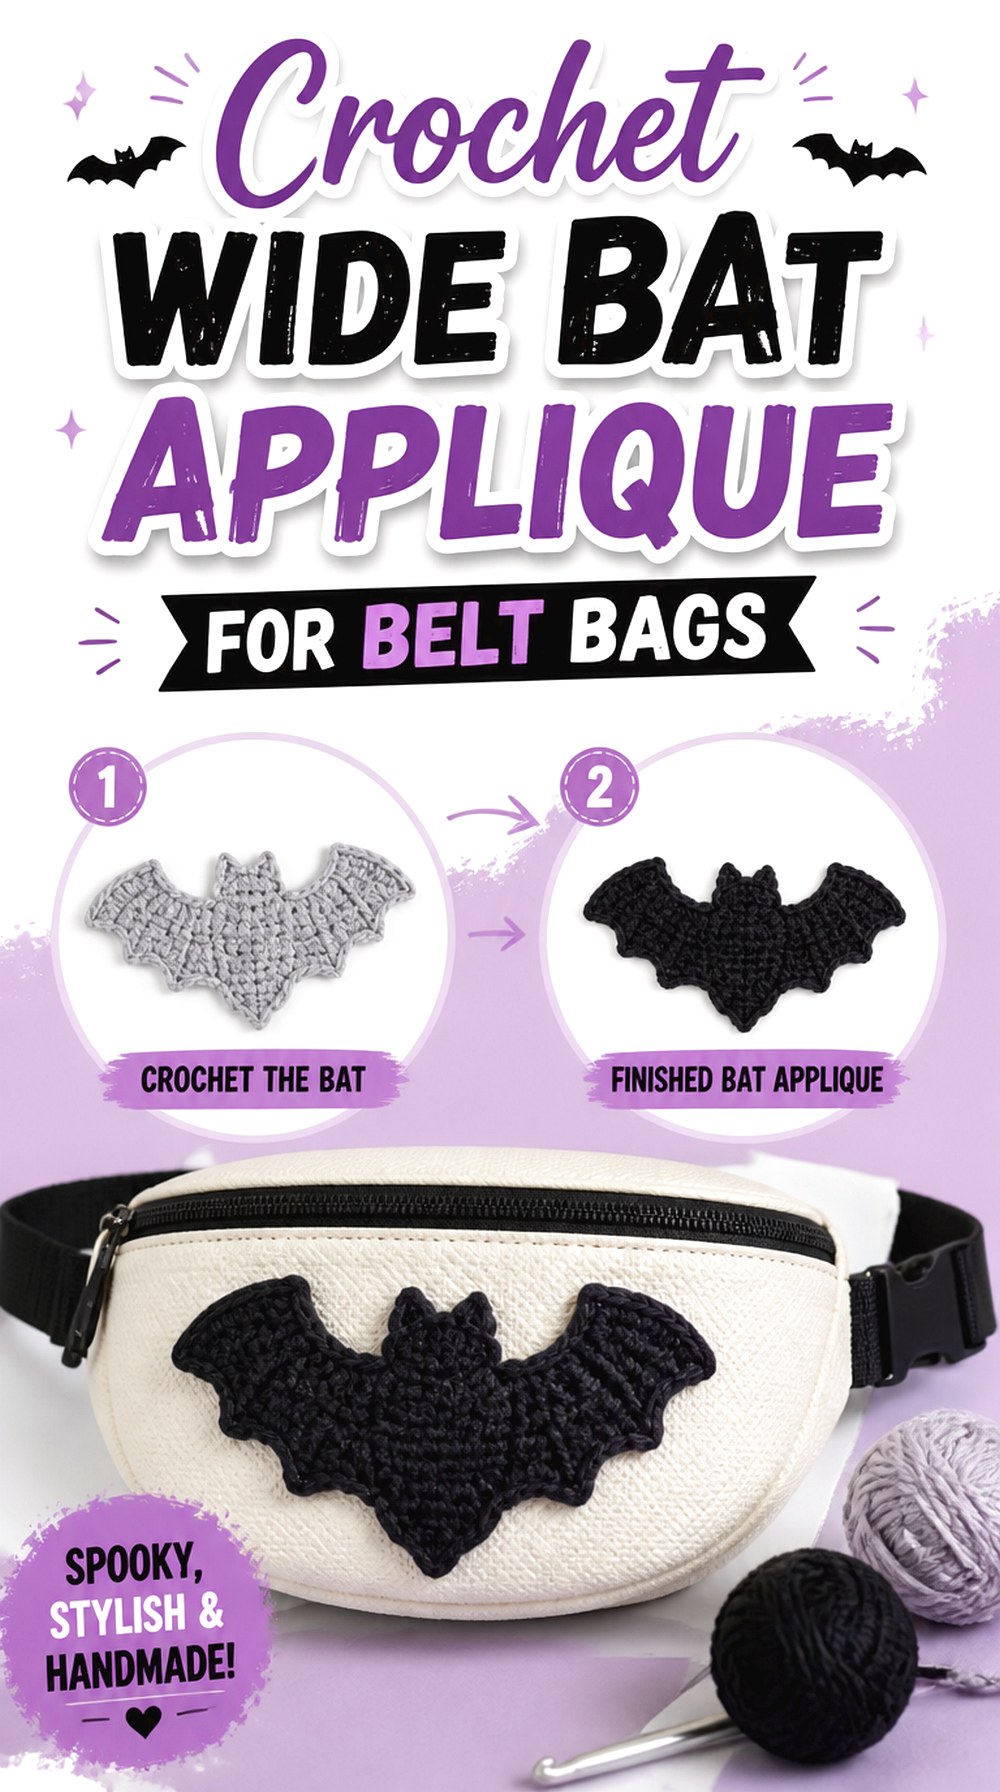
A belt bag presents a narrow horizontal canvas, so a bat’s natural wingspan can work well if its height remains controlled. Tiffany Bliss demonstrates a flat bat applique in a right-handed tutorial and uses worsted-weight yarn in the source project. The motif can therefore serve as the decorative component while the belt-bag pattern handles the zipper, body, strap, and structure separately.
Do not force the bat across the entire front simply because the wings point in the same direction as the bag. A little clear space around the silhouette allows the bag to curve around the wearer without folding the wing points sharply around its side seams.
Horizontal Wings Suit a Shallow Bag Front
Measure both the usable width and height of the finished front panel. A bat may fit perfectly between the side seams but still reach too close to the zipper or lower edge. Temporarily position the motif with the bag closed and worn at the intended angle. That reveals whether the silhouette still looks level once the belt bag curves around the body.
Check the Zipper Path Before Attachment
Mark the zipper tape, top seam, and any internal seam allowance before choosing the final applique position. Wing points sewn too close to the opening can make later construction awkward or become visually hidden. If the bag is already complete, open and close it several times with the motif temporarily pinned in position before sewing it down.
Original Tutorial and Creator Credit
Creator: Tiffany Bliss
6. Crochet One Row Bat Applique Gift Topper
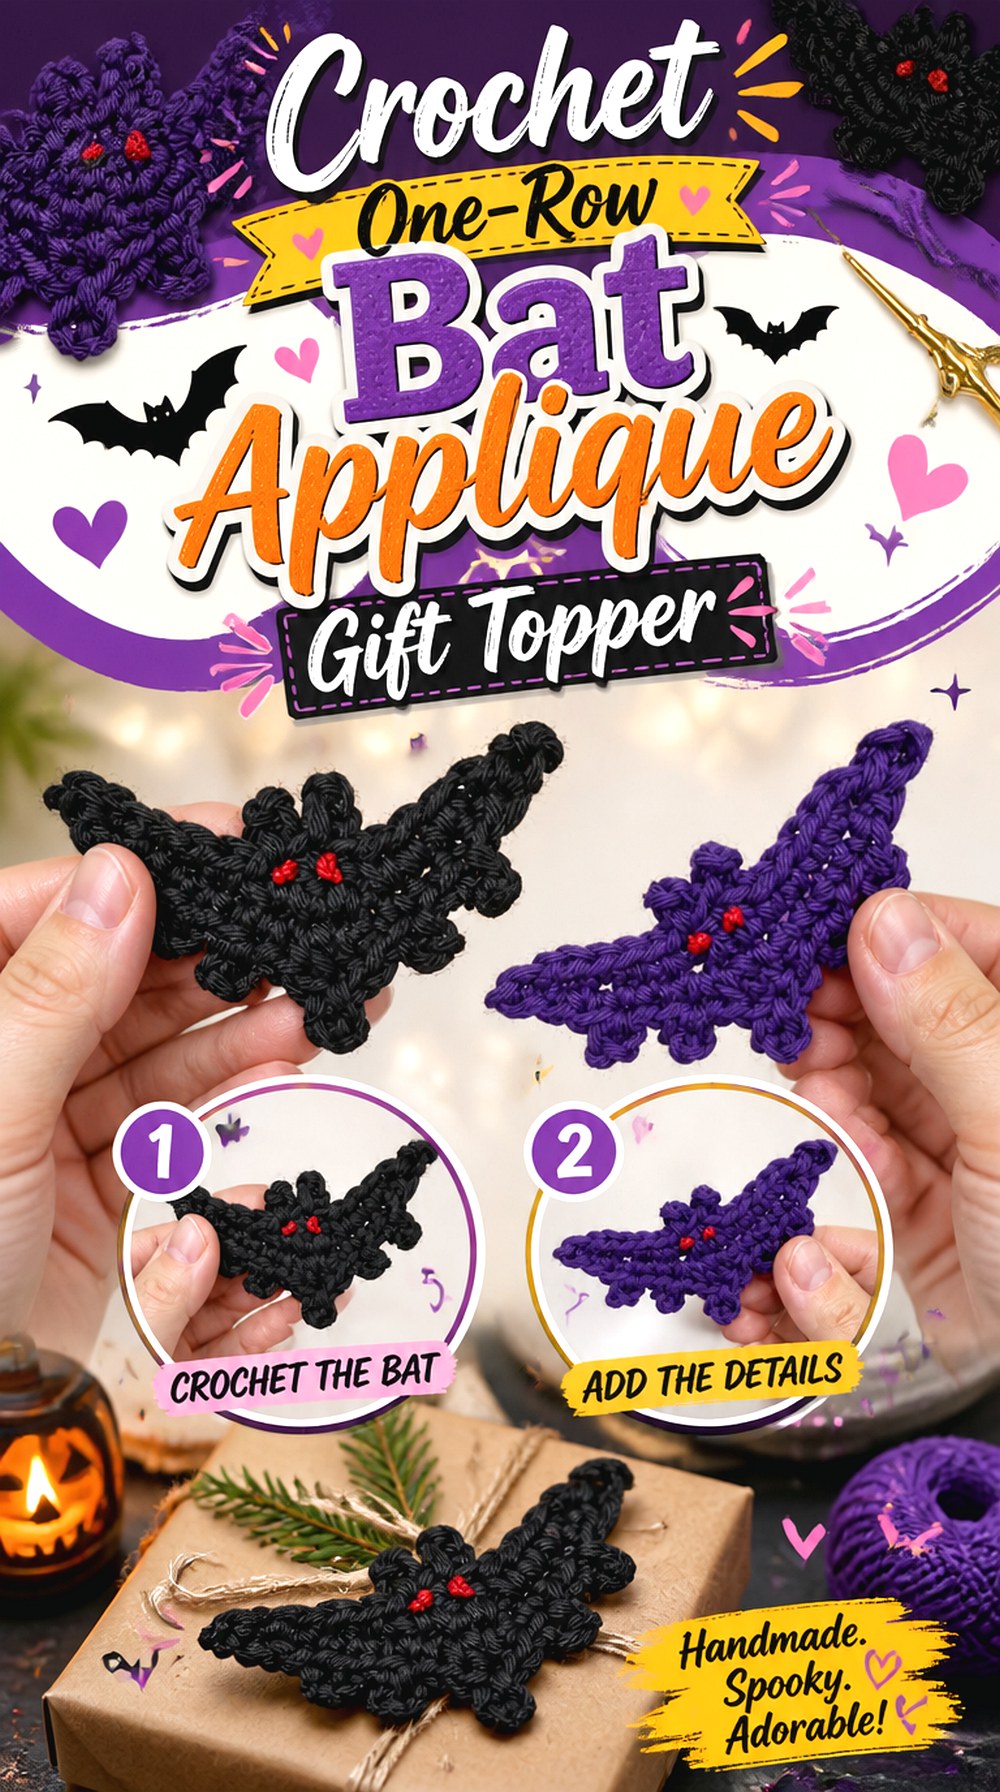
Jolly Lizard’s bat stands out because the creator describes the applique as being crocheted in one row. That makes it an interesting route when the goal is a small seasonal motif rather than a layered character design with extensive assembly. The source uses light-weight yarn and presents the bat specifically as Halloween decor.
For a gift topper, attach the finished bat to ribbon, a reusable gift band, or another suitable removable element instead of assuming it needs to be permanently fixed to disposable wrapping. The recipient can then reuse the crochet piece as a small decoration, provided the attachment method suits the package.
One-Row Construction Suits Small Multiples
A concise construction format can be useful when several matching bats are needed, but consistency still depends on tension and finishing. Compare the first two completed motifs side by side. If one wing sits noticeably higher or the widths differ, correct your tension or shaping before turning a small inconsistency into a whole batch.
Gift Toppers Need a Removable Attachment
Think about what happens after the package is opened. Sewing the bat permanently into paper or tying the yarn itself too tightly around packaging limits reuse. A removable tie or separate band can preserve the applique as the handmade part of the gift. Avoid placing delicate wing points where tape or adhesive will pull on the yarn.
Original Tutorial and Creator Credit
Creator: Jolly Lizard
7. Crochet Silly Bat Applique for Blanket Corners
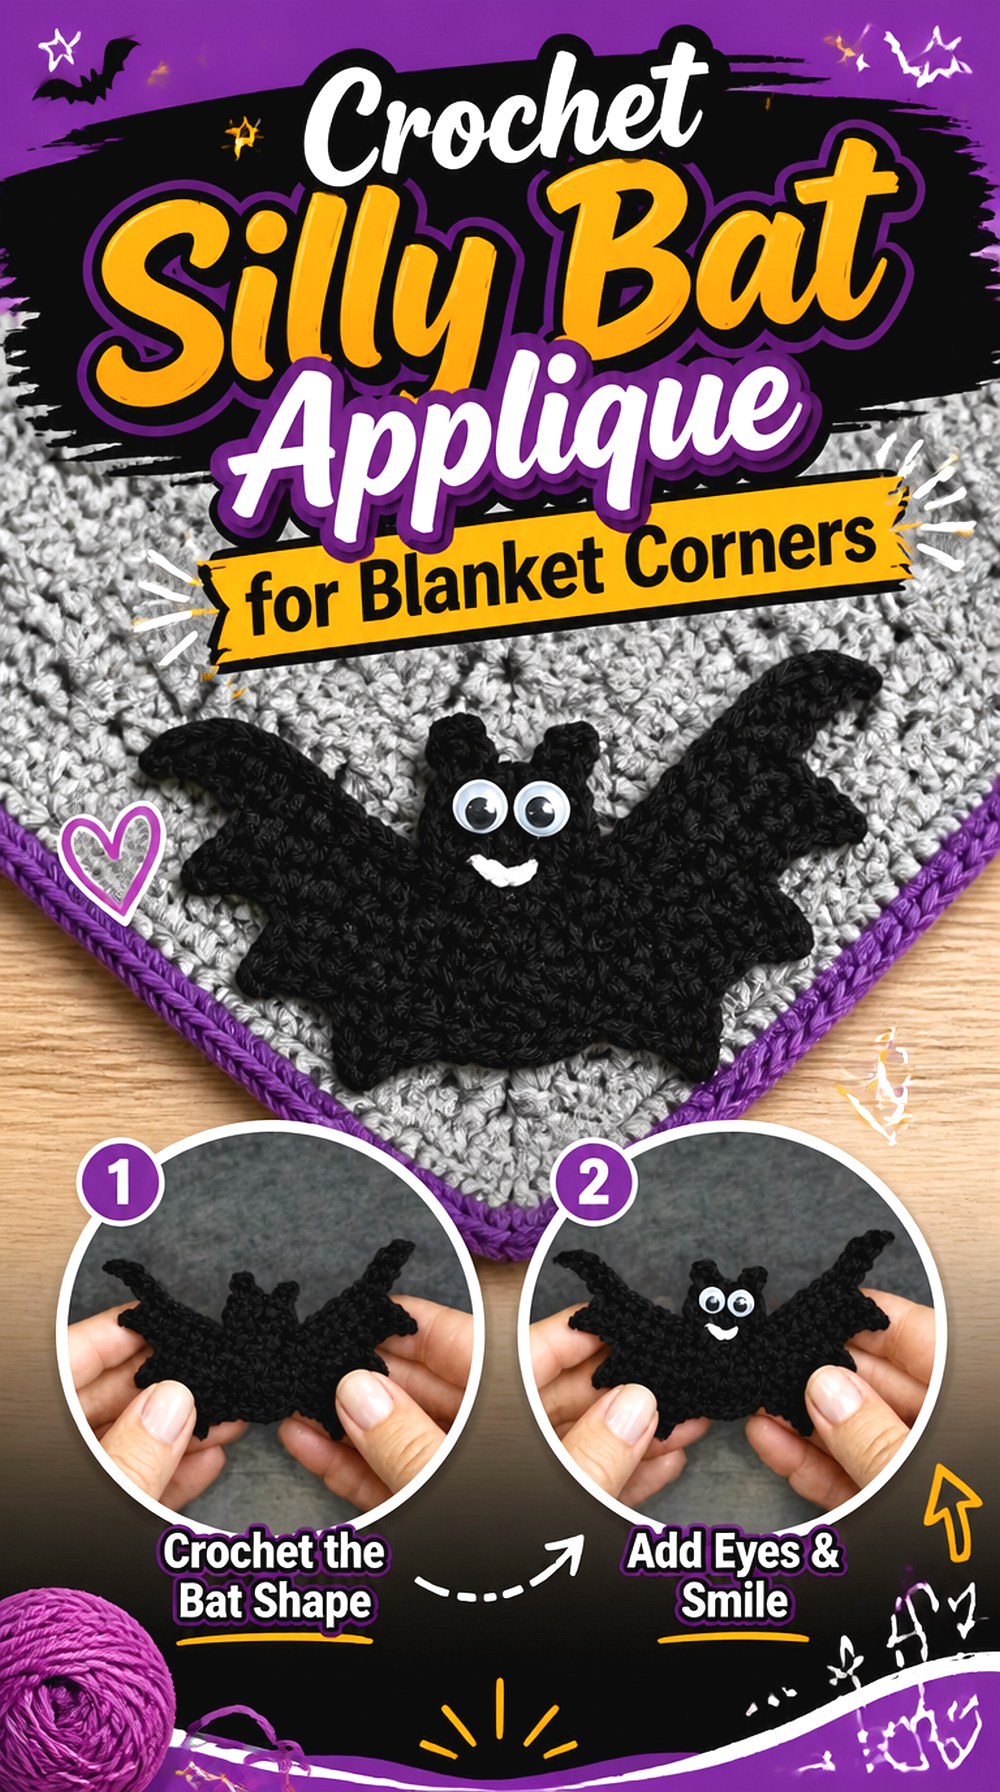
Butterfly Craft’s “Silly Bat” has more character than a purely graphic silhouette. The source separates the visual development into body, head, and wing portions and shows an example approximately 9 by 5 cm using the creator’s stated yarn and hook combination.
That scale makes the tutorial worth considering for an accent near a blanket corner or border rather than a tiny hidden detail. The applique is still only the decorative component; it does not establish blanket construction or sizing. Finish and block the blanket area first, then position the bat where its wing tips will not disappear into a heavily textured border.
Separate Body and Wing Shapes Add Character
A bat with a more obvious head and body reads differently from a minimal black silhouette. That can be useful when the background already contains other Halloween motifs and you want this one to feel like a small character. Keep enough contrast between the applique and blanket so those internal shapes remain visible rather than merging into the background.
Blanket Corners Need Secure Wing Tips
Blankets move, fold, and are handled differently from framed decor. Once you settle on placement, inspect the narrowest wing points and determine how securely they need to be attached to the surface. Do not pull them outward to make the bat appear larger; stretching the applique during sewing can pucker the blanket or distort the intended outline.
Original Tutorial and Creator Credit
Creator: Butterfly Craft
8. Crochet Variable Scale Bat Applique Patch Set
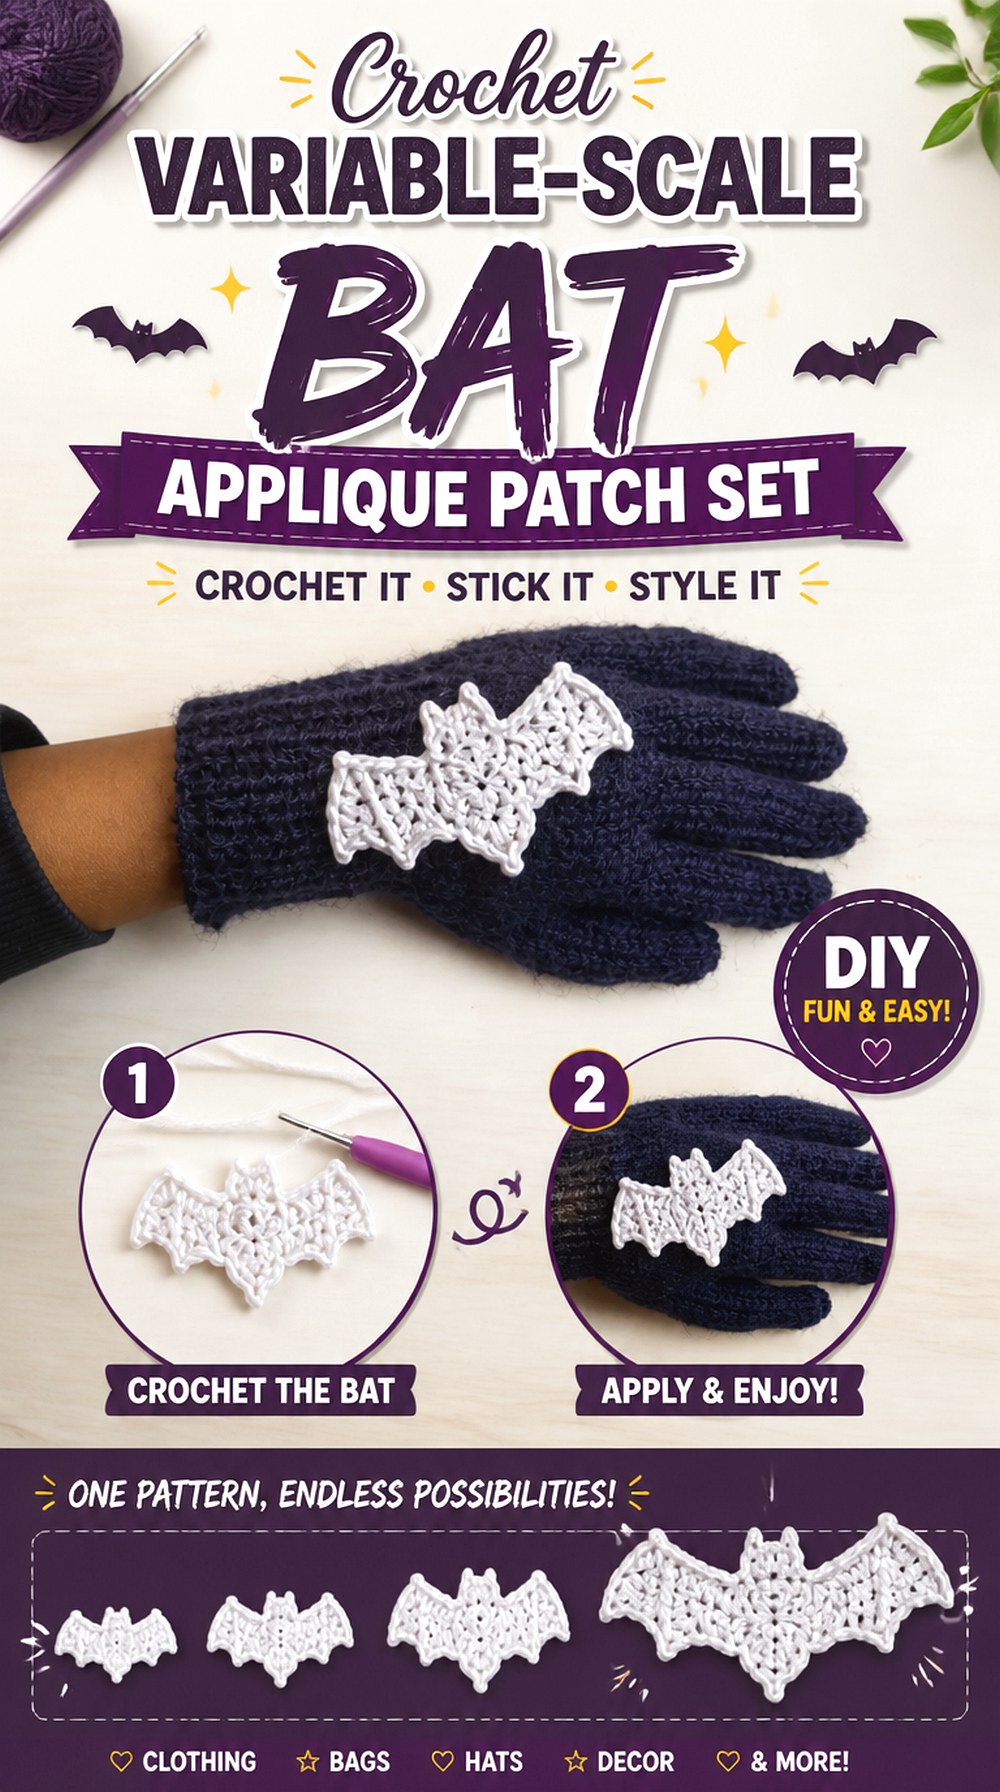
Begin with Anita’s tutorial explicitly notes that the finished size changes with the yarn and hook used. That makes this source a practical reference for a patch collection where you want to explore the same basic bat idea at more than one scale rather than combining unrelated bat shapes.
The safest planning method is still to make one sample in each intended yarn combination. Changing yarn affects more than width; thickness and stiffness can also change. A group of bats on a cardigan, tote, or blanket should look deliberately varied rather than as though some motifs accidentally came out larger.
Variable Scale Makes the First Sample Important
Do not calculate an entire arrangement from yarn labels alone. Crochet one bat, finish it, and measure or place the actual motif against the intended surface. If a second yarn is being used for a smaller or larger companion bat, complete that sample too. You can then plan spacing from real components instead of predicted dimensions.
Use a Patch Set Without Crowding the Base
Different bat sizes need different amounts of negative space. Give the largest motif room first, then position smaller bats around it rather than filling every remaining gap. On clothing, also account for pockets, armholes, side seams, and areas that bend heavily. Decorative variety should not make the underlying item awkward to wear.
Original Tutorial and Creator Credit
Creator: Begin with Anita
9. Crochet Compact Bat Applique for Cup Cozies
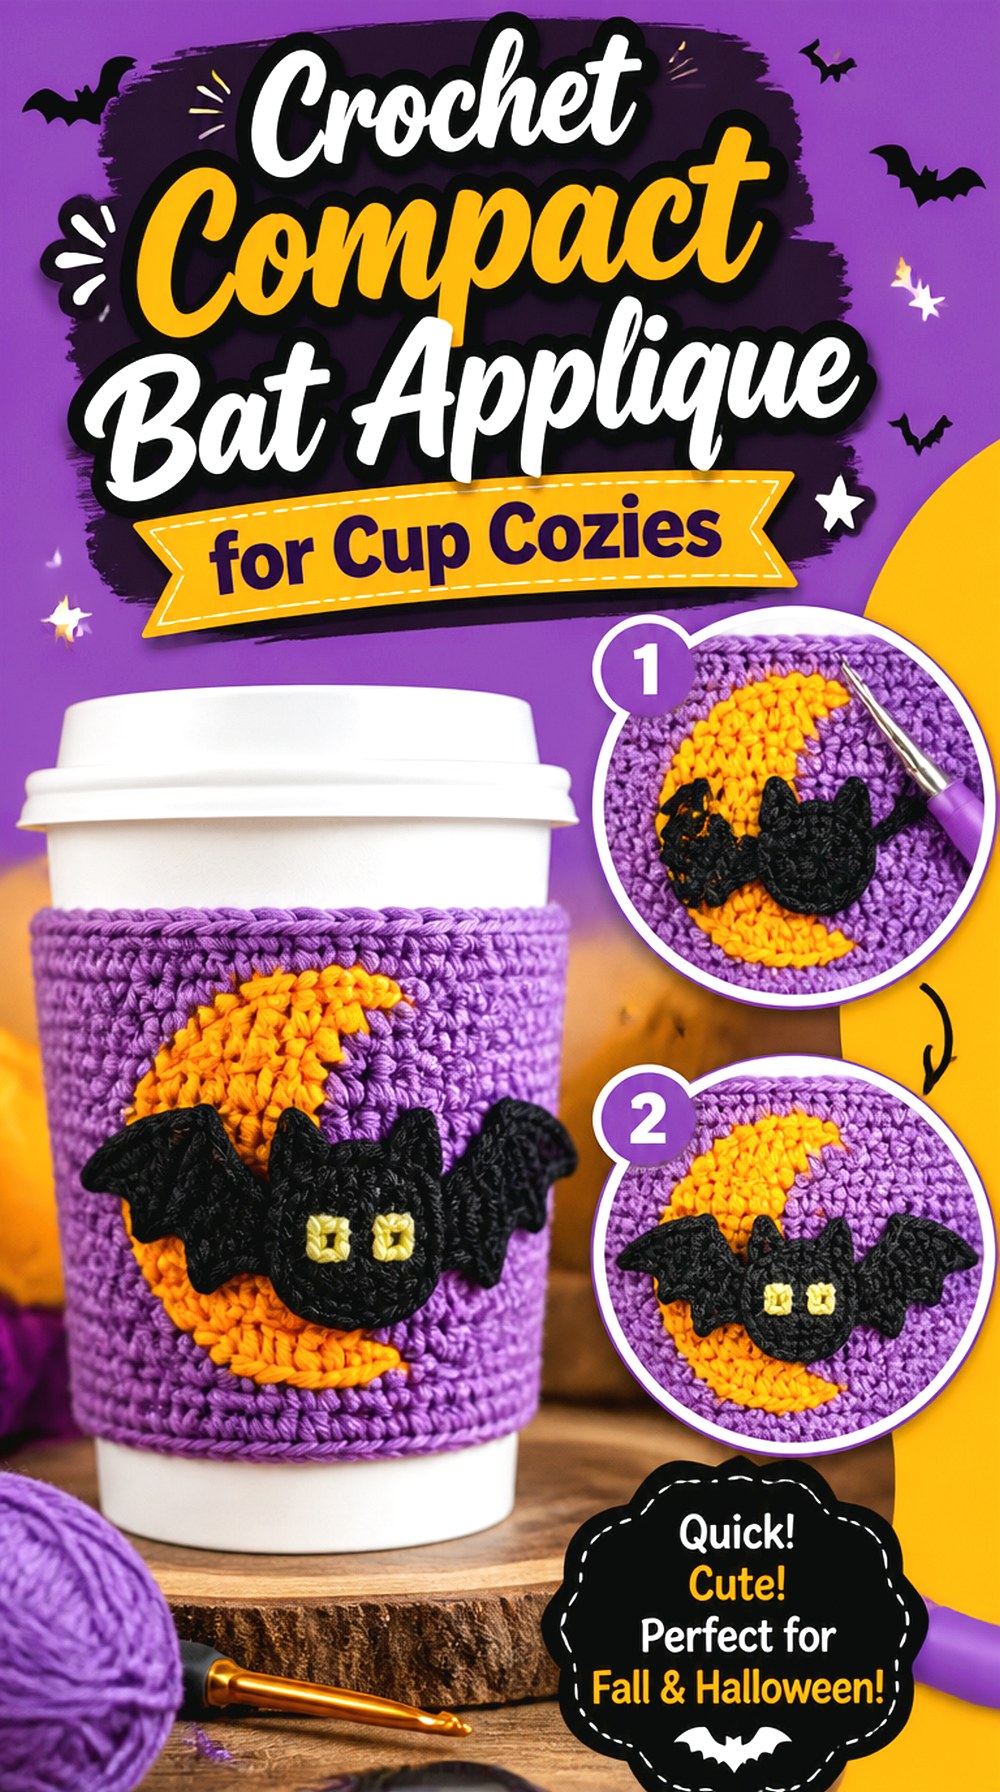
RepeatCrafterMe’s bat is approximately four inches wide in the creator’s example and is specifically suggested for projects that include cup cozies, hats, blankets, and totes. That makes the tutorial one of the clearest matches for a small surface where the applique needs enough wing definition to read quickly without becoming the entire project.
For a cup cozy, finish the cozy itself first and check how much of the outer surface remains visible around the cup. A flat measurement can be misleading because the motif wraps slightly with the cozy. One centered bat may read more clearly than several motifs competing around the circumference.
A Compact Bat Fits Small Round Surfaces
Pin the bat to the cozy while the cozy is placed around the intended cup or a similarly shaped form. This shows how much the wing tips turn away from view. If too much of the silhouette disappears around the sides, choose a smaller motif placement or use the bat on a flatter accessory instead.
Cup Cozies Need Flex Around the Grip
The applique is decorative and should not determine the cozy’s fit. Avoid stretching the finished cozy merely to accommodate a wide bat or attaching the motif so tightly that the surrounding fabric can no longer flex normally. Any separate cozy pattern should remain the source for fit and functional construction.
Original Tutorial and Creator Credit
Creator: RepeatCrafterMe
10. Crochet Halloween Bat Applique for Framed Decor
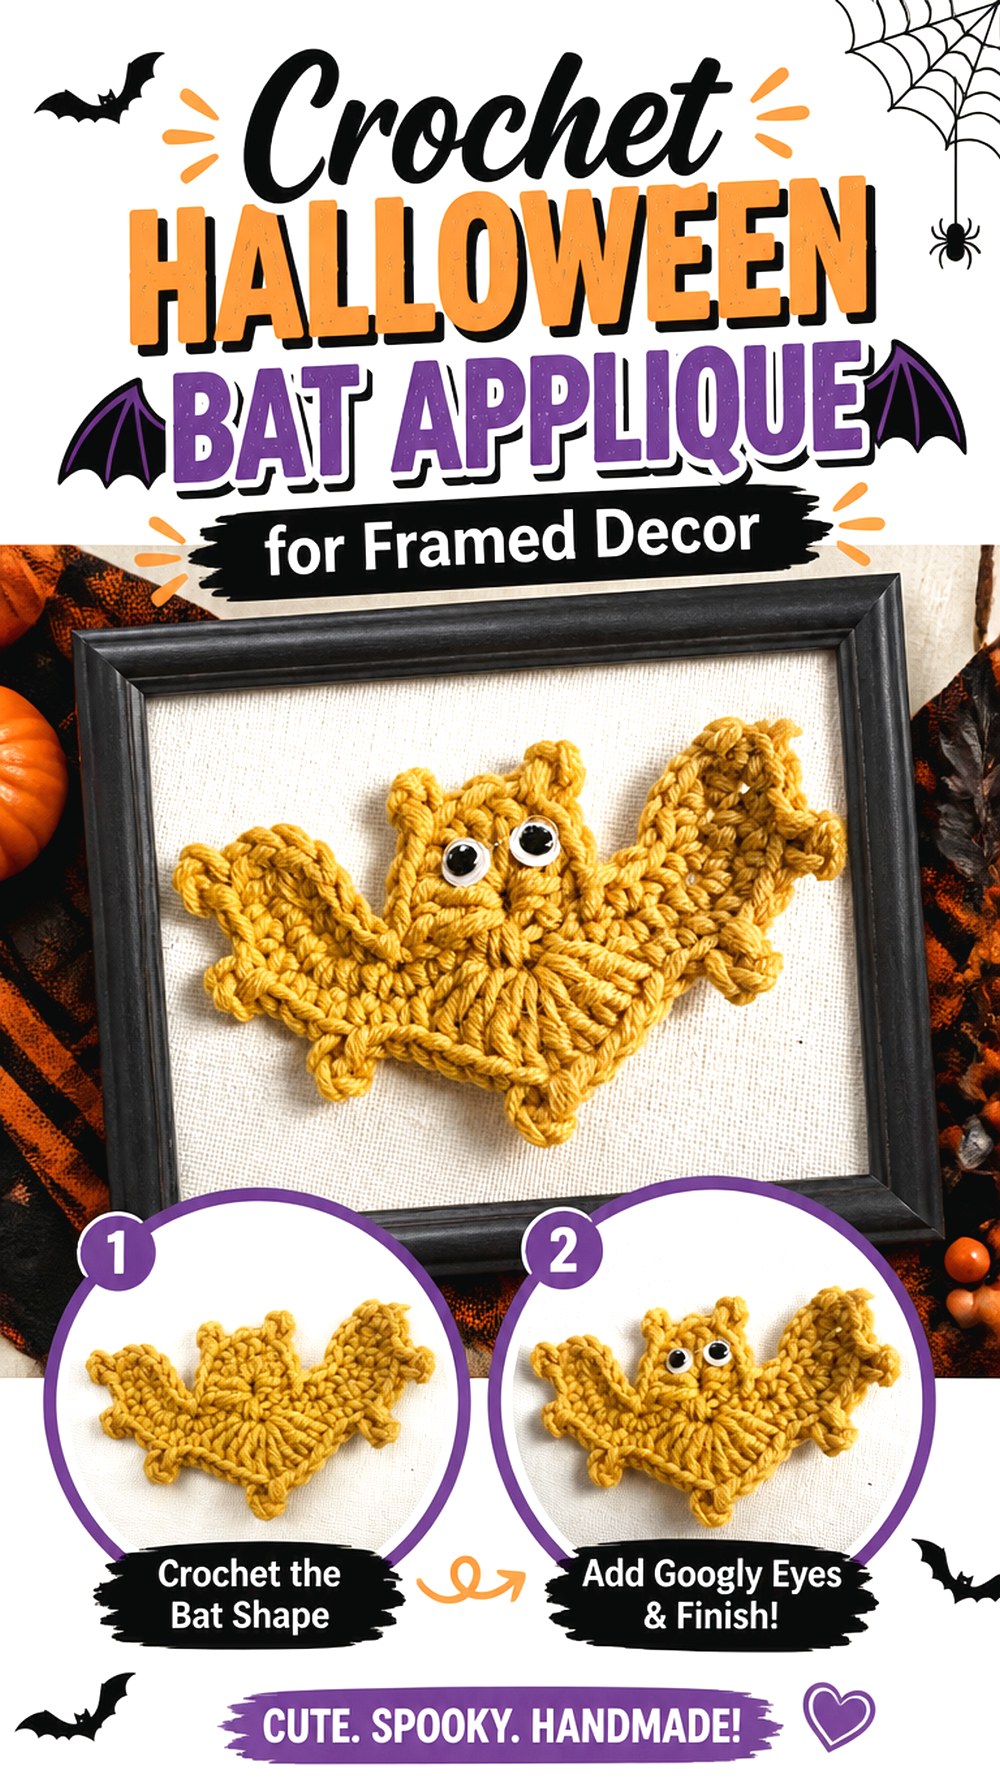
Petra Perle’s Halloween bat applique offers another flat-motif interpretation that works well when the crochet itself will be displayed rather than repeatedly handled. A framed textile composition can combine one bat with a moon, lettering, web, or contrasting background without requiring the bat to become a structural part of another crochet project.
The tutorial’s description also explains how viewers can turn on captions and use YouTube’s auto-translate feature for English. That is useful to know before choosing the source if spoken-language accessibility is an important part of how you learn.
A Simple Silhouette Suits Framed Display
A frame creates strong outer boundaries, so position the bat with enough clearance around its wing tips. Centering is not mandatory: placing the motif slightly off-center can leave room for another seasonal element. Lay out everything before securing it, because correcting an unbalanced composition is easier while all pieces are still movable.
Captions Matter If You Need English Guidance
This source specifically directs English-speaking viewers to YouTube’s caption and auto-translation controls. If you rely heavily on spoken explanations, check those captions before beginning and make sure they are usable for you. The video should remain the source for the creator’s exact construction rather than trying to reconstruct unfamiliar details from the finished image alone.
Original Tutorial and Creator Credit
Creator: Petra Perle
11. Crochet Two Scale Bat Applique Wreath
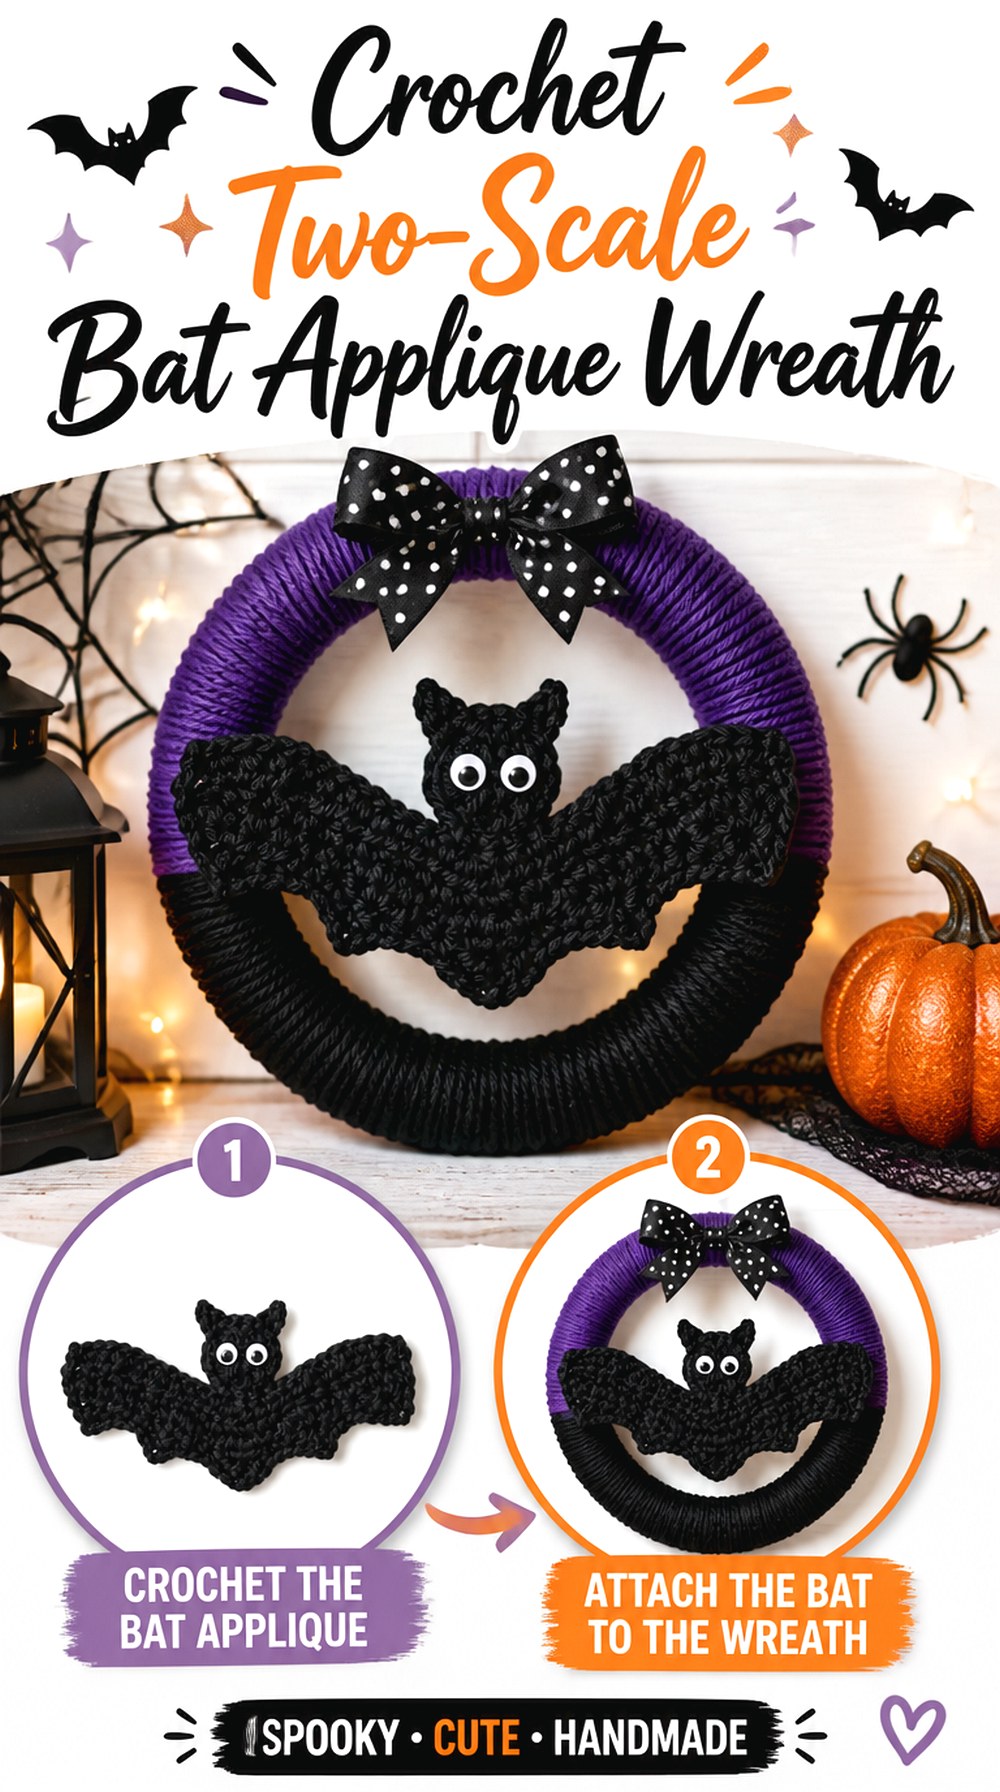
GoldenLucyCrafts demonstrates the same bat concept at different finished scales by changing the yarn and hook combination. The associated pattern information lists a smaller example around 3.5 inches wide and a larger example around 6 inches wide, giving you a source-supported reason to explore layered size variation instead of simply changing colors.
That approach suits a wreath because the larger bat can establish the main focal area while smaller bats fill part of the remaining curve. The tutorial teaches the applique, not the wreath structure, so select the base and mounting method separately and compare the finished bats with it before permanent assembly.
Two Yarn Scales Can Build Wreath Depth
Use the larger motif to establish the visual anchor, then test smaller bats around it. Avoid alternating large and small pieces mechanically around the entire circle unless that is the effect you want. An asymmetrical cluster often gives the eye a clearer starting point and leaves part of the wreath base visible.
Shape the Wings Before Final Mounting
The GoldenLucyCrafts instructions include blocking and shaping as part of finishing the bat. That matters on a wreath because any uneven wing edge becomes easy to notice against the firm circular background. Finish the motif first and let its final outline determine the attachment points instead of using the wreath to forcibly stretch it into shape.
Original Tutorial and Creator Credit
Creator: GoldenLucyCrafts
12. Crochet Character Bat Applique for Throw Pillows
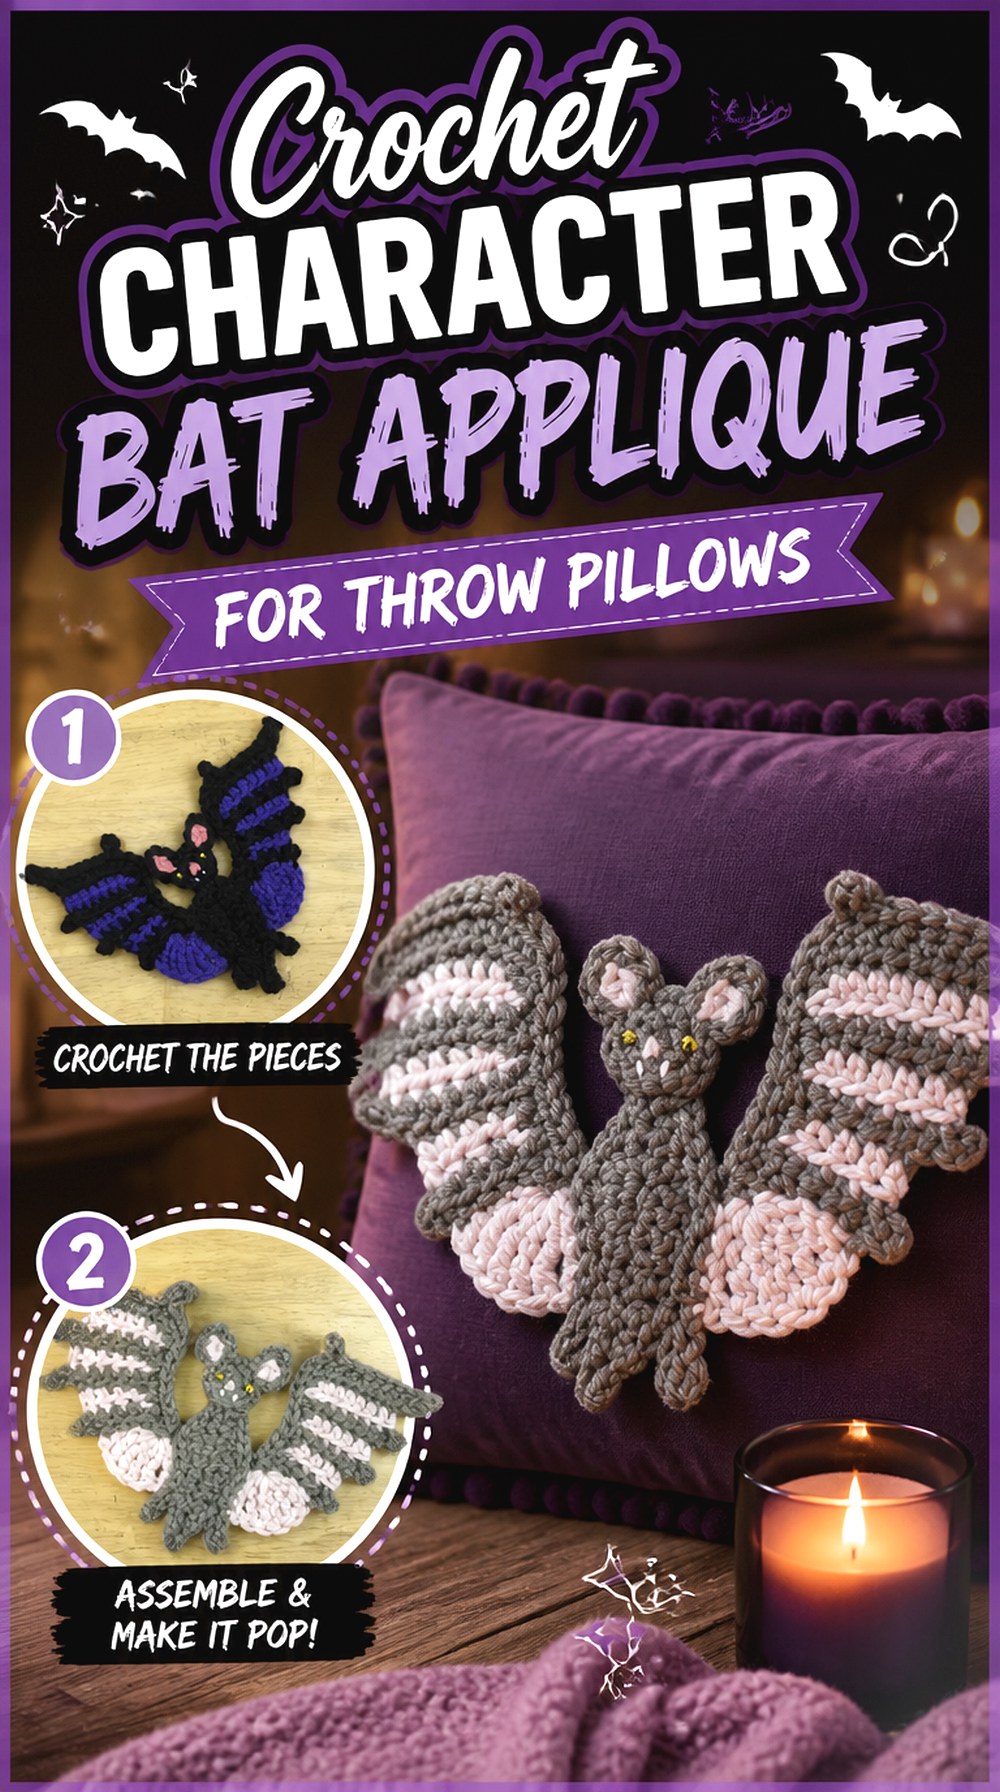
Lizfaerie Crafts’ spooky bat is a more substantial character applique than many compact silhouettes in this collection. The associated pattern information lists a finished example about 5 inches tall by 10 inches wide and shows a design with separate facial and wing details.
A broad throw pillow front gives that extra detail enough room to remain visible. Make or measure the pillow cover before deciding placement, and keep the bat away from an edge that curves sharply around the insert. The applique should remain an embellishment; the pillow construction and insert sizing need their own suitable source.
A Wide Character Bat Needs Open Space
Ten inches of source-example width makes this a very different planning problem from a tiny hat motif. Give the bat a relatively plain central area where its wings do not cross side seams, piping, buttons, or an opening. If the pillow has a heavily textured background, temporarily place the finished bat on it to confirm the face and wing edges remain easy to distinguish.
Facial Details Change Child-Safe Finishing
The associated pattern mentions bead eyes as one option but explicitly warns against seed beads for babies or very young children. If the pillow is meant for a child’s space, review every embellishment and choose secure, age-appropriate alternatives. The same caution applies to other loose decorative parts; a crochet base does not automatically make every attached detail appropriate for every user.
Original Tutorial and Creator Credit
Creator: Lizfaerie Crafts
13. Crochet Graphic Bat Applique for Costume Accents

Ahuyama Crochet’s tutorial creates a bold bat applique associated with the Batman logo and specifically mentions possible uses such as a brooch and garland. The highly graphic shape is therefore most useful here as a reference for a strong costume accent where the outline needs to be recognized from a distance.
Placement can be as important as the crochet. A centered chest or cape accent becomes visually dominant, while a smaller brooch-like position creates a more restrained detail. If you are adapting the concept into a generic Halloween bat rather than reproducing a recognizable branded emblem, make that distinction intentionally.
Graphic Symmetry Creates a Strong Costume Accent
Bold symmetrical wings work best when they are not partly hidden by a lapel, zipper, strap, or fold. Try on the garment or costume and temporarily place the finished motif while looking in a mirror. A bat centered on a flat garment piece can appear off-center once the clothing is worn and shaped around the body.
Keep Protected Logo Styling Separate From Generic Bats
The source title explicitly references the Batman logo. A generic bat silhouette and a recognizable branded emblem are not necessarily interchangeable when a finished item will be sold, advertised, or used commercially. If commercial use matters, check the relevant rights rather than assuming that recreating a protected logo in crochet removes those considerations.
Original Tutorial and Creator Credit
Creator: Ahuyama Crochet
14. Crochet Mini Bat Applique Swarm
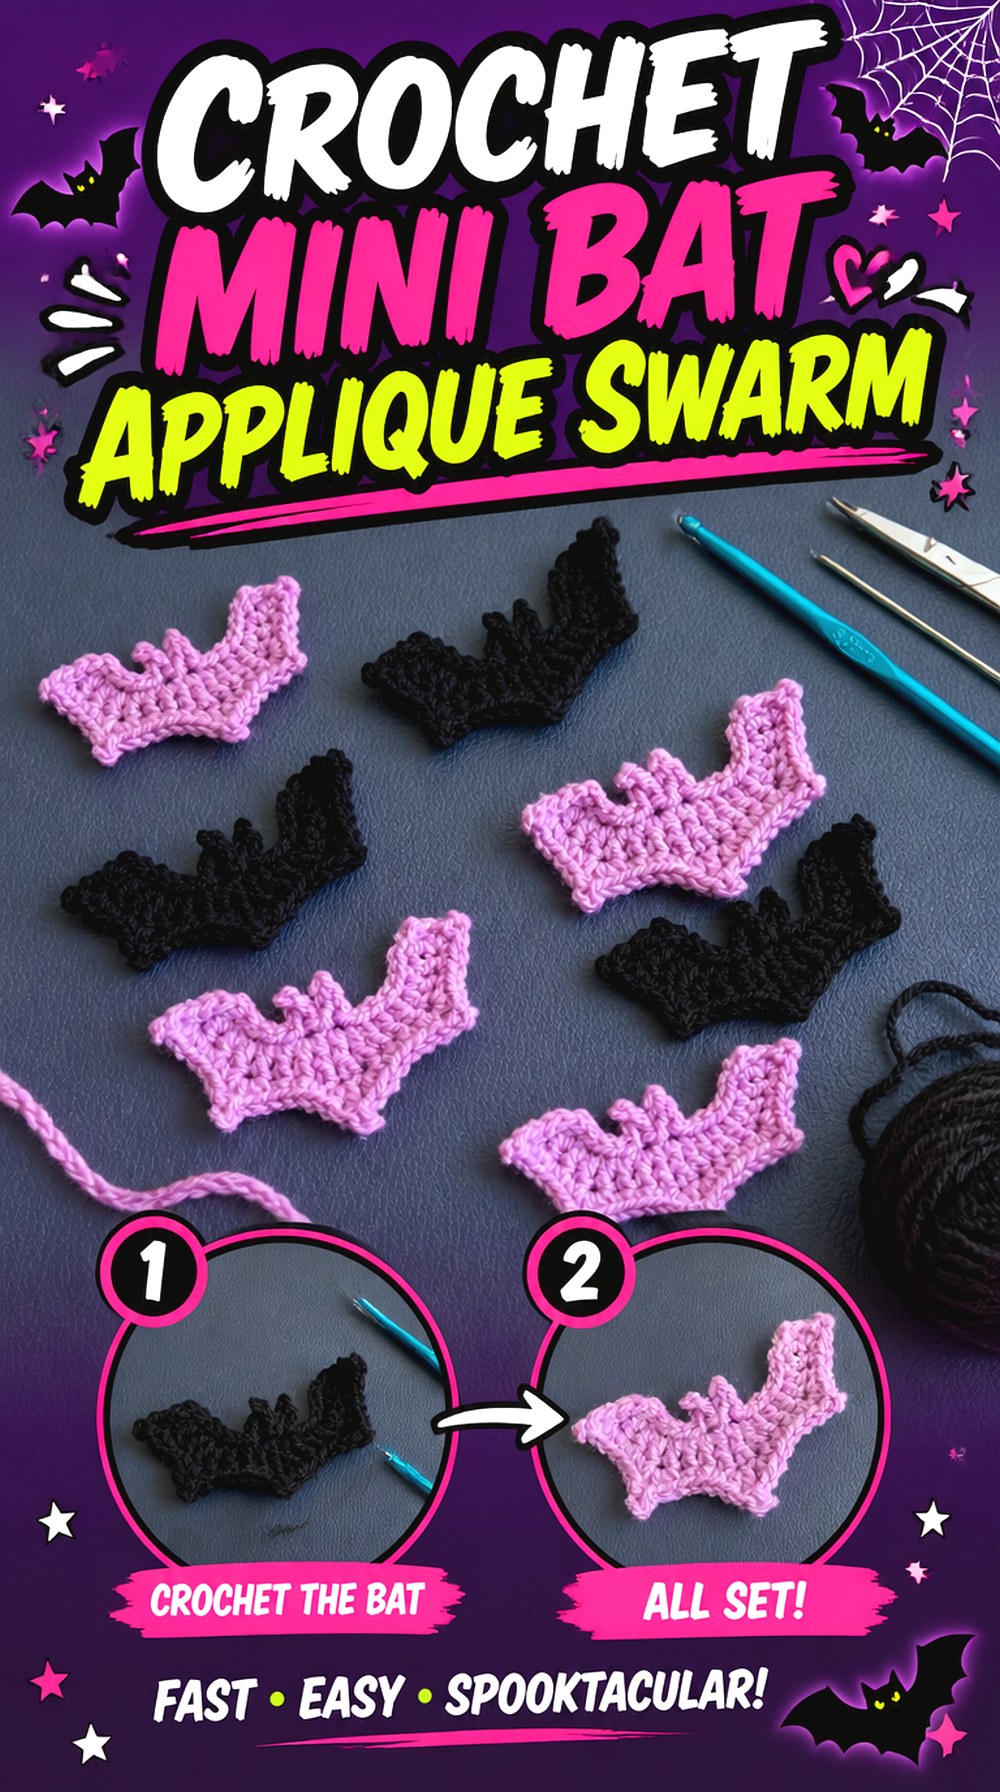
Caro-stitched’s tutorial focuses on quick, small Halloween bats intended as decorations. That makes it well suited to an editorial “swarm” idea: instead of enlarging one bat until it dominates the project, make several and use their positions and angles to create movement across a banner, table display, door hanging, or other seasonal backdrop.
The strongest version does not require every bat to look different. Repeating one clear silhouette provides visual unity while spacing and rotation provide variation. Finish two or three first and check that their dimensions are reasonably consistent before making enough for the full arrangement.
Repeated Small Bats Create a Swarm Effect
Begin by choosing the direction of movement: rising diagonally, spreading outward, or passing across the display from one side to the other. Arrange the largest visual concentration first and gradually widen the gaps. This can suggest motion more effectively than placing every bat on a rigid horizontal grid.
Test Contrast Before Making a Full Set
Several black bats can disappear against a very dark background, especially when viewed from across a room. Make one finished sample and hold it against the actual display surface in normal lighting. If its wing edges disappear, change the background, yarn color, or mounting treatment before spending time making a whole swarm with the same visibility problem.
Original Tutorial and Creator Credit
Creator: Caro-stitched
15. Crochet Cute Bat Applique for Hair Clips
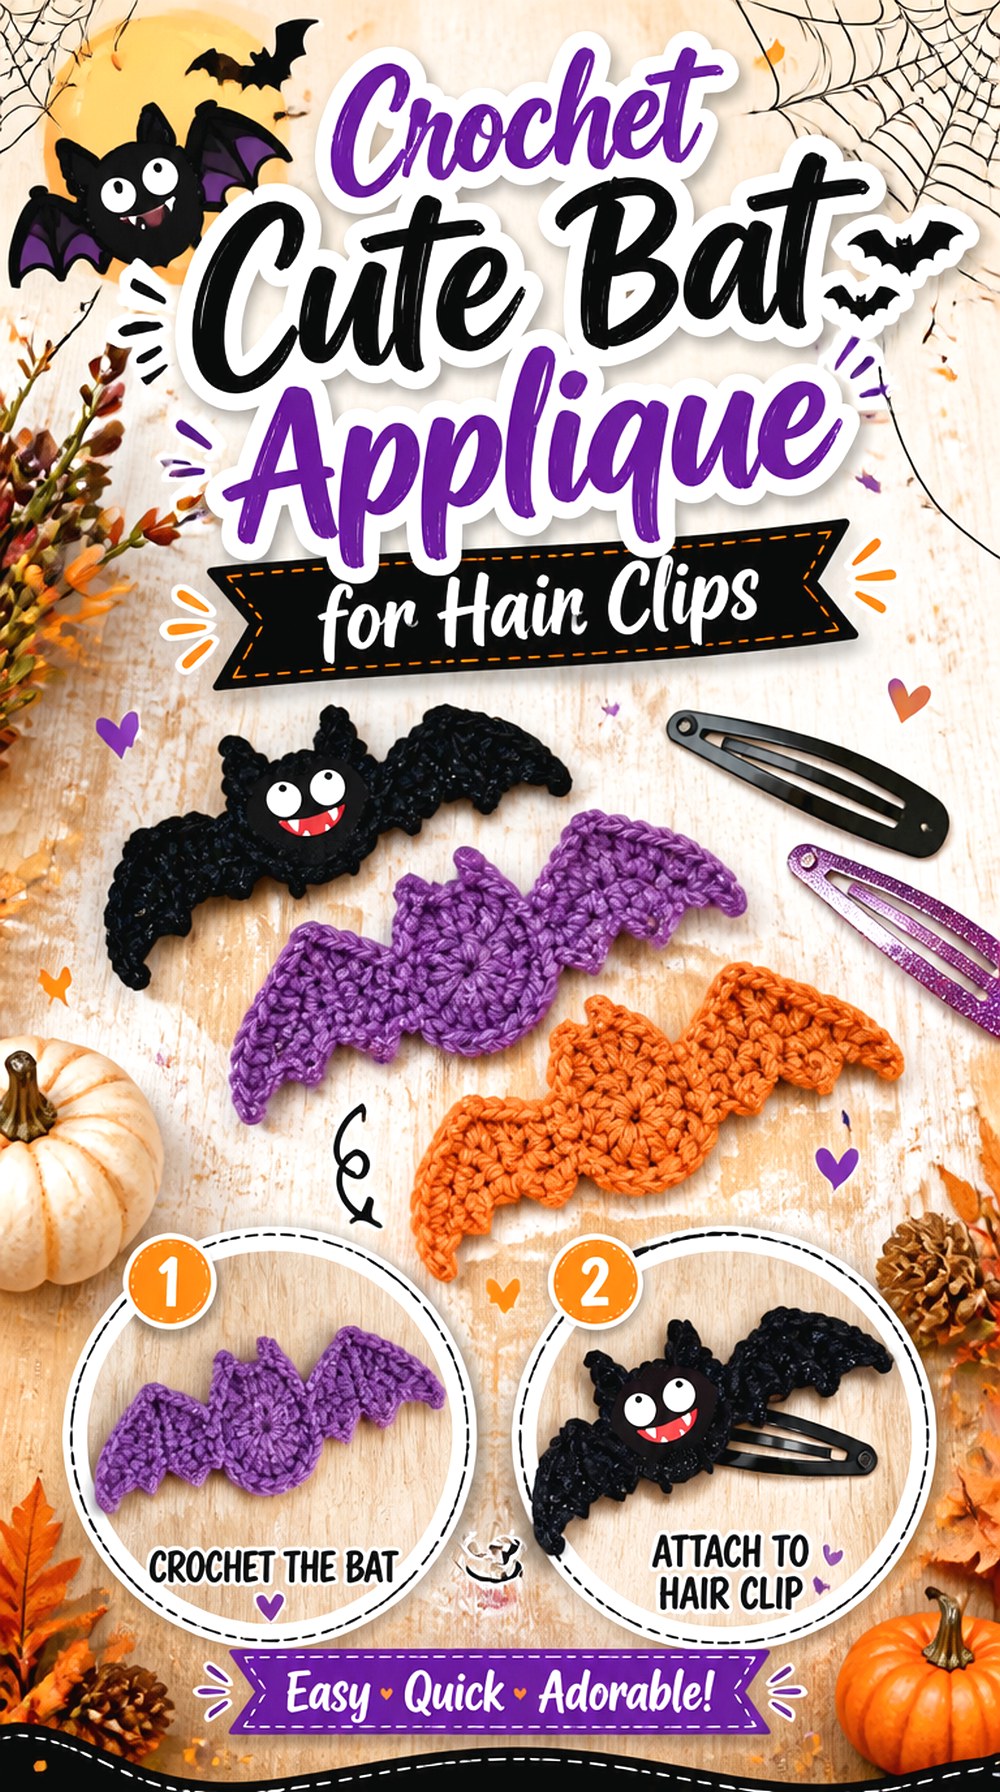
Crochet with Love presents its bat applique with small accessory possibilities that include a hair clip and headband, along with fridge-magnet and home-decor uses. That makes this tutorial a useful choice when the final application needs a small decorative bat rather than a large statement patch.
For hair accessories, keep the crochet and hardware decisions separate. Complete the bat first, then compare its dimensions with the actual clip or headband base. A motif that extends far beyond the hardware can bend or flop differently from one that is supported across most of its width.
Hair Accessories Need a Lightweight Motif
A decorative bat does not need to be oversized to be visible in the hair. Check how the completed motif feels once mounted on the planned hardware and avoid adding unnecessary bulky embellishments. If you change to a thicker yarn than the tutorial example, evaluate the completed sample before making a matching pair.
Backing Choice Changes How the Clip Sits
The crochet tutorial establishes the bat, not a universal method for every style of hair hardware. Different clips, barrettes, and headbands offer different attachment areas. Keep the working mechanism free, make sure the applique does not obstruct opening and closing, and inspect any adhesive or sewing method independently for the materials you actually use.
Original Tutorial and Creator Credit
Creator: Crochet with Love
16. Crochet Pointed Wing Bat Applique for Bags
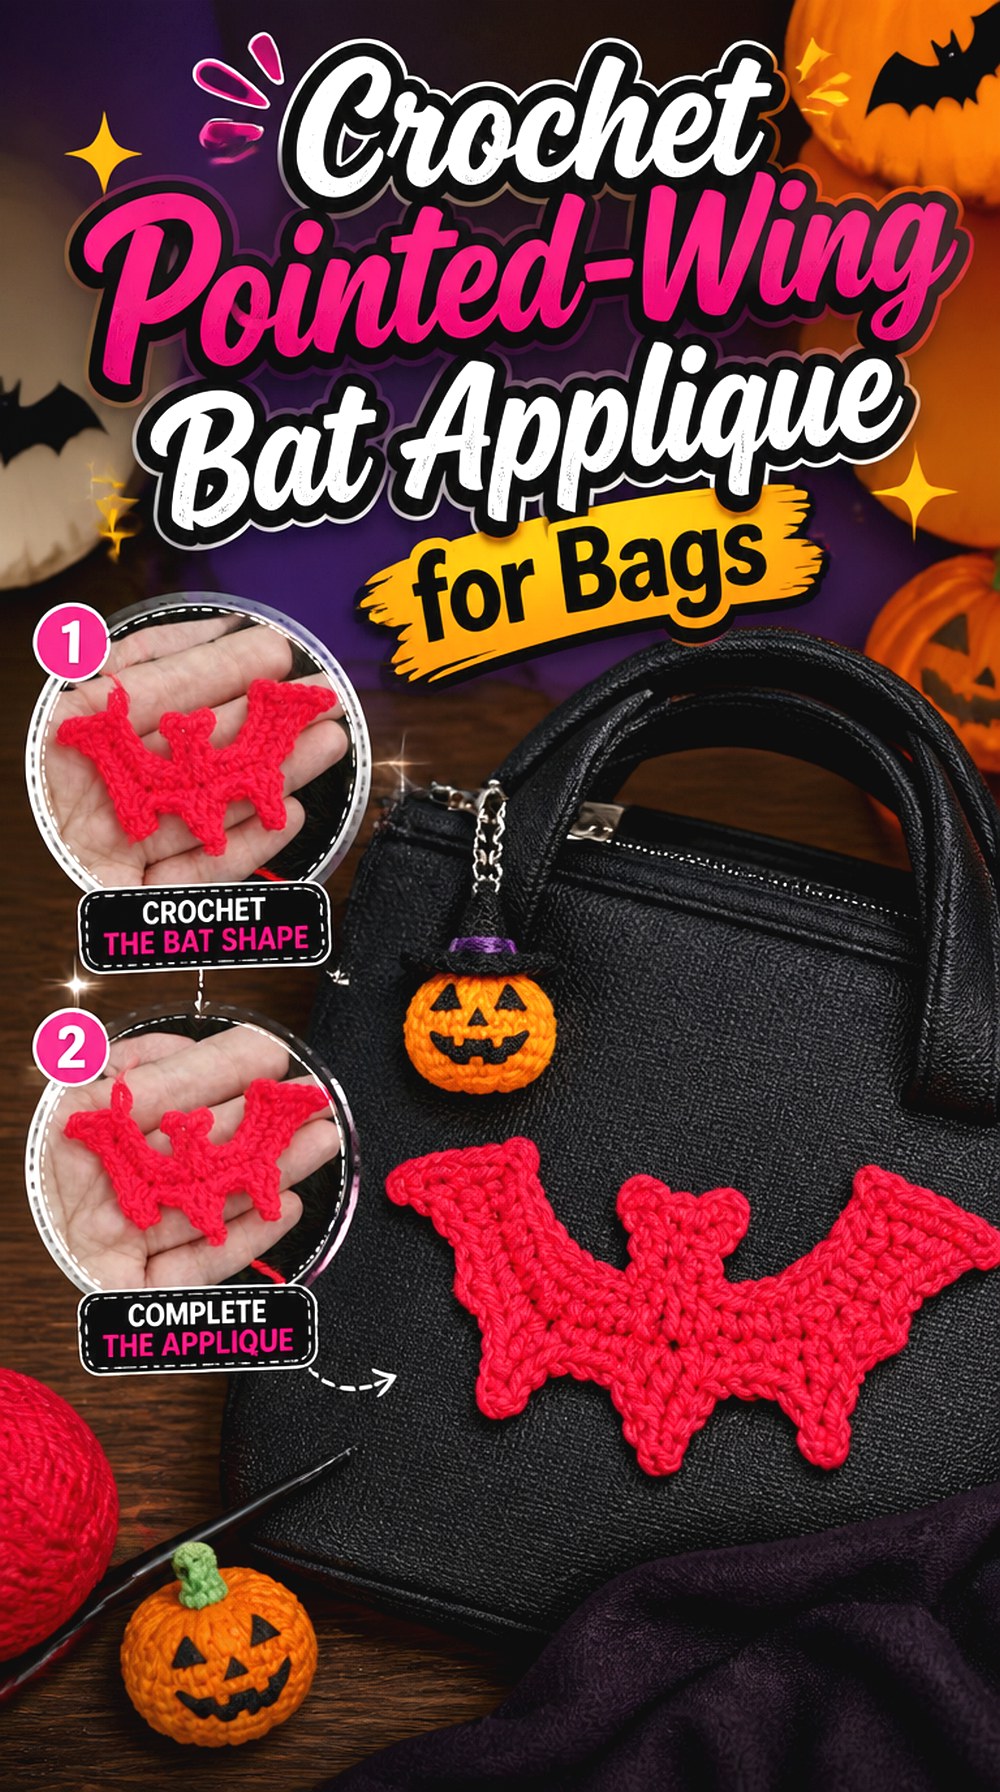
Liziloulovecraft’s bat uses a strongly pointed wing outline that can make a plain bag or beanie feel more graphic without adding a separate stuffed component. The creator’s accompanying article demonstrates the design in DK yarn with a 2.5 mm hook and suggests applications including hats, bags, bunting, and hanging decoration.
On a bag, the pointed silhouette deserves a relatively calm background. Dense multicolor fabric or heavy surface texture can compete with the fine edges. Make the applique first and position it after the main seams, handles, pockets, and closure areas are established.
Pointed Wings Read Best Against Plain Fabric
Sharp outer points depend on contrast. Place the finished motif against the intended bag and view it from several feet away. If the wing edge disappears into stripes, motifs, or a dark background, relocating the bat to a plain pocket or contrasting panel can be more effective than simply increasing its size.
Keep the Patch Clear of Bag Seams
Do not allow a side seam, pocket edge, or handle attachment to divide the main wing silhouette unless that interruption is intentional. Mark those structural zones first and treat the remaining flat area as the available decoration space. This protects both the bat’s shape and the bag construction from having to work around an applique added too early.
Original Tutorial and Creator Credit
Creator: Liziloulovecraft
17. Crochet Medium Bat Applique for Jacket Patches
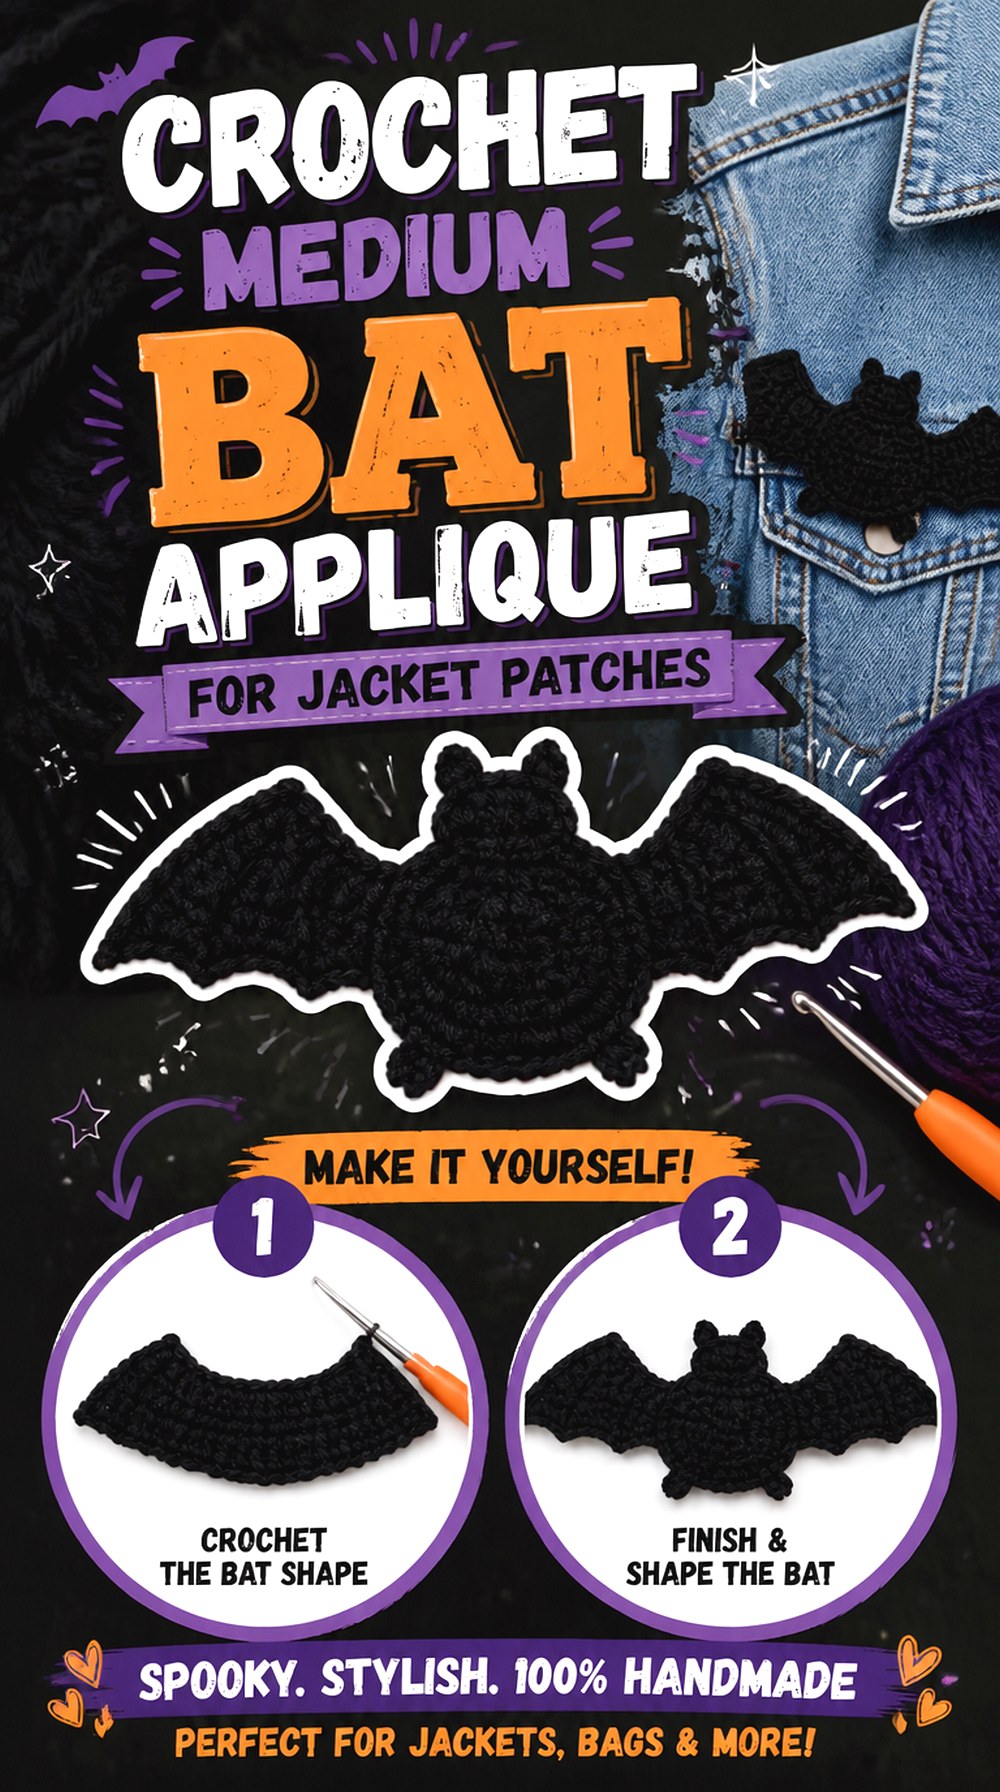
CrochetCrafters’ bat gives the collection a useful middle ground between tiny accessory motifs and the very wide character bat. Dani West’s associated pattern listing identifies the design as a bat applique and gives a source example approximately 14 cm wide by 7 cm high, made with medium-weight yarn and a 5 mm hook.
That proportion can work as a noticeable jacket patch without automatically taking over the entire back panel. Before attaching it, put the jacket on and identify where the fabric bends at the shoulders, side seams, or pockets. The applique should sit where its full wing outline remains visible during normal wear.
Medium Width Makes Placement Less Forgiving
A medium-size bat can be too large for a small pocket yet too small to fill an entire jacket back by itself. Treat that in-between scale as an advantage. Try the upper back, chest, sleeve, or a small grouped arrangement, depending on the garment. Temporary placement is especially helpful because body movement changes how a jacket panel appears.
Jacket Fabric Should Stay Flat Under the Motif
Do not stretch either the jacket or the bat while sewing them together. Distortion can create ripples around the wing edges or cause the applique to pull strangely when the garment is worn. Lay the garment naturally, secure the motif temporarily, and inspect the result on the body before committing to the whole perimeter.
Original Tutorial and Creator Credit
Creator: CrochetCrafters
Comparing the Main Crochet Bat Applique Styles
For small wearable or accessory accents, Ideas 1, 6, 9, and 15 keep the bat relatively compact and suit limited display areas. If you want several bats working together, Ideas 3, 4, and 14 are better starting points because repetition and spacing are central to the finished look.
Ideas 11, 12, and 17 make more sense when the bat needs to hold its own on a wreath, pillow, jacket, or another larger surface. Idea 13 is the most graphic emblem-style option, while Ideas 7 and 12 emphasize more character detail than a simple silhouette.
For experimentation with scale, Ideas 8 and 11 are especially useful. In either case, make one completed sample first. The blocked or finished motif—not the yarn label alone—should determine how many bats fit comfortably on the final surface.
Conclusion
The most useful way to choose among these 17 crochet bat applique ideas is to start with the surface you plan to decorate. Tiny bats suit hats, clips, cozies, and gift toppers, while wider motifs need the uninterrupted space of pillows, jackets, wreaths, or roomy bag panels. Repeated bats work differently again because spacing and orientation become as important as the individual motif.
Also consider how much character you want. A minimal silhouette creates a cleaner graphic look, while separate faces, bodies, or contrasting details make the bat more playful and prominent. Once you have chosen the right scale and style, use the original tutorials credited with each idea for the creators’ exact crochet construction and finishing details.
Frequently Asked Questions
Can I resize a crochet bat applique by changing the yarn and hook?
Often the same design will change size when made with a different yarn weight and compatible hook, and several tutorials here explicitly demonstrate or acknowledge that relationship. However, the result does not simply become a perfectly scaled copy. Thickness, stiffness, stitch definition, and drape can change too. Make one complete sample in the substituted materials and compare its actual finished dimensions with your intended surface before producing multiples.
How can I keep crochet bat wings from looking curled or uneven?
First check whether the creator includes specific finishing or blocking guidance for that design. General shaping or appropriate blocking can help some motifs, but the correct method depends on the fiber. Uneven tension can also make one side behave differently from the other. Avoid aggressively stretching the bat into symmetry; compare the wing edges after finishing and correct material or tension issues before permanently attaching the applique.
Can crochet bat appliques be added to both fabric and crochet projects?
Yes, a separate applique can potentially decorate many suitable surfaces, but the attachment method depends on the base material. A crochet blanket, knit hat, fabric tote, and hair accessory do not behave the same way. Establish the applique position first and consider stretch, seams, closures, washing, and the reverse side. The bat tutorial usually teaches the motif itself, not every possible method for attaching it to another finished object.
Which bat applique style works better for a Halloween garland?
Compact, self-contained bats are usually easier to repeat than very large character motifs. Look for a silhouette that remains recognizable when viewed from across the room and make one sample before deciding quantity or spacing. The Crochet Chemistry, Pora Pora Crochet, and Caro-stitched options are particularly relevant to repeated Halloween decoration. A garland also benefits from planning the whole layout before permanently joining the motifs.
Should I add googly eyes or beads to a bat applique for a child’s project?
Do not assume a decorative eye or bead is appropriate just because the crochet motif itself is small and soft. Loose or detachable embellishments can change the suitability of the finished item. Lizfaerie Crafts’ associated pattern information specifically warns against seed beads for babies or very young children. For child-focused projects, evaluate every attached component and use secure, age-appropriate alternatives where necessary.
How should I arrange several bat appliques on a blanket or bag?
Complete the background panel and at least one finished bat before deciding on the layout. Place all motifs without attaching them and experiment with direction, spacing, and negative space. On bags, keep bats away from zippers, handles, folds, and heavily stressed seams. On blankets, consider borders and how the fabric folds. A diagonal “flight” arrangement can add movement, while a regular grid gives a more orderly repeated pattern.