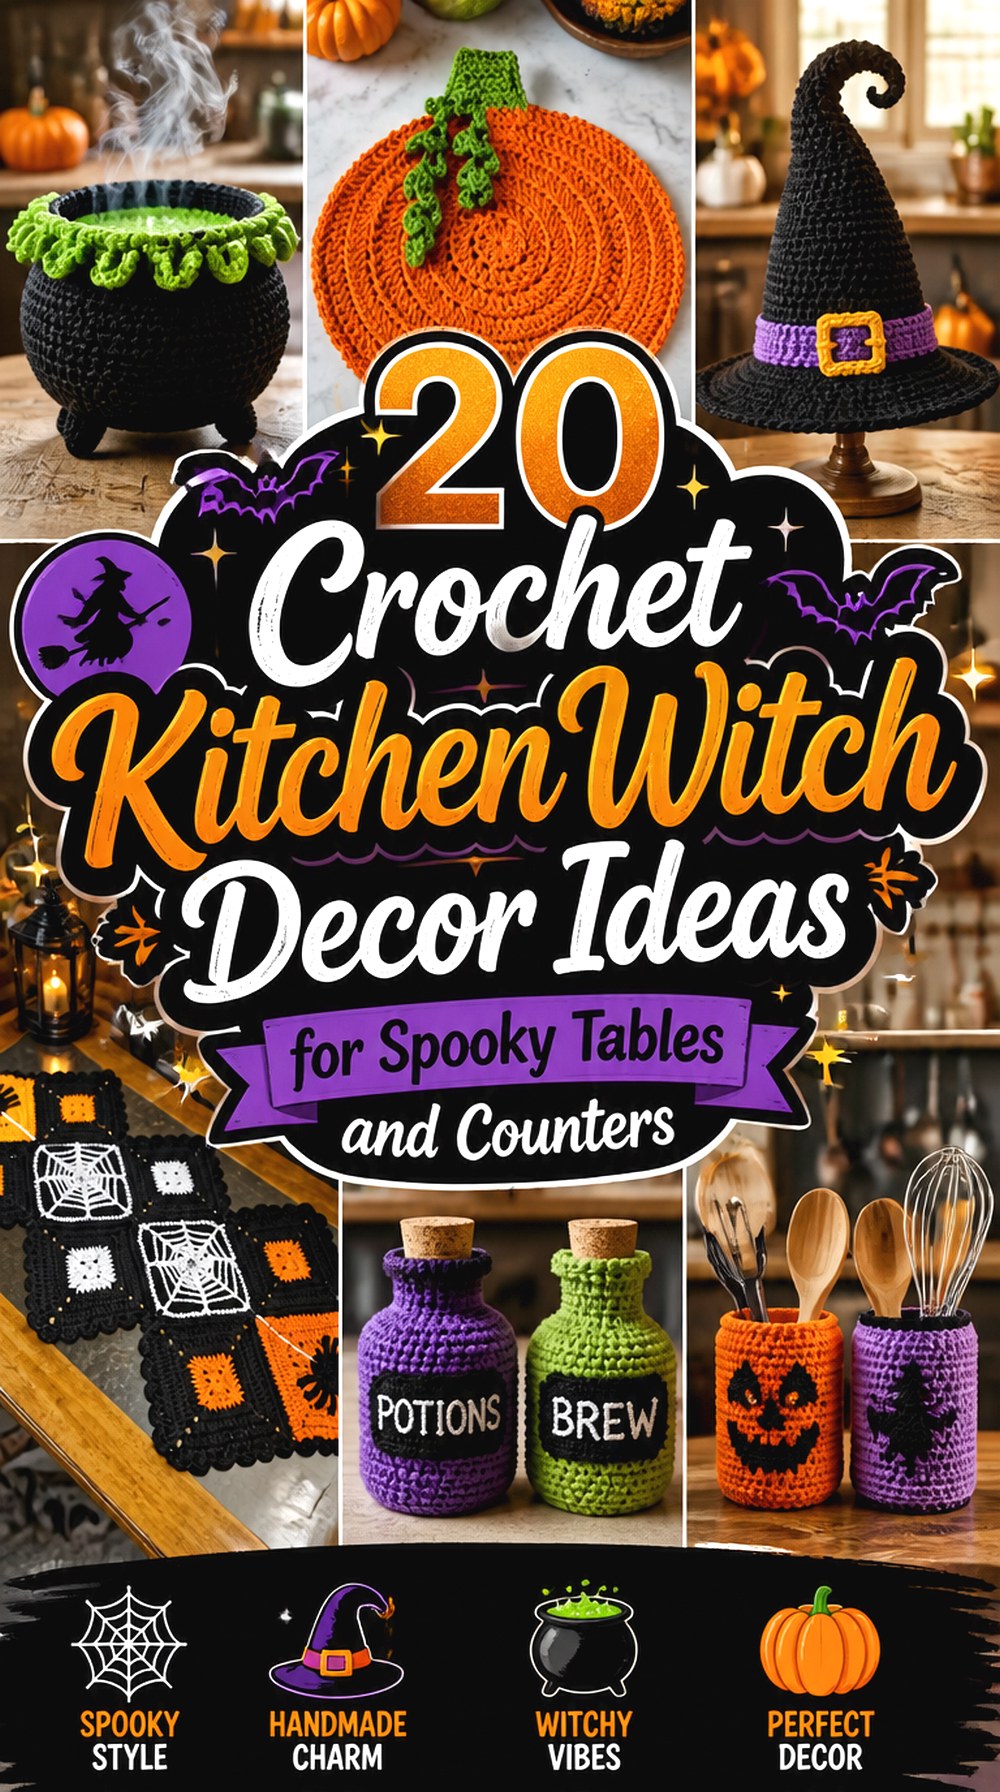
20 Crochet Kitchen Witch Decor Ideas for Spooky Tables and Counters
Kitchen witch decor can go far beyond one stuffed witch sitting on a shelf. Crochet makes room for tiny cauldrons beside a coffee station, celestial coasters under mugs, spiderweb pieces across a table, witchy appliqués on hanging decor, and seasonal kitchen accessories that still have a practical purpose.
Because exact “kitchen witch” video tutorials are a fairly narrow niche, this collection combines directly witch-themed projects with compatible Halloween, celestial, and potion-inspired tutorials that can be styled into the same kitchen aesthetic. The differences matter: some ideas are purely decorative, some belong under cups or plates, and only projects specifically designed for heat-related kitchen use should be treated that way. Use the comparisons below to choose by placement, cleaning needs, structure, and how strongly you want the finished kitchen to lean witchy rather than simply Halloween-themed.
Quick List
- Crochet Countertop Witch Doll
- Crochet Bubbling Witch Cauldron
- Crochet Mini Potion Bottle Decor
- Crochet Witch Broom Appliqué
- Crochet Black Cat Halloween Mug Cozy
- Crochet Pointed Witch Hat Coaster
- Crochet Crescent Moon Cup Mat
- Crochet Celestial Star Coaster
- Crochet Friendly Ghost Coaster
- Crochet Bat Wing Coaster
- Crochet Gothic Skull Coaster
- Crochet Eyeball Drink Coaster
- Crochet Spider Table Coaster
- Crochet Pumpkin-Shaped Coaster
- Crochet Candy Corn Accent Coaster
- Crochet Spiderweb Table Doily
- Crochet Pumpkin Kitchen Placemat
- Crochet Halloween Motif Table Runner
- Crochet Pumpkin Potholder
- Crochet Coffin Coaster Garland
Build a Kitchen Witch Look Without Making Everything Match
A coordinated kitchen does not require twenty black-and-purple projects. Repetition works better when it comes from a few controlled details: perhaps black outlines, muted green accents, one metallic-looking yarn color, or repeated celestial motifs. Then allow the actual shapes to change.
A witch doll and cauldron can provide the strongest character references, while moons, stars, pumpkins, webs, and potion pieces carry the idea across the room more quietly. This approach also prevents a crowded counter from looking like a pile of unrelated Halloween crafts. Before choosing colors, decide which objects will sit together. A coffee corner may only need a mug cozy and two celestial coasters, while a dining table can handle the larger visual weight of a runner or spiderweb centerpiece.
Separate Decorative Crochet From Heat-Contact Kitchen Pieces
A coaster, decorative mat, amigurumi cauldron, and potholder do not have the same job. Do not assume that a project is safe for hot cookware simply because it is photographed in a kitchen. Yarn fiber, construction, thickness, added materials, and the tutorial’s intended use all matter.
For potholders and other pieces specifically intended for hot items, follow the creator’s material guidance carefully. Avoid adding plastic embellishments or unknown synthetic components to surfaces that may encounter significant heat. Decorative cauldrons, stuffed potion bottles, figures, and garlands belong away from burners, open flames, and hot cookware. When in doubt, use a witchy crochet piece as display decor rather than assigning it a heat-protection function the original project was never designed to provide.
Plan Around Counter Space, Plates, and Storage
Small motifs are useful when working with a busy kitchen because they can be grouped, moved, or stored without taking over food-preparation space. Large placemats, doilies, and runners create more impact but need clear dimensions before you commit to a set.
Check the tutorial’s finished size when it is provided, then compare that measurement with the mug, plate, shelf, or table where you expect to use the item. Also think beyond October. Flat coasters and appliqués are easy to stack, while stuffed witches and cauldrons need a storage box that will not crush their shape. If several projects will share one table, vary the scale deliberately: one large centerpiece plus small cup accents generally reads more clearly than several competing statement pieces.
1. Crochet Countertop Witch Doll
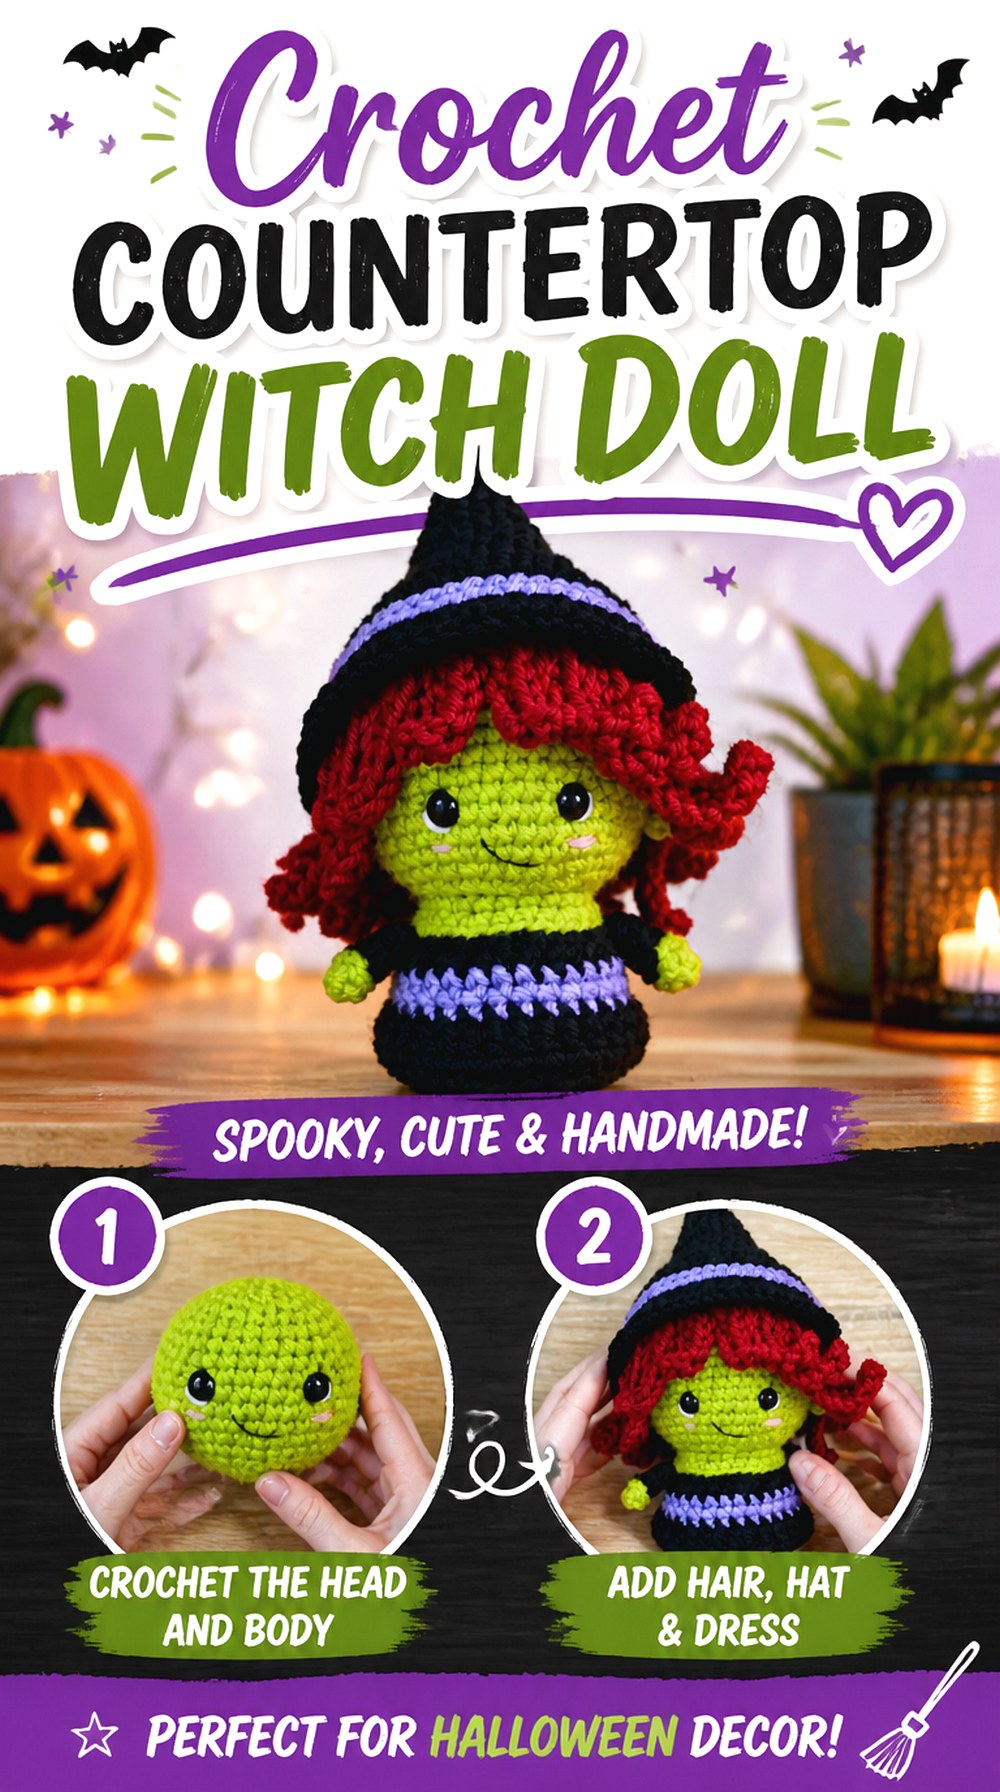
A standing crochet witch immediately establishes the theme, making it useful when the rest of the kitchen decor is relatively subtle. The tutorial from The Kindness Company creates a recognizable amigurumi witch with a dress, hair, and pointed hat rather than a flat motif.
For kitchen styling, treat the doll as a shelf or counter display rather than a functional kitchen tool. It can anchor a group containing a potion bottle and cauldron without requiring every nearby coaster or placemat to show another witch face. A figure also adds vertical height, which helps break up a display dominated by flat table pieces.
Give the Witch Enough Visual Space to Read Clearly
A detailed amigurumi figure loses impact when wedged between appliances, utensil crocks, and food containers. Place it where the hat, hair, and body silhouette can be seen from the front. If you create a grouped display, keep the other items lower so the witch remains the focal point instead of disappearing into a similarly tall collection.
Check Small Facial and Costume Details Before Displaying
Amigurumi finishing has an outsized effect because small shifts in facial features or attached costume pieces can change the expression and silhouette. Review the creator’s assembly sections rather than positioning details only from the finished thumbnail. If the kitchen is used heavily, also keep the figure away from grease, splashes, and steam that would make a stuffed decorative object difficult to keep clean.
Original Tutorial and Creator Credit
Creator: The Kindness Company
2. Crochet Bubbling Witch Cauldron
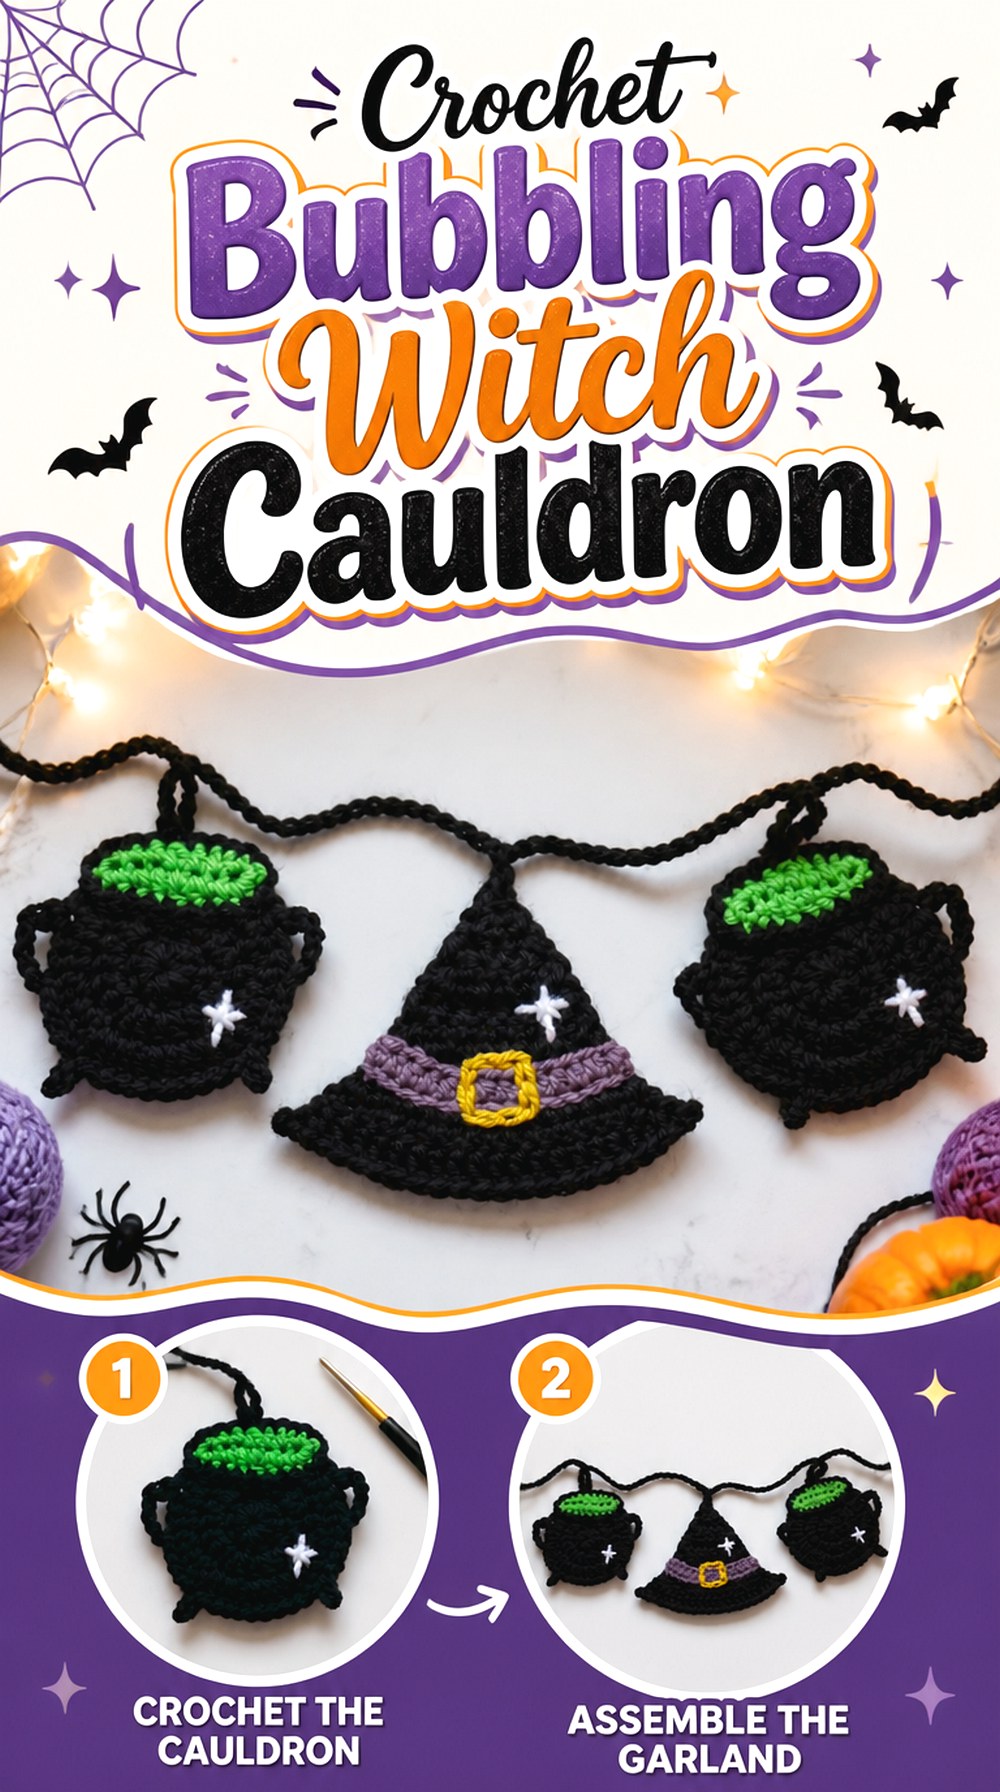
A crochet cauldron brings the “kitchen witch” idea directly into the room without needing a human character. Molly’s tutorial shows a three-dimensional cauldron with contrasting potion details, giving the project more presence than a simple cauldron appliqué.
Use it as countertop or shelf decor near mugs, labeled jars, cookbooks, or other fantasy-inspired pieces. Its rounded body creates a useful visual contrast with flat coasters and mats elsewhere in the collection. Because it is a crafted display object rather than cookware, keep it clearly separated from actual pots, burners, and food-preparation tasks.
Make the Rim and Potion Area the Main Contrast
The upper edge is where viewers understand that the shape is a cauldron rather than an ordinary dark bowl. Choose colors that keep the rim, body, and potion surface visually distinct. If every section is equally dark, the finished silhouette can lose definition, especially on a shadowed shelf.
Support the Shape Before Choosing Its Shelf
Three-dimensional crochet decor needs enough structure to stay recognizable from normal viewing distance. Follow the tutorial’s finishing guidance instead of overfilling or reshaping the body by guesswork. Once finished, test the cauldron on its intended surface and make sure the base sits securely before surrounding it with smaller accessories.
3. Crochet Mini Potion Bottle Decor
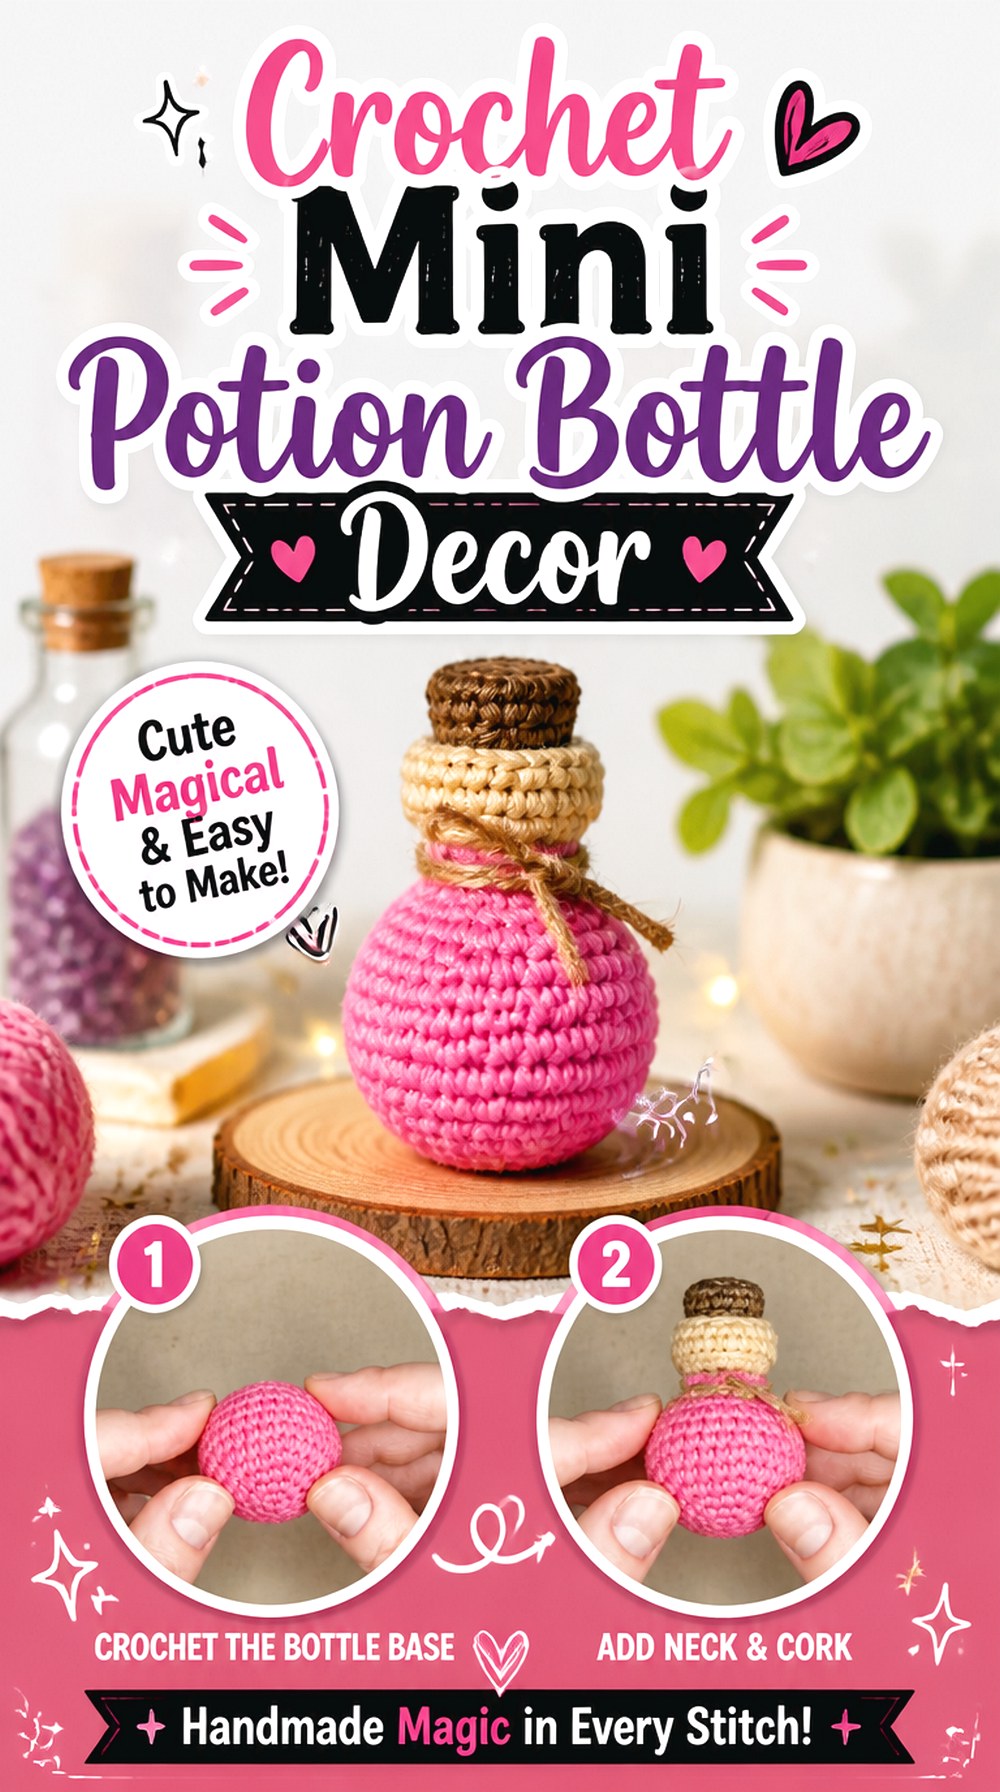
A small potion bottle works well when you want witchy detail without sacrificing much counter or shelf space. JuliHMtoys Crochet Patterns demonstrates a stuffed mini bottle with a narrowed neck and contrasting stopper, giving the finished piece a clear fantasy-potion silhouette.
This is a natural companion for the cauldron or witch doll, but it can also sit alone beside a coffee station as a playful accent. Multiple bottles could create an apothecary look, although changing the colors and labels is more effective than simply repeating identical pieces. Keep decorative bottles away from food prep if they include stuffing or embellishments that are inconvenient to wash.
Preserve the Bottle Shape When Changing Yarn
The visual success of a potion bottle depends on the relationship between its wider body and narrower neck. A dramatically thicker or fuzzier yarn can soften those transitions. If you substitute materials, compare the emerging silhouette with the tutorial instead of assuming every yarn will produce the same bottle-like proportions.
Keep Added Labels Secondary to the Silhouette
Tiny embroidered symbols or labels can make the bottle more personal, but an overloaded front can hide the clean shape that makes the object readable at a glance. Finish the bottle first, then decide whether it actually needs an extra motif. A simple moon, star, initial, or contrasting band is often enough to connect it to the rest of a kitchen witch display.
Original Tutorial and Creator Credit
Creator: JuliHMtoys Crochet Patterns
4. Crochet Witch Broom Appliqué
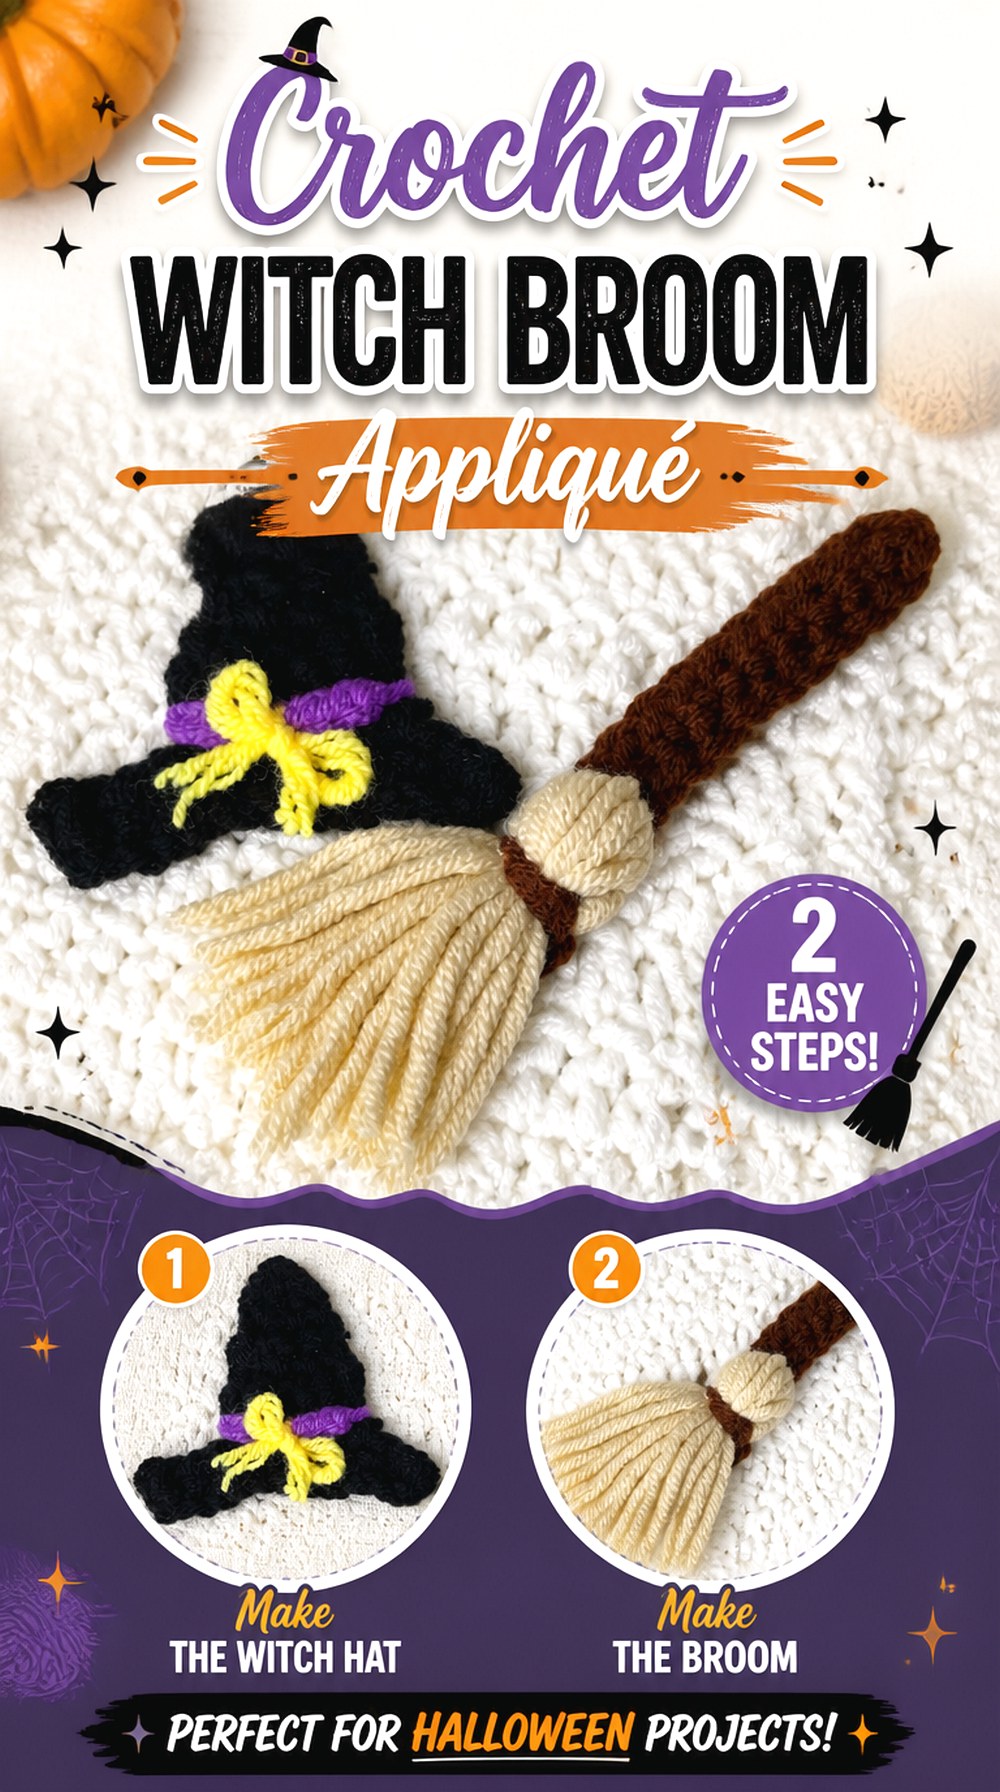
A broom is one of the easiest witch motifs to integrate into existing kitchen decor because it is flat rather than bulky. WeiWei Wei’s tutorial creates a crochet witch broom appliqué in brown and beige tones.
Instead of treating the appliqué as a standalone counter piece, use it as a decorative accent on an appropriate hanging textile, bunting panel, framed crochet collage, or other non-heat-contact display. Its long narrow profile is particularly useful beside rounded motifs such as pumpkins, cauldrons, and moons because it introduces a different direction and scale.
Decide on Placement Before Securing the Broom
A long appliqué can look unbalanced when squeezed into the center of a square surface. Test it diagonally, horizontally, and slightly off-center before attaching it to another crochet piece. If it will be combined with stars or moons, leave enough negative space for the broom silhouette to remain obvious.
Keep Decorative Brooms Away From Cooking Heat
A broom appliqué may look charming near a stove, but appearance does not make it heat-resistant. Treat it as decorative unless the larger item and all its materials were specifically designed for the intended kitchen function. Wall displays, cabinet decorations, and removable seasonal hangings are safer ways to use the motif without confusing decoration with protective kitchen gear.
Original Tutorial and Creator Credit
Creator: WeiWei Wei
5. Crochet Black Cat Halloween Mug Cozy
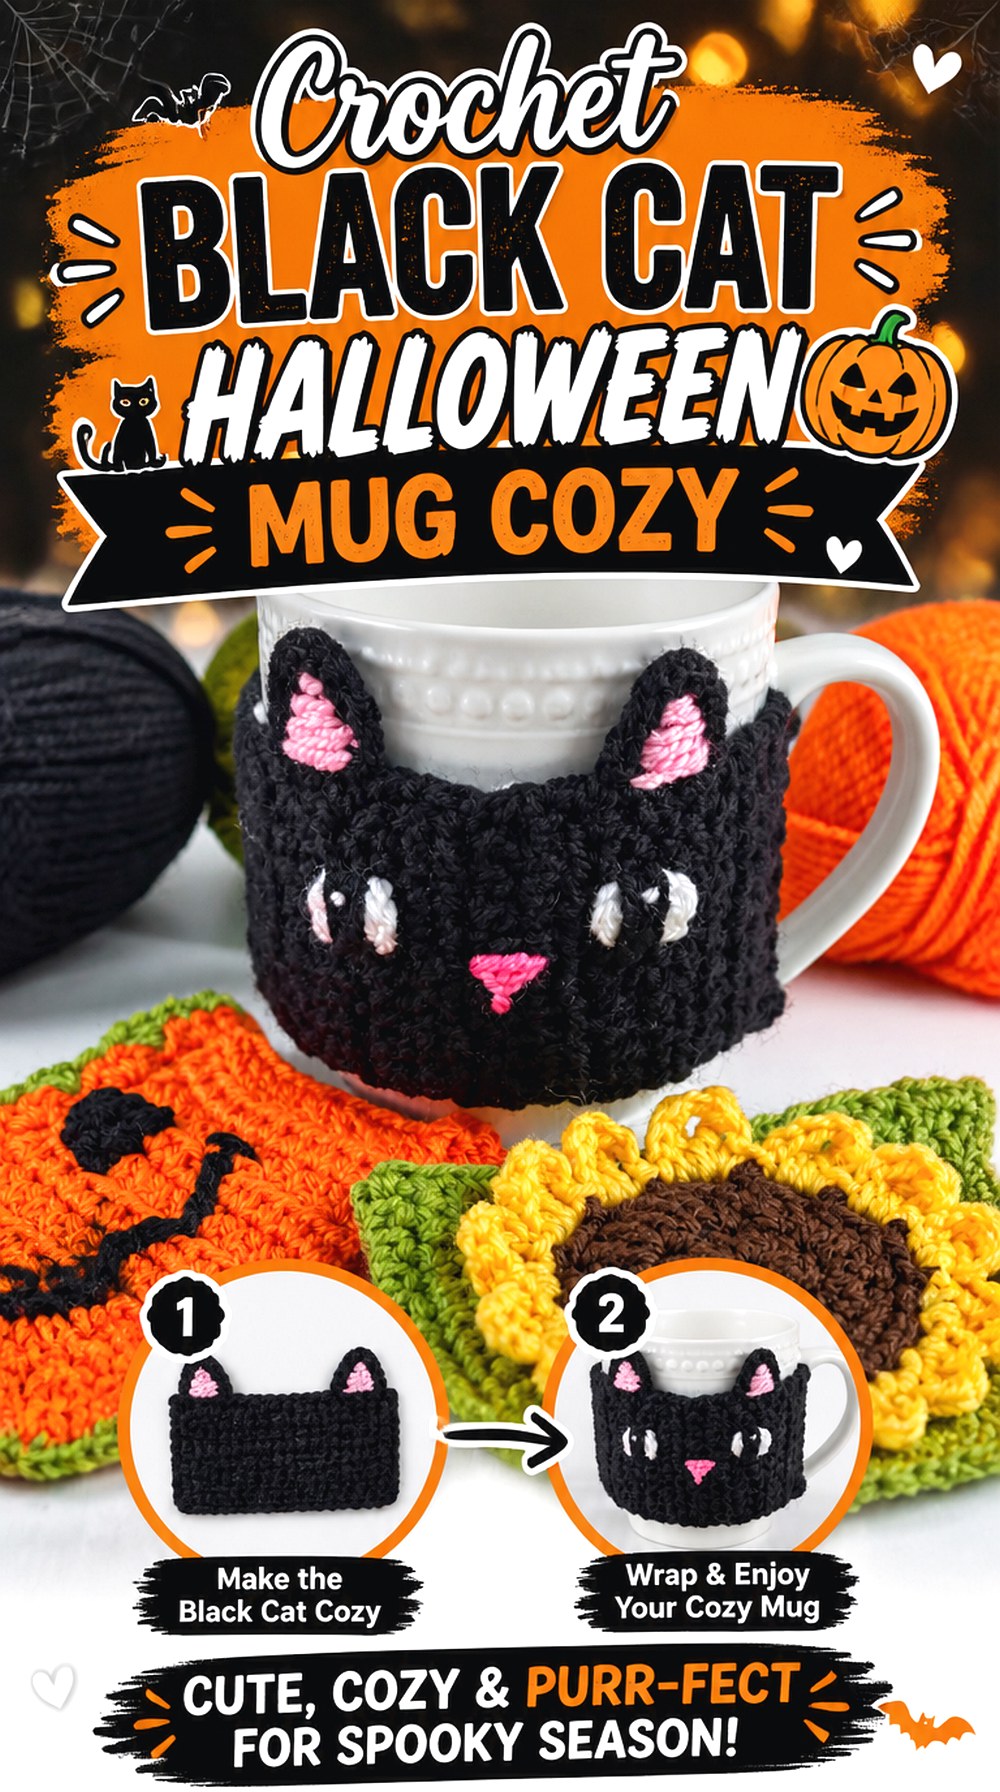
This mug cozy combines several seasonal motifs instead of relying on a single witch image. Play Hooky with Me’s tutorial includes Halloween-themed mug-cozy decoration featuring a black cat along with pumpkin and sunflower elements.
For a kitchen witch version, the black-cat option fits especially well beside potion bottles, moons, and stars. A cozy is also more intimate than a large table runner because it changes one everyday object rather than the whole room. The tutorial discusses measuring the cup, which matters because a decorative cozy that slides or interferes with the handle is less useful than one planned around the actual mug.
Measure the Mug You Will Really Use
Do not assume that a cozy made for one cup will automatically fit a tall travel mug, tapered ceramic cup, or wide-handled mug. Compare the tutorial’s fitting approach with your chosen cup before adding decorative details. The black-cat motif should remain visible when the cozy is in its normal position rather than being hidden beneath the handle.
Plan for Removal Before Washing the Cup
A removable cozy is easier to manage around coffee, tea, and kitchen spills than decoration permanently attached to drinkware. Check how the tutorial closes or joins the cozy and make sure you can remove it without stretching the motif. Also confirm the yarn’s own care instructions rather than assuming every fiber can be washed the same way.
Original Tutorial and Creator Credit
Creator: Play Hooky with Me
6. Crochet Pointed Witch Hat Coaster
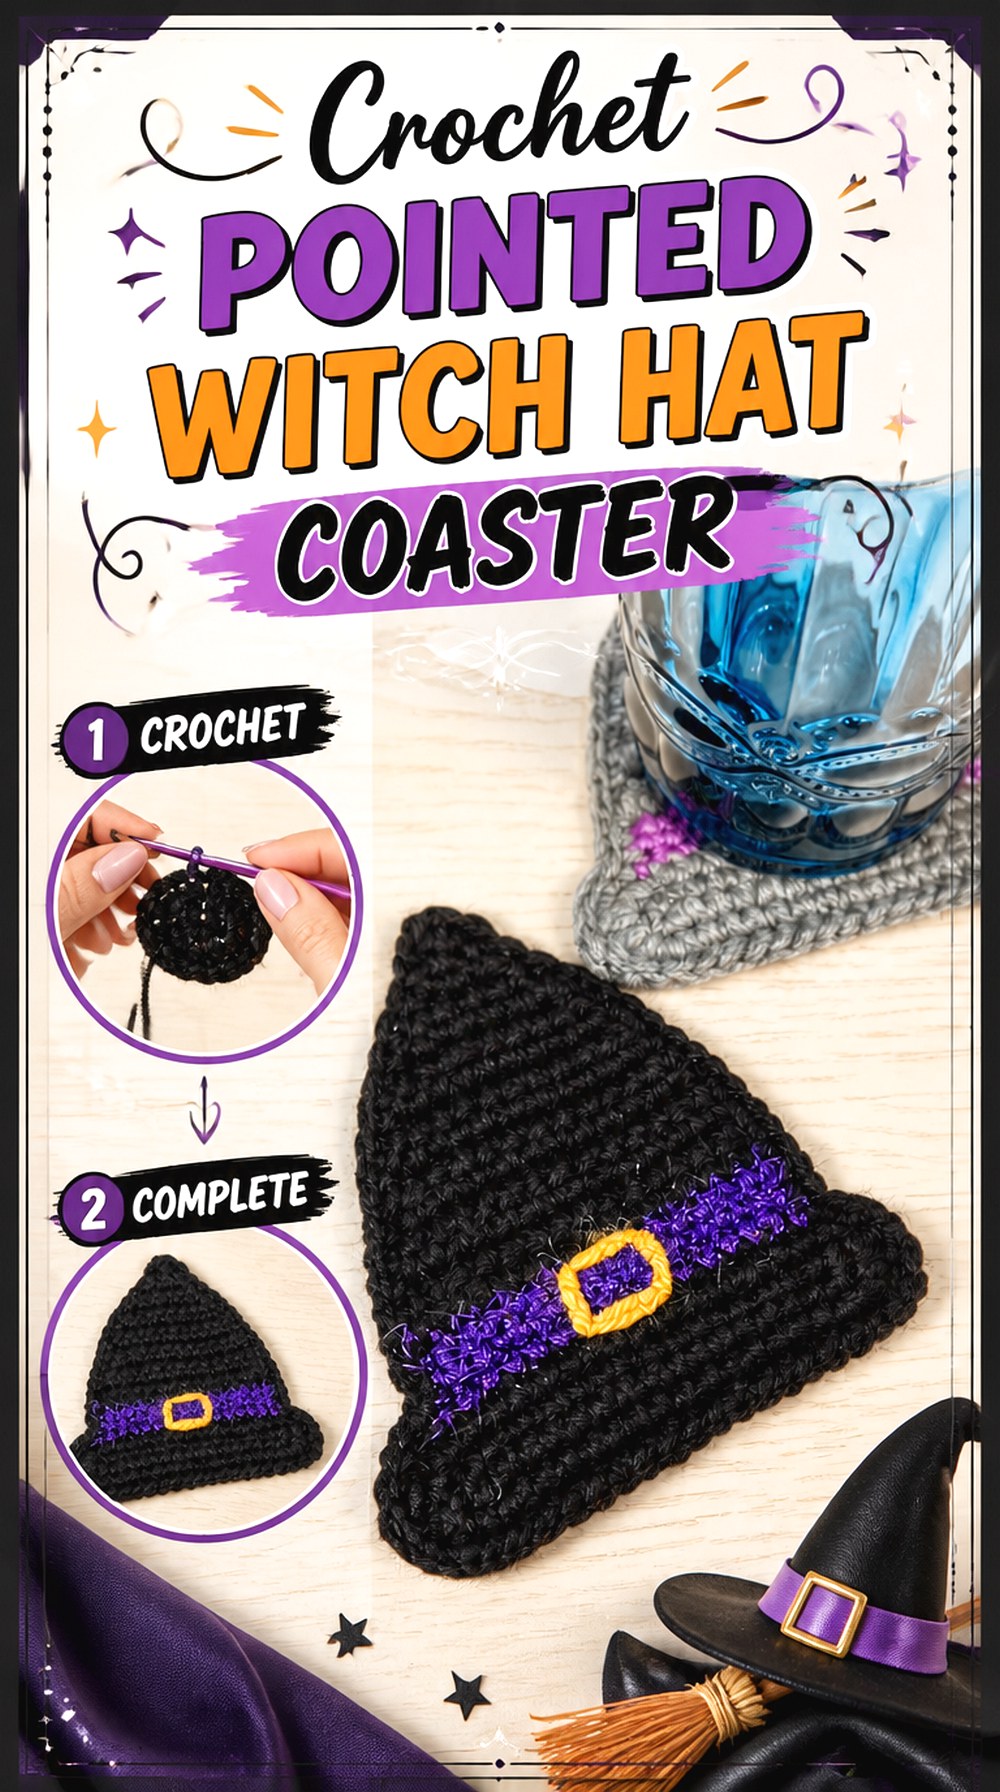
A witch-hat coaster gives the table a clear magical theme without taking up the space of a stuffed figure. DoodabsDesigns Crochet demonstrates a shaped witch’s hat coaster with contrasting decorative details.
Unlike a round coaster, this shape has a tall point and wider brim, so the decorative outline extends beyond the area directly beneath a cup. That makes it more noticeable in a place setting, but it also means flat finishing matters. A set can be coordinated through repeated band colors while allowing each hat body to vary slightly.
Keep the Hat Brim Flat Enough for the Cup Area
The most recognizable part of the design is also the section likely to sit beneath or beside a mug. After finishing, check for curling around the brim and compare the piece with the creator’s finished result. A coaster that rocks under a cup is better treated as table decoration until its shape is corrected.
Use the Hat Band to Connect a Mixed Set
If the kitchen already contains green cauldrons, orange pumpkins, and purple celestial pieces, repeating one of those colors in the hat band can tie the collection together. This creates cohesion without forcing the entire hat to match every other object.
Original Tutorial and Creator Credit
Creator: DoodabsDesigns Crochet
7. Crochet Crescent Moon Cup Mat
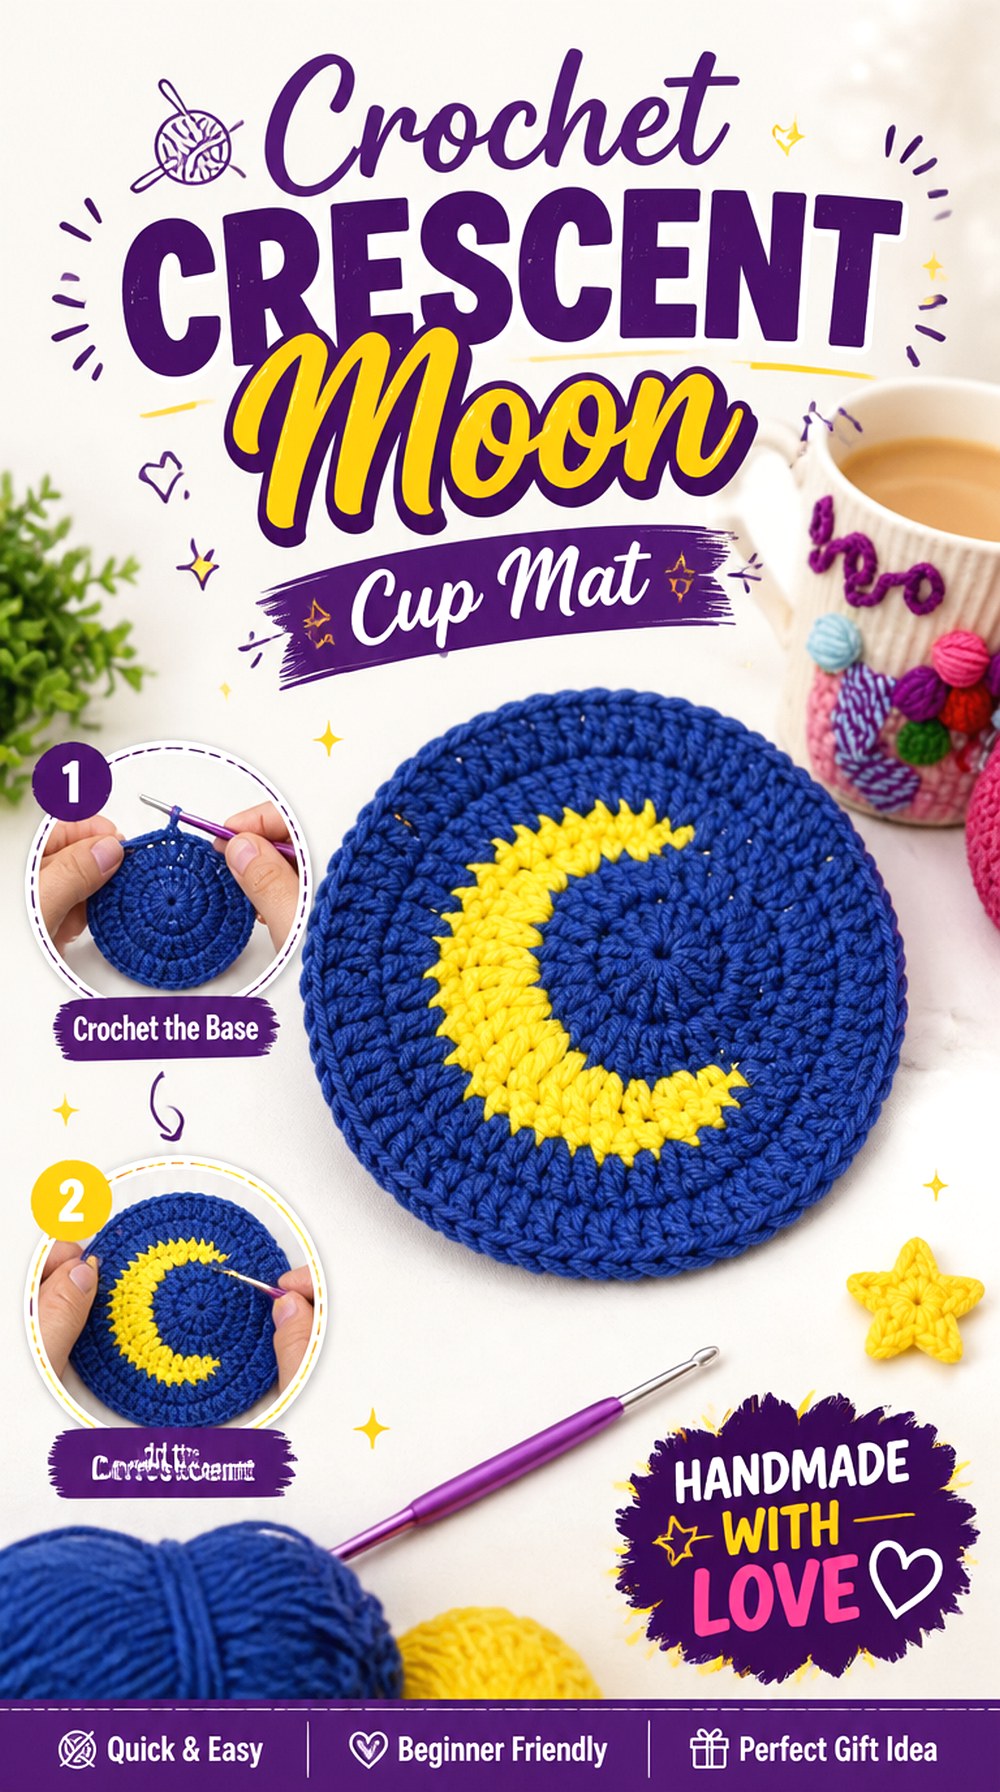
A crescent moon shifts the kitchen from straightforward Halloween decor toward a more celestial witch aesthetic. Crochet with marmara’s tutorial is presented as a crescent coaster rather than witch decor, so the value here is the finished moon shape that can be adapted through color and styling.
Cream, charcoal, muted gold, dusty lavender, or deep blue can make the same silhouette feel very different. Place it near star coasters or potion-themed pieces to make the celestial connection clearer. Because the crescent has open negative space, it reads differently from the solid round coasters elsewhere in the collection.
Make Sure the Crescent Still Supports the Intended Cup
A dramatic curve can be visually appealing while leaving less continuous surface under a mug. Compare the size and shape of your normal cup with the finished coaster before making a whole set. For very wide or heavy drinkware, a more solid coaster may be the practical choice.
Use Color to Move It Away From Its Original Theme
The source tutorial is not designed specifically as witch decor. Rather than copying its full styling context, use the crochet shape as a neutral celestial element and select colors that coordinate with your kitchen witch palette. Pairing the moon with black, moss, plum, or antique-gold-looking accents can shift the overall visual direction without changing the tutorial’s construction.
Original Tutorial and Creator Credit
Creator: crochet with marmara
8. Crochet Celestial Star Coaster
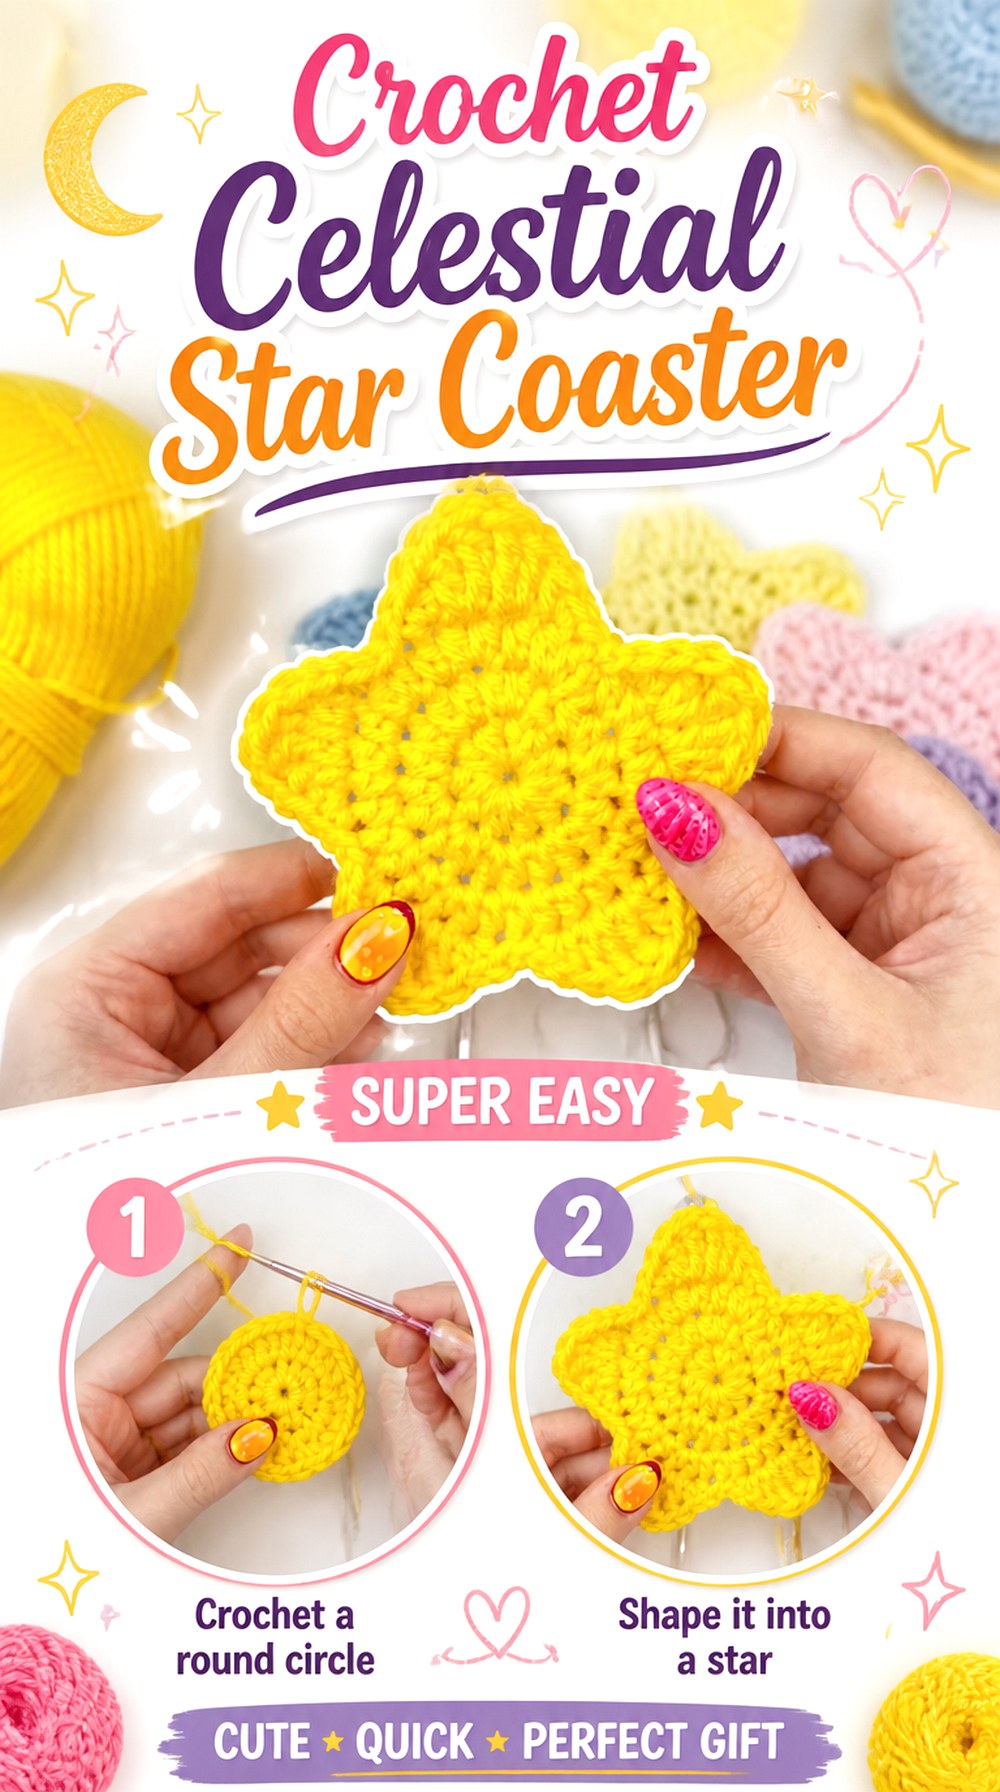
Stars help bridge witch, celestial, and everyday kitchen styling. ElyseCrochets demonstrates a five-point star coaster designed as a home-decor piece. A star feels lighter and less overtly seasonal than a skull or pumpkin, so it can remain in a coffee corner after Halloween decor is packed away.
It also pairs naturally with the crescent moon coaster without requiring the two shapes to come from the same tutorial or construction style. For a coordinated set, use one shared neutral yarn and reserve stronger accent colors for selected stars.
Consistent Points Matter More in a Repeated Set
A single slightly uneven star may not attract attention, but differences become obvious when several are lined up on a table. Lay each finished piece flat and compare the points before making the next one. Keeping your tension consistent is more important than trying to force every star to an invented universal measurement.
Keep the Center Area Practical
The decorative points can extend beyond a cup, but the center still needs to sit reasonably flat. Before using the star under drinkware, inspect the middle for a raised knot or bulky woven-in ends. If the center will not lie securely, move that particular star into a decorative arrangement rather than using it beneath a glass.
Original Tutorial and Creator Credit
Creator: ElyseCrochets 💌
9. Crochet Friendly Ghost Coaster
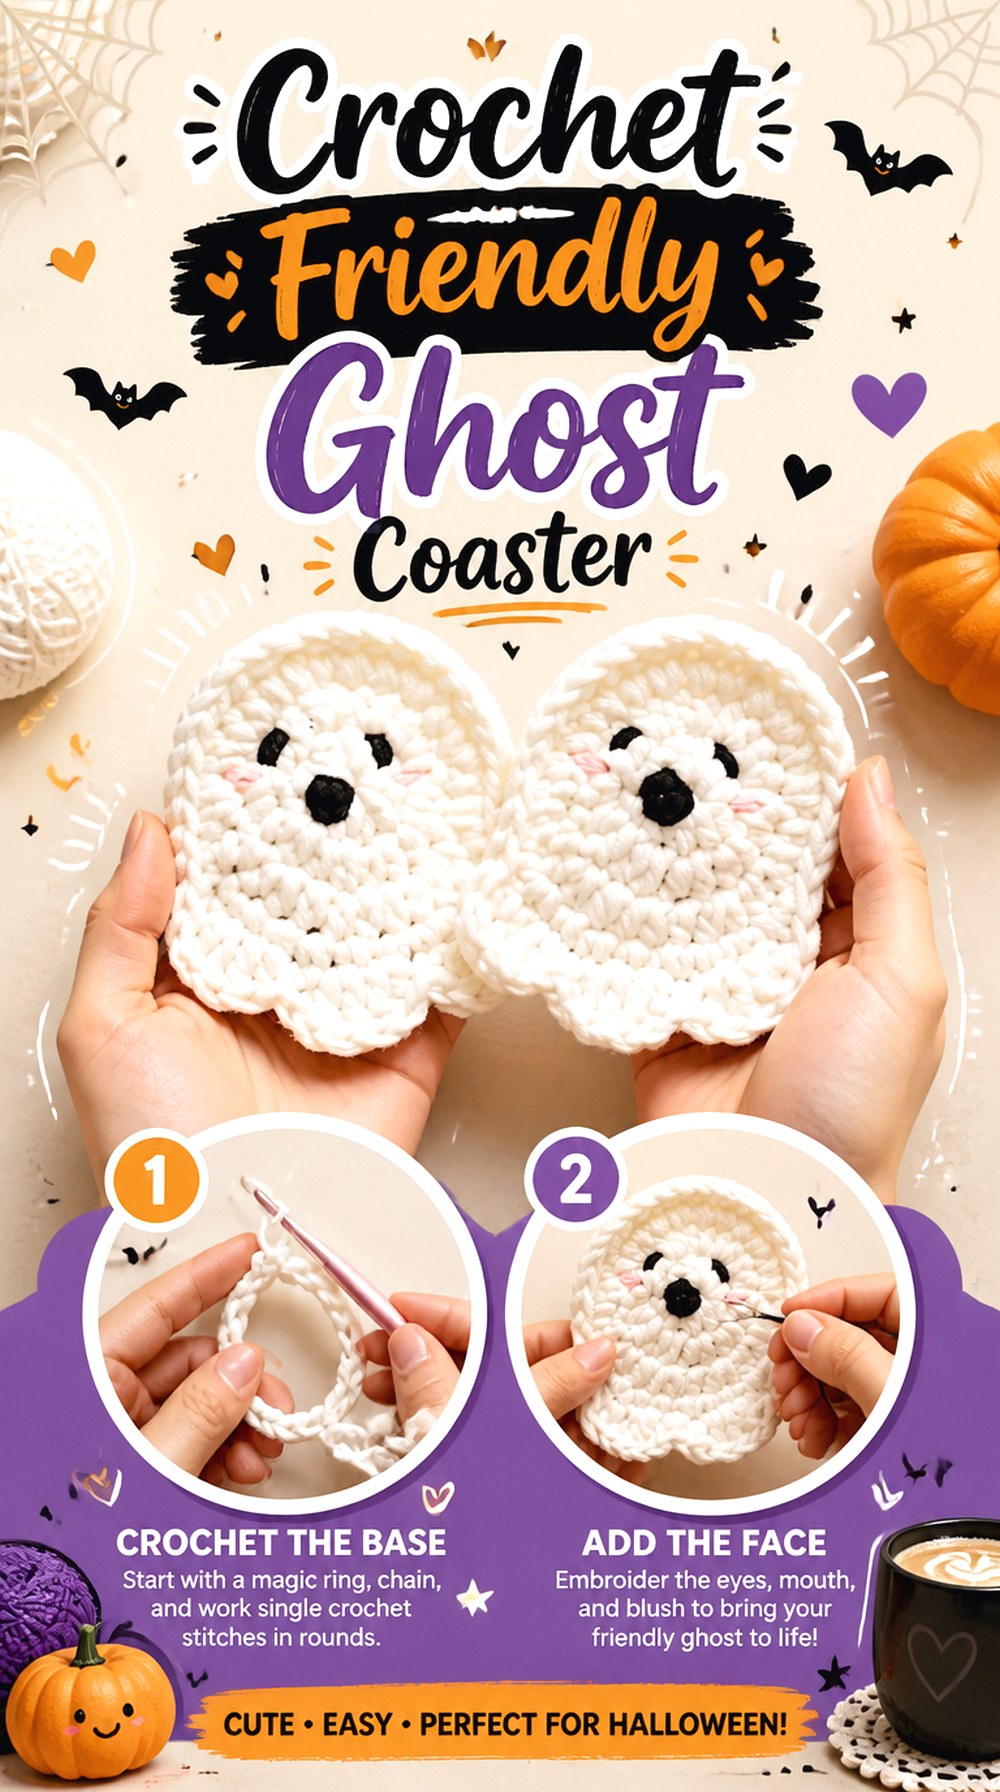
A ghost coaster adds a playful seasonal element without the sharper gothic tone of skulls or coffins. Stringbbeans’ tutorial creates a shaped ghost coaster and adds embroidered facial details after the main crochet form is complete.
That makes it a good choice for a softer kitchen witch display, particularly when paired with pumpkins, cream-colored yarn, and warm wood surfaces. The irregular ghost outline also gives the table more shape variety than a group of circular coasters.
Keep Face Embroidery Flat on the Back
Facial details are small, but the yarn carried or knotted behind them can create a bump where a mug needs to sit. After embroidering, check the reverse side and secure ends without building a thick knot directly beneath the main cup area.
Decide Whether You Want Cute or Eerie Before Choosing Colors
The finished outline can support both directions. White with a small friendly face reads playful, while gray, muted lavender, or aged cream can make the same general form feel moodier. Choose the direction before making several so the set looks intentional rather than randomly mixed.
Original Tutorial and Creator Credit
Creator: stringbbeans
10. Crochet Bat Wing Coaster
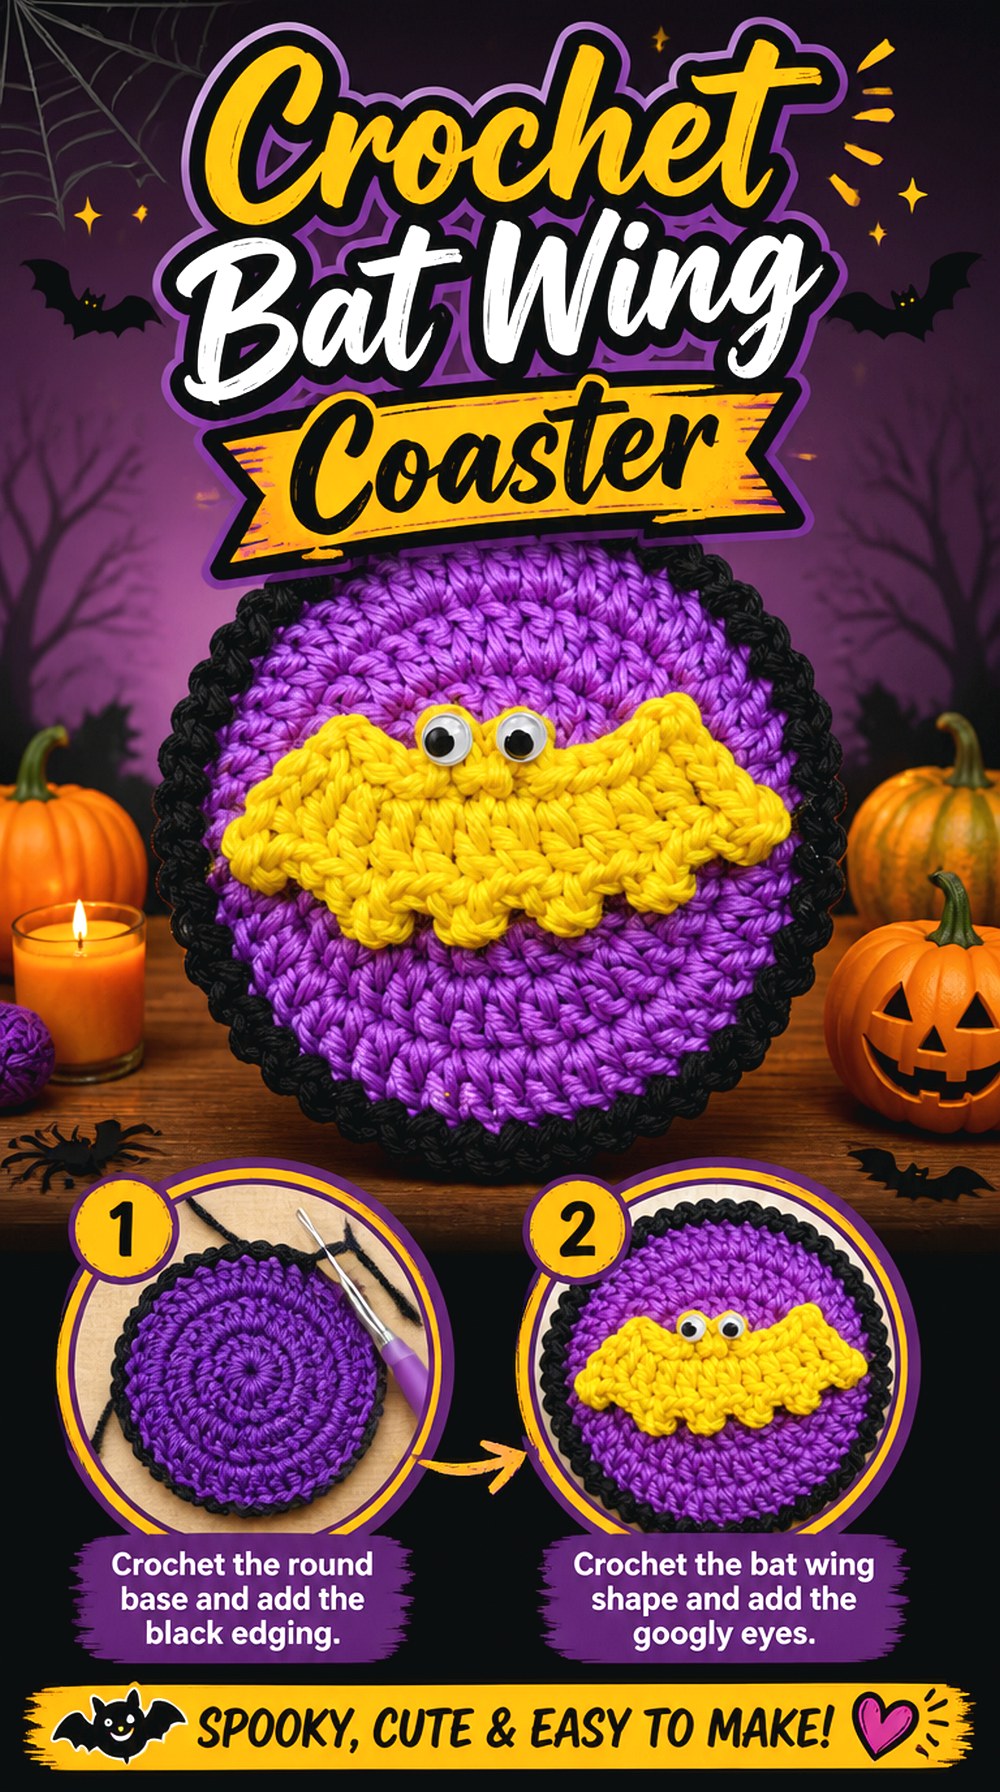
A bat brings a wider horizontal silhouette to the table, which immediately separates it from pumpkins, eyes, and celestial circles. Pora Pora Crochet’s tutorial demonstrates a bat coaster that can also function visually as a bat appliqué.
For kitchen witch decor, black is the obvious choice but not the only one. Deep plum or charcoal can keep the wings visible against a dark tabletop. The projecting wing edges make the piece decorative even when no cup is sitting on it, so a few bats scattered along a runner can help connect the place settings.
Watch the Wing Tips for Curling
Narrow projecting sections show tension problems faster than a plain circle. Once the coaster is finished, compare both sides and make sure the wings settle evenly. If one edge twists significantly, correct the finishing before repeating the same tension across an entire set.
Give Dark Bats Enough Background Contrast
Black crochet can disappear on dark counters or black table linens. If you want to keep the classic color, place the coaster over wood, cream, gray, or another surface that outlines the wings. Alternatively, use a slightly lighter charcoal while keeping the rest of the kitchen palette dark.
Original Tutorial and Creator Credit
Creator: Pora Pora Crochet
11. Crochet Gothic Skull Coaster
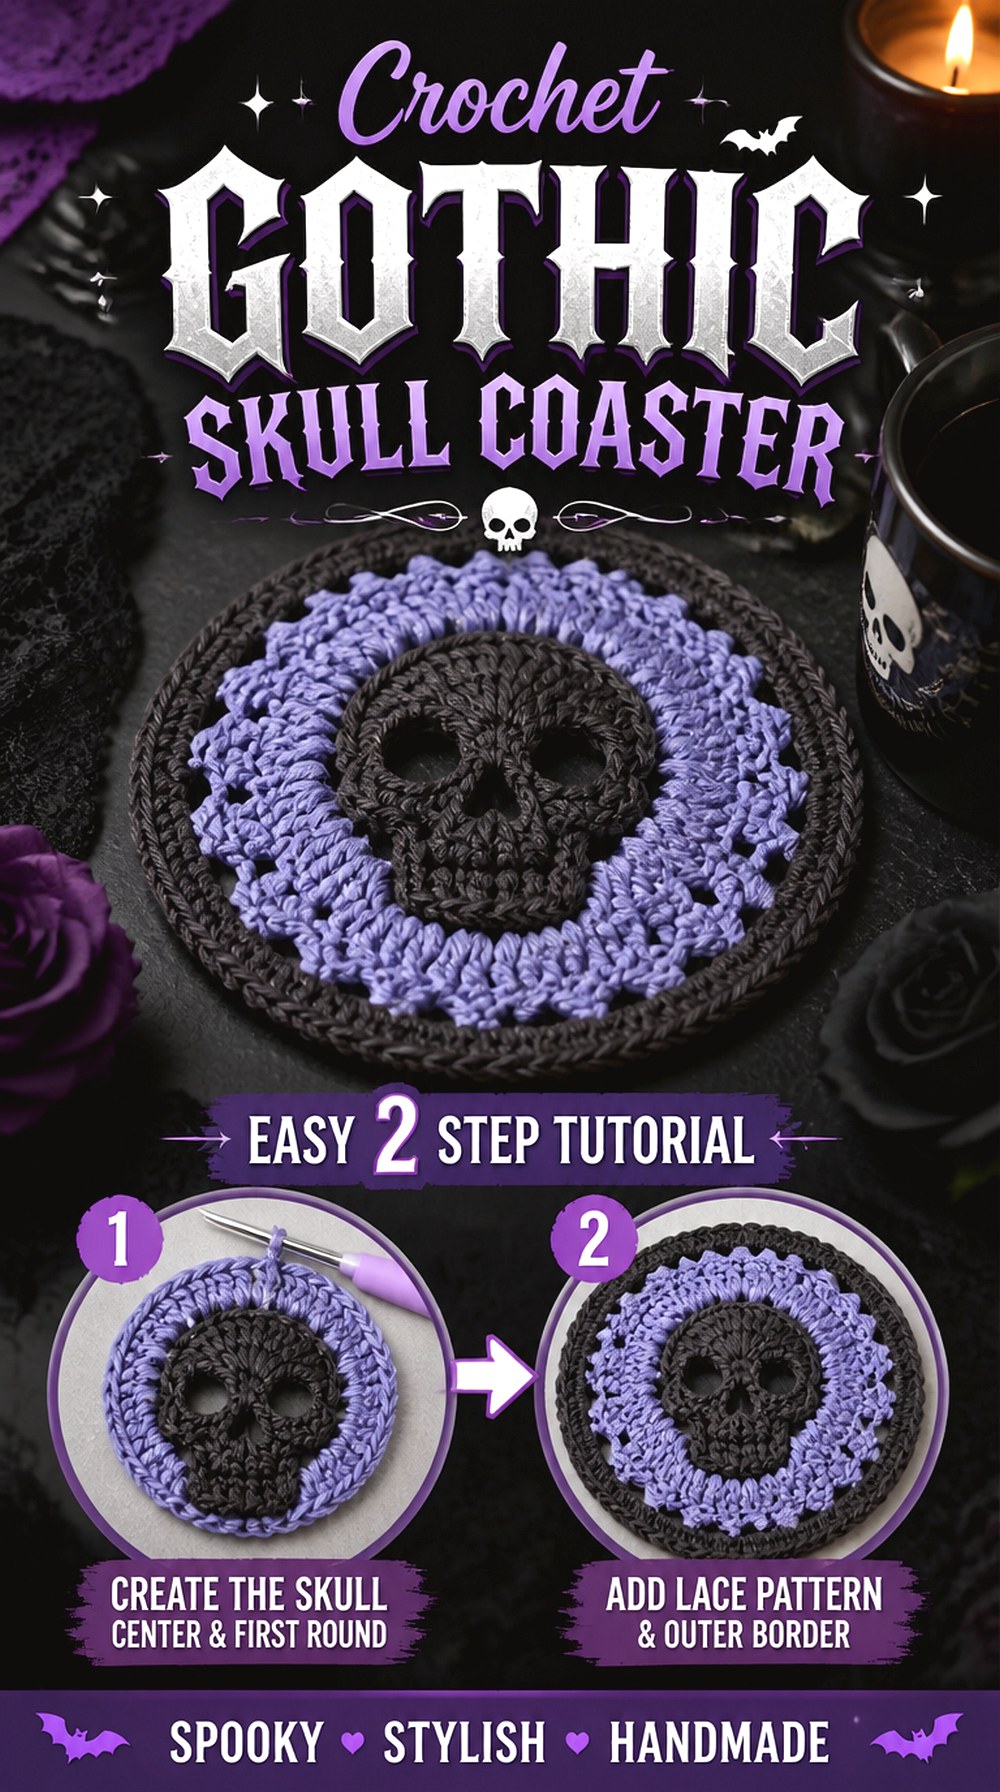
The skull option moves the collection toward gothic kitchen decor rather than storybook witch styling. Crochet Mili’s tutorial is specifically for a crochet skull coaster, providing a clearly recognizable finished shape instead of requiring a skull motif to be adapted from another project.
Use one or two skulls among simpler stars and moons if you want them to act as accents. An entire table of highly detailed motifs can feel visually busy, especially when a runner is also present. Strong contrast between the skull and surrounding surface helps the facial openings remain legible.
Preserve the Open Facial Areas
The eyes and other negative spaces are what make a flat skull readable. Avoid crowding those areas with additional embroidery or embellishment. If you change yarn weight, inspect whether the openings remain distinct rather than closing visually into a solid blob.
Keep the Outer Edge Symmetrical
Skull motifs depend on left-right balance more than irregular ghosts or pumpkins do. Lay the finished coaster flat and compare the sides before weaving in the last ends. Small shaping differences are easier to address before the project is fully finished and added to a matching set.
Original Tutorial and Creator Credit
Creator: Crochet Mili
12. Crochet Eyeball Drink Coaster
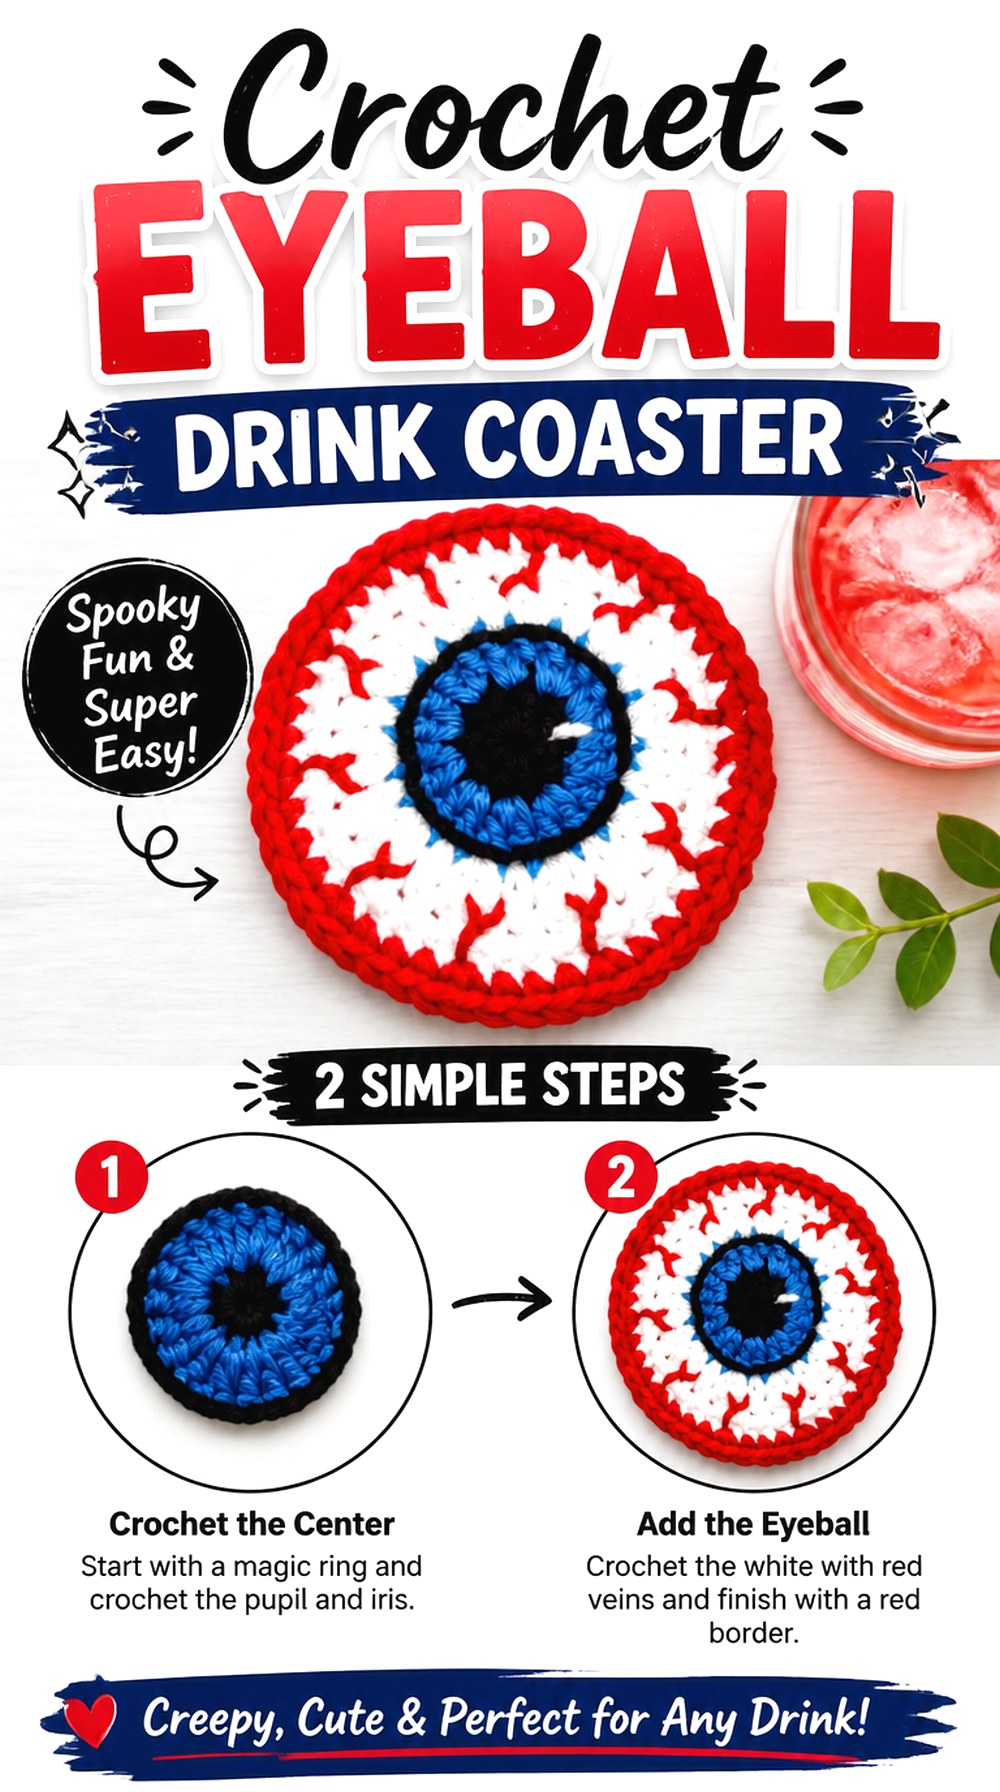
An eyeball coaster introduces strong circular geometry and color blocking. Crochet Crafters’ tutorial is specifically presented as a no-sew eyeball coaster, which makes it a useful contrast to projects that rely heavily on separately attached pieces.
For kitchen witch styling, the eye can suggest potion-making, divination, or simply spooky Halloween decor depending on the colors around it. One large eye motif is usually visually stronger than several unrelated detailed coasters crowded together, so consider using these at individual place settings with a simpler centerpiece.
Manage Color Changes Without Building a Bulky Back
The concentric eye design depends on visible color changes. When finishing, inspect the reverse side and make sure yarn tails or joins do not create a raised center. A coaster should not need to look perfect underneath, but it should rest steadily on the table.
Let the Iris Carry the Accent Color
If your overall kitchen palette is mostly black, cream, and pumpkin, the iris is a controlled place to introduce green, violet, blue, or another potion-inspired color. Repeating that same accent elsewhere—in a witch-hat band or cauldron potion—can connect otherwise unrelated projects.
Original Tutorial and Creator Credit
Creator: Crochet Crafters
13. Crochet Spider Table Coaster
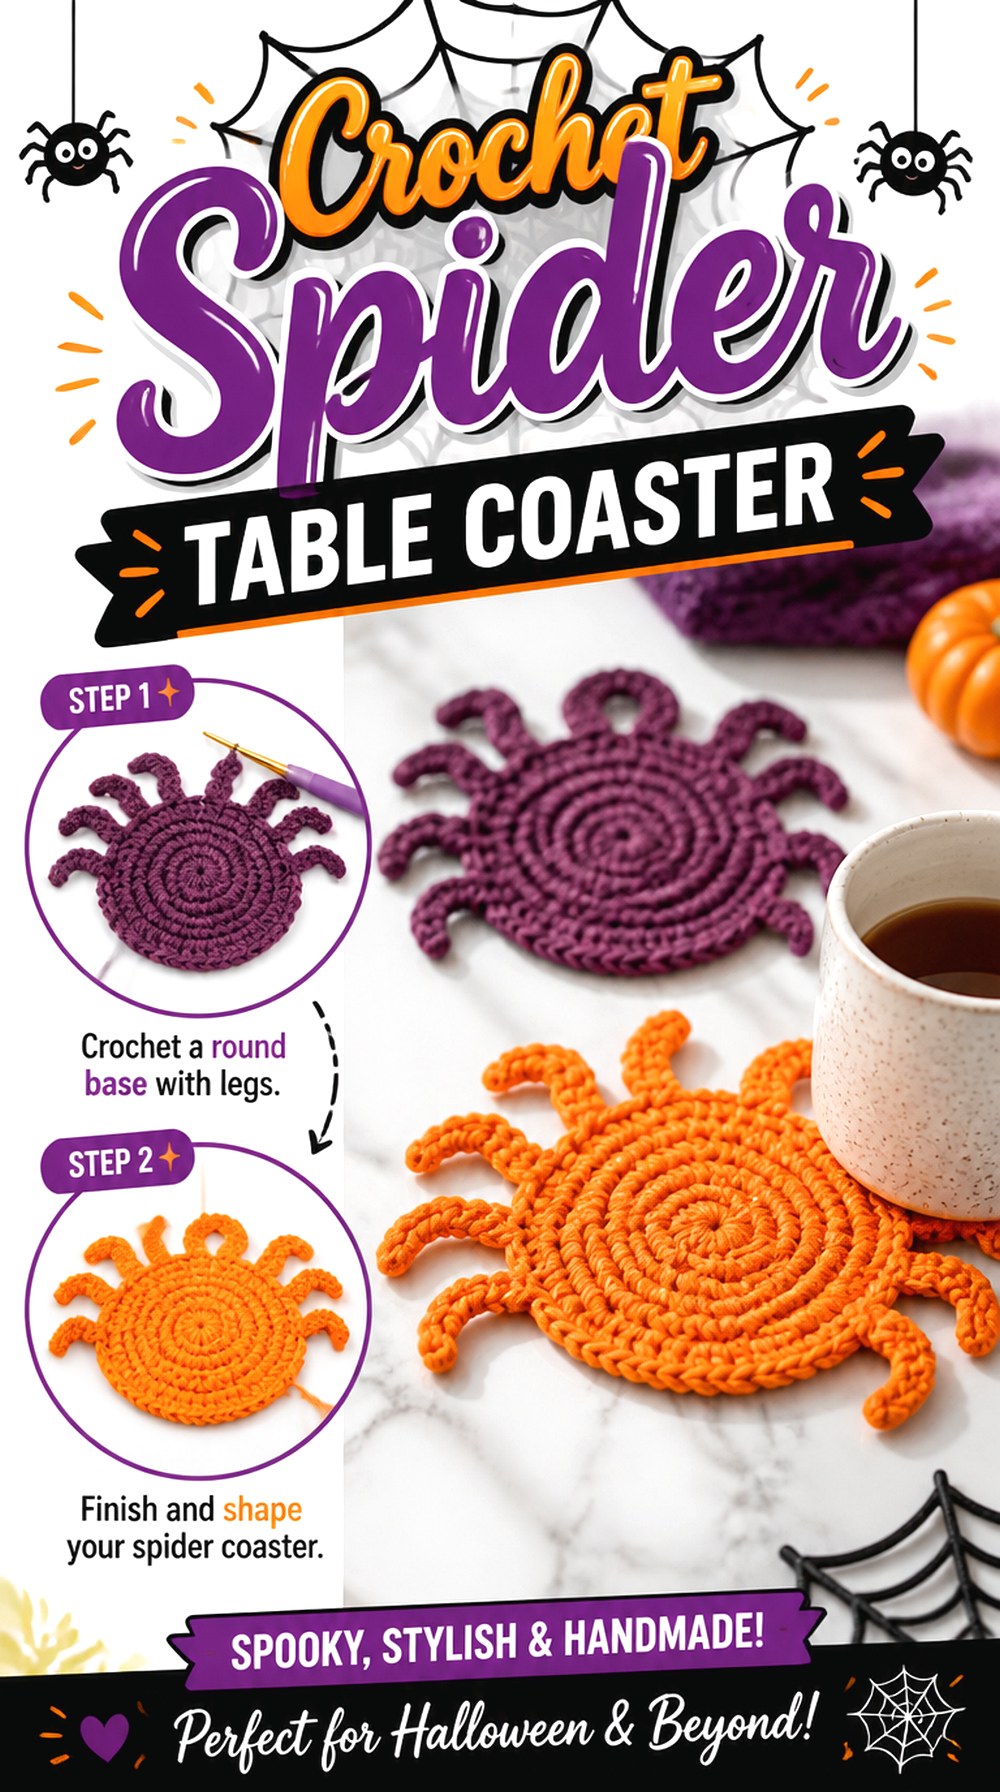
A spider coaster makes the creature itself the focus rather than using a web as the background. Crochet Jewel’s tutorial demonstrates a Halloween spider coaster intended as seasonal home decor.
This project pairs particularly well with the spiderweb doily later in the list because the two pieces repeat a theme at different scales. Use the spider at individual cups and reserve the larger web for the center of the table. That creates hierarchy instead of repeating identical web shapes everywhere.
Check That the Legs Do Not Snag Nearby Objects
Projecting spider legs add character, but very loose or curled sections can catch on utensils, napkins, or neighboring decor. Lay the finished coaster in a mock place setting before making multiples. If the outline interferes with normal table use, it may work better as a decorative accent beside the mug.
Separate the Body From a Dark Tabletop
A black spider on a black runner has almost no silhouette. Contrast can come from the coaster color, the runner underneath it, or a light plate placed nearby. Test the actual table surface before committing to a large batch in the darkest yarn you own.
Original Tutorial and Creator Credit
Creator: Crochet Jewel
14. Crochet Pumpkin Shaped Coaster
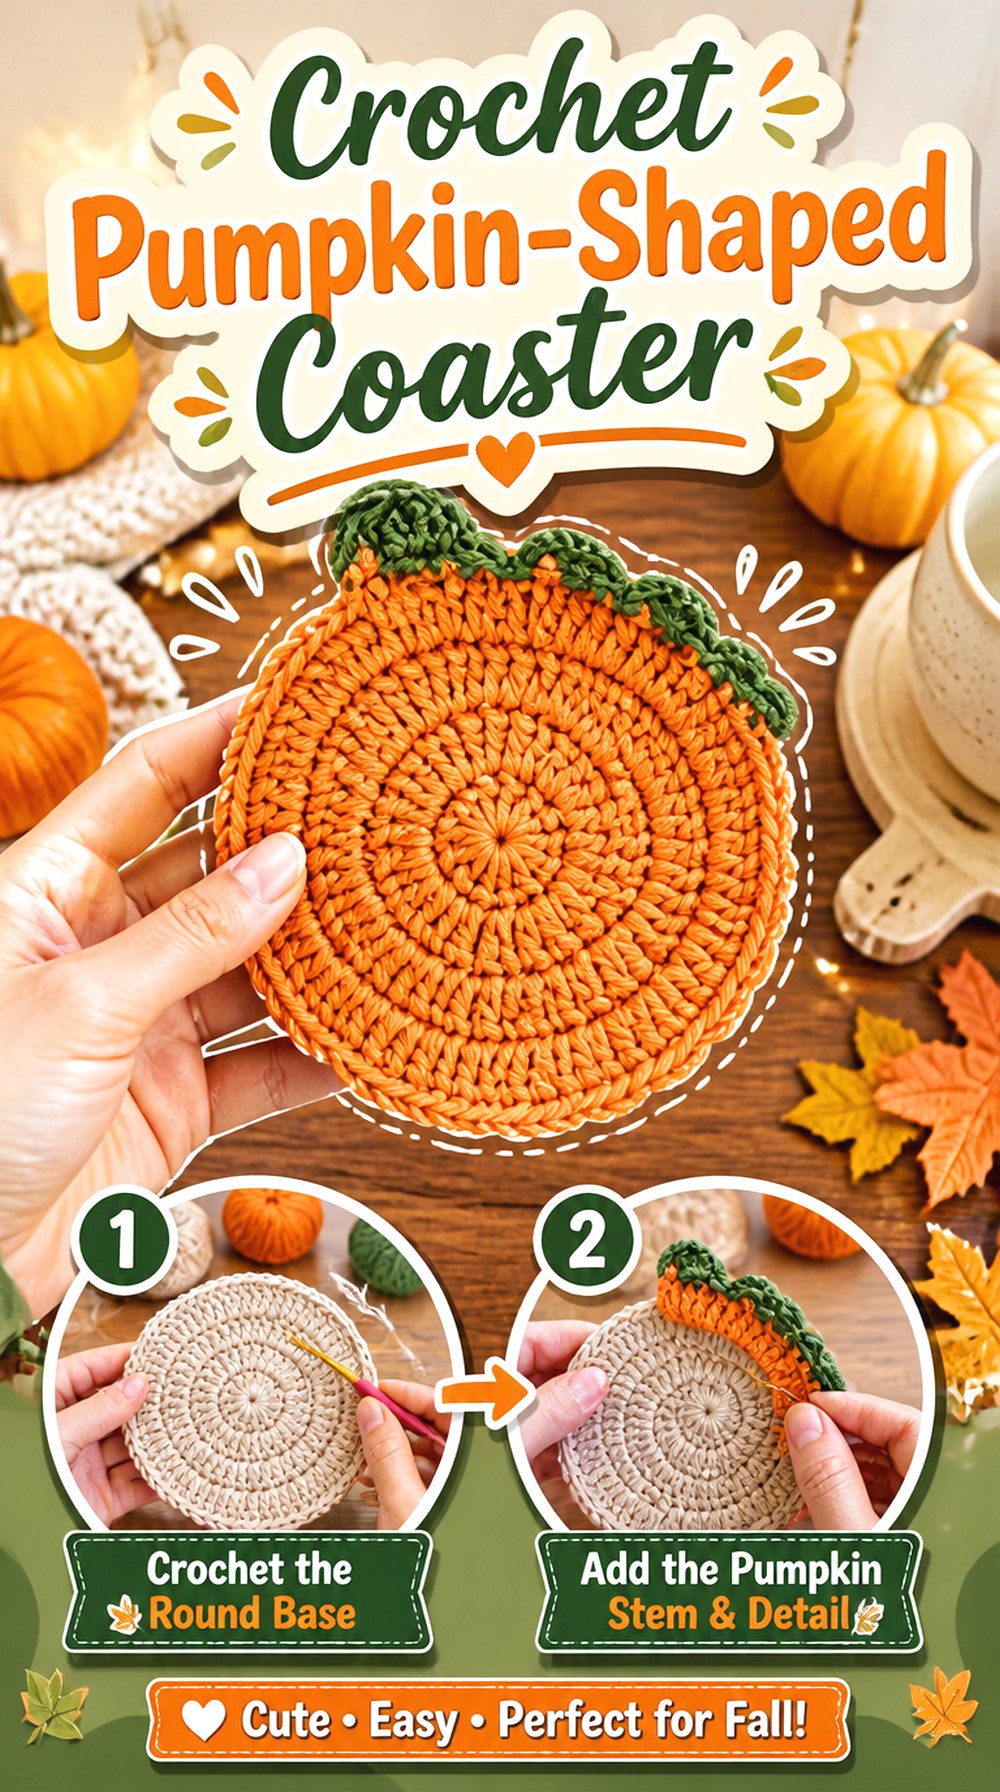
Pumpkins soften the witch theme and help the collection work throughout fall rather than only around Halloween. Knitting Love’s tutorial demonstrates a pumpkin-shaped coaster with separate color emphasis for the pumpkin and its green and brown details.
This is a practical transition piece if your kitchen moves gradually from autumn decor into Halloween. Orange is traditional, but cream, rust, muted mustard, or mossy green can make the coaster coordinate more naturally with an earthy kitchen witch palette.
Protect the Pumpkin Silhouette When Changing Colors
The rounded lobes and stem are more important to recognition than using one exact shade of orange. If you prefer neutral yarn, keep enough tonal contrast around the stem and leaf details for the outline to read as a pumpkin rather than a generic round mat.
Use Pumpkins to Calm a Heavily Gothic Set
If skulls, bats, coffins, and eyeballs dominate the table, pumpkin coasters can add a simpler organic shape. Alternating one detailed gothic motif with one pumpkin or celestial piece gives the collection breathing room and makes the stronger motifs feel deliberate rather than repetitive.
Original Tutorial and Creator Credit
Creator: Knitting Love
15. Crochet Candy Corn Accent Coaster
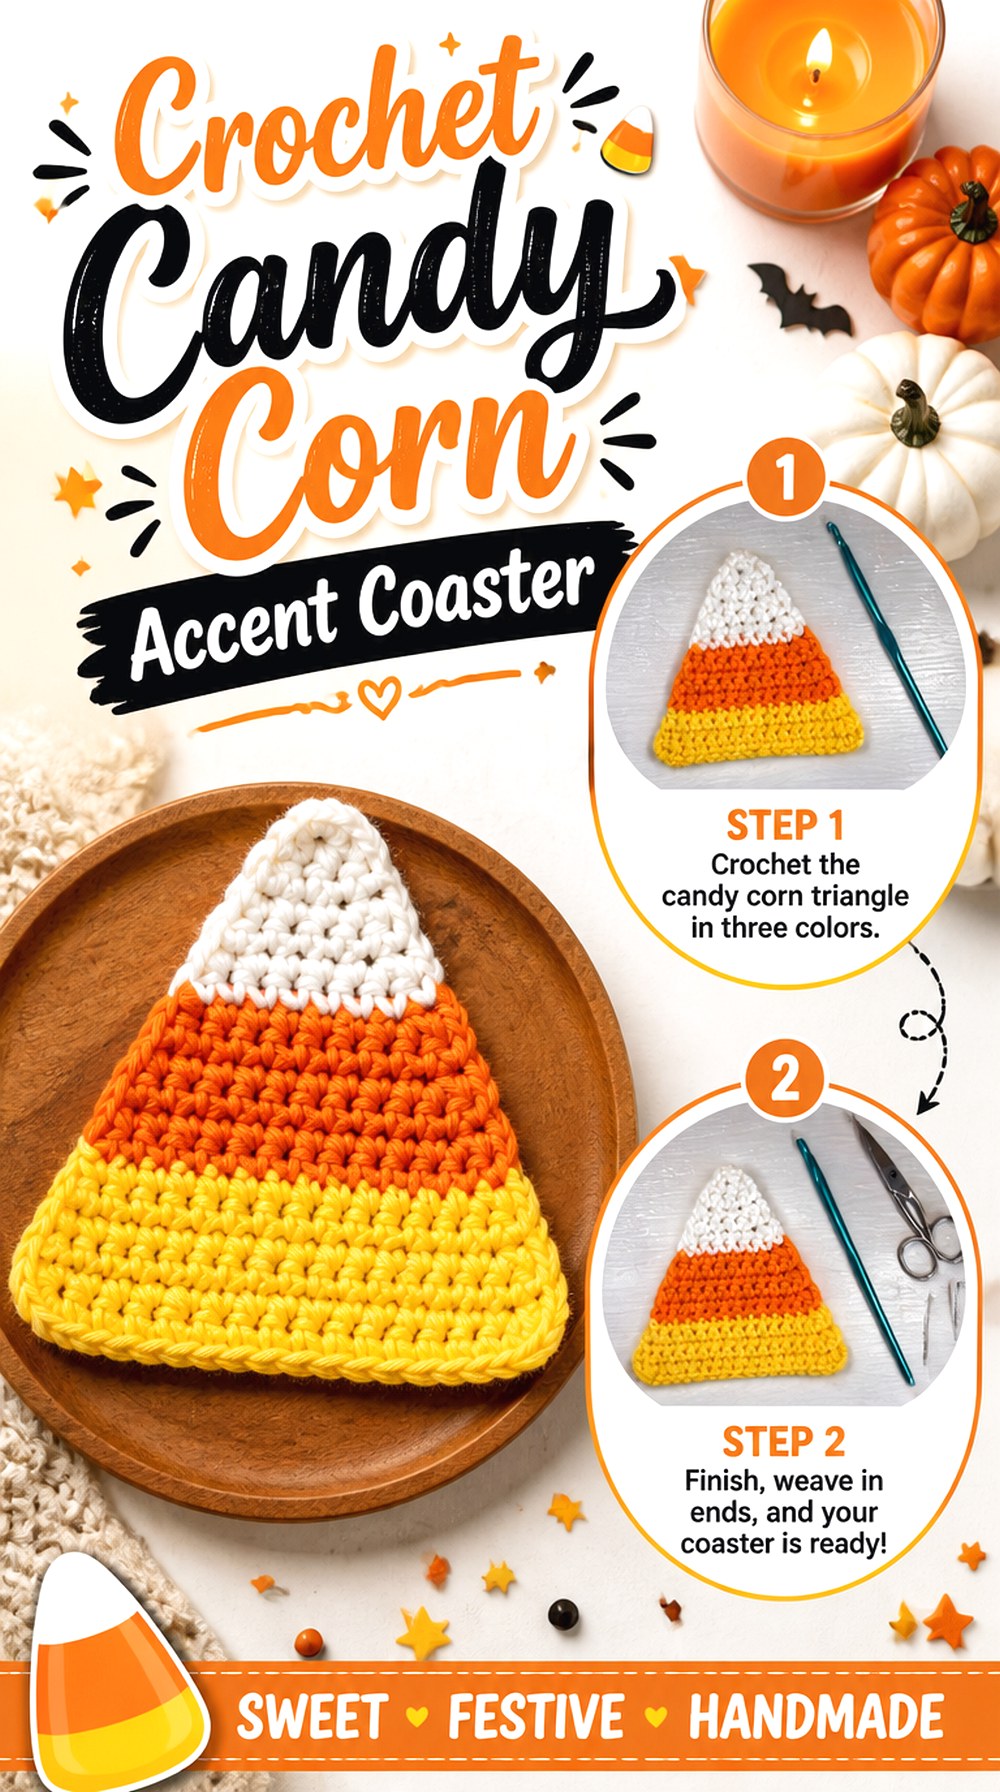
Candy corn gives the collection a bold triangular shape and recognizable color blocking. Crochet with katie’s tutorial demonstrates the coaster in the familiar three-color arrangement.
This is more Halloween than specifically witch-themed, so it works best as a supporting accent rather than the centerpiece of the article’s aesthetic. Pairing it with a witch-hat coaster, black cat cozy, or cauldron makes the broader theme clearer. The simple geometric silhouette is also useful when other projects contain lots of dimensional details.
Keep the Three Sections Visually Balanced
Color changes are the main design feature here. If you substitute a different palette, choose three shades with enough separation to keep the triangular bands visible. Black, plum, and cream can create a witchier interpretation while preserving the graphic structure.
Use the Triangle to Break Up Round Coasters
A collection containing pumpkins, eyeballs, stars, and webs benefits from changes in outline. The candy-corn triangle provides that contrast with relatively little visual complexity. It can sit between more detailed motifs without competing with them.
Original Tutorial and Creator Credit
Creator: crochet with katie 🧶
16. Crochet Spiderweb Table Doily
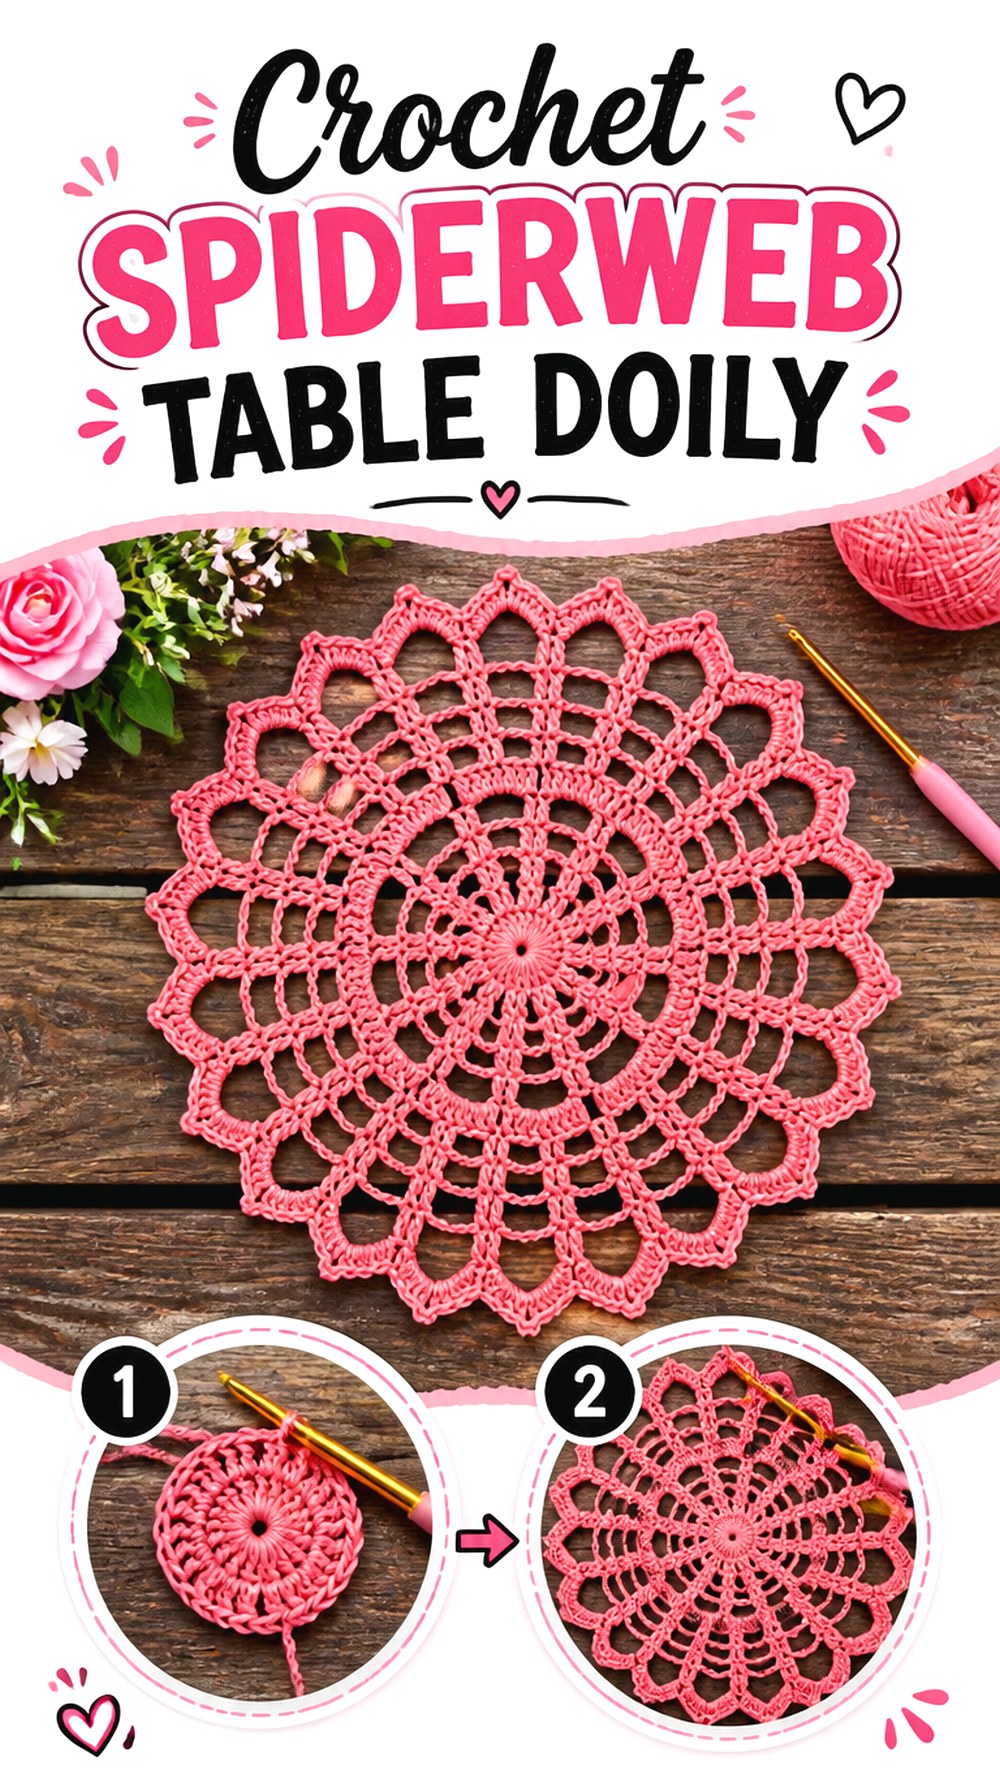
A spiderweb doily can become the center of the table rather than another small cup accessory. Kristines Crochets demonstrates a round openwork spiderweb doily made with cotton yarn in the source project. The visible web geometry gives it enough detail to stand alone beneath a decorative bowl, cauldron display, or other lightweight seasonal centerpiece.
Because openwork exposes the table beneath it, the background color becomes part of the design. A pale web on dark wood feels completely different from a black web on cream linen.
Blocking Has a Major Effect on Web Geometry
Radiating web sections are easiest to read when the finished piece opens evenly. If the outer edge bunches or individual sections collapse inward, the spiderweb effect becomes less obvious. Follow the source’s finishing information and use a blocking method appropriate for your chosen fiber rather than pulling the piece into shape while it is still in use.
Openwork Is Decorative Before It Is Protective
A lace-style doily has gaps and should not be treated like a solid trivet or heat barrier. Use it as table decor unless the specific material and intended function have been verified for something more demanding. It is particularly effective beneath dry seasonal displays where the web remains visible.
Original Tutorial and Creator Credit
Creator: Kristines Crochets
17. Crochet Pumpkin Kitchen Placemat
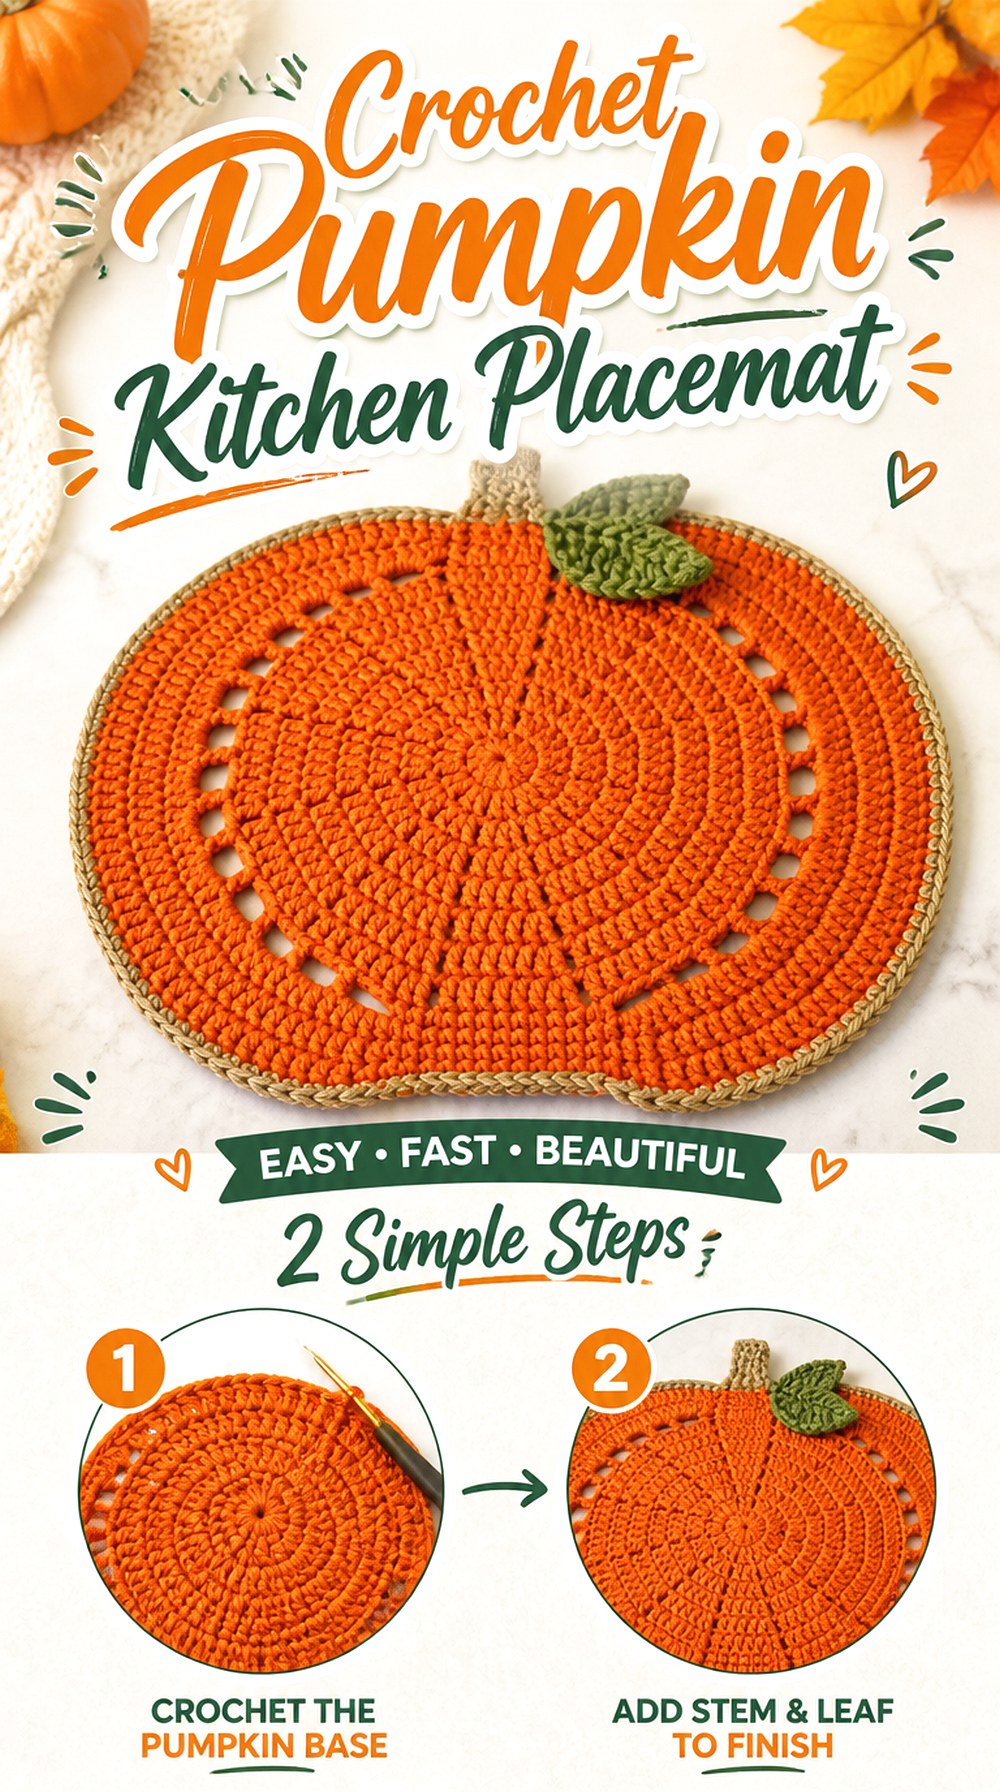
A pumpkin placemat changes the scale of the display from mug-sized accents to full place settings. Crochet Craftsman’s tutorial demonstrates a pumpkin-shaped placemat with edging, stem, and leaf finishing.
This is a strong option when you want the table itself to carry the seasonal theme instead of filling the counter with small figures. Because a plate may cover much of the central pumpkin shape, pay attention to what remains visible around the edge. The stem and outer silhouette do more decorative work during an actual meal than details hidden beneath dinnerware.
Compare the Finished Shape With Your Plates First
Before making four or six placemats, complete one and test it with the plates you normally use. A large plate may cover nearly everything except the outer edge, while a smaller setting leaves more pumpkin visible. That real-world test is more useful than choosing a placemat only because it looks attractive without dishes on top.
Place the Stem Where It Will Not Crowd Neighboring Settings
The projecting top detail affects spacing. Arrange one finished placemat beside another and confirm that stems do not push against glasses, flatware, or neighboring mats. Small orientation changes can preserve the pumpkin shape while keeping the table comfortable to use.
Original Tutorial and Creator Credit
Creator: Crochet Craftsman
18. Crochet Halloween Motif Table Runner
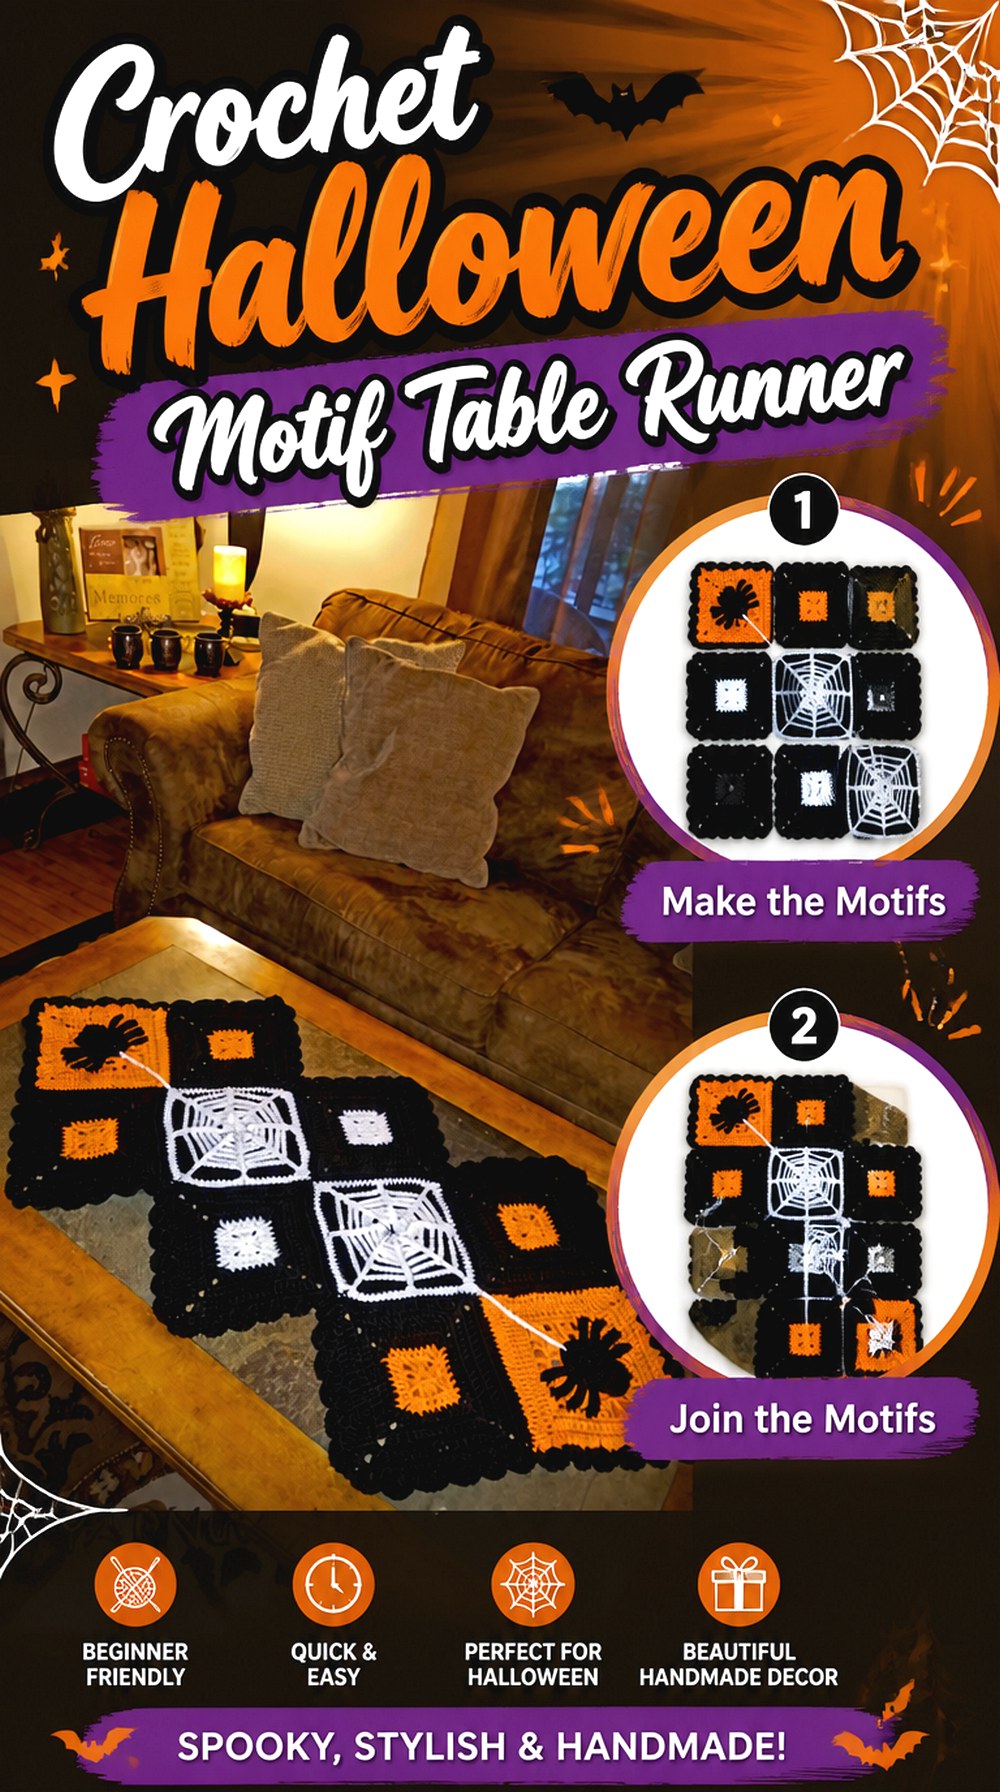
A table runner can organize several witchy colors and motifs into one long centerpiece. Fuad Azmat / YARNutopia by Nadia’s tutorial presents a Halloween table runner assembled with multiple crochet square designs, including spiderweb, spider, and solid motifs.
This construction is useful when you enjoy motif-based projects because each square contributes to a larger piece. It also makes the runner visually heavier than the single spiderweb doily, so you generally do not need another large centerpiece competing with it.
Plan Runner Length Around the Actual Table
A runner that looks balanced on one table may overwhelm a shorter surface or disappear on a much longer one. Use the source measurements as information about that specific tutorial, then compare them with your own table before deciding whether the finished proportions suit your space. Do not assume every table needs the same number of motifs.
Decide Which Motifs Deserve the Center Positions
When a runner contains several square designs, placement affects what remains visible under bowls, candles, or decorative cauldrons. Put your favorite motifs where they will not be permanently hidden. Lay the squares out on the table before final joining so you can evaluate the sequence from normal viewing distance.
Original Tutorial and Creator Credit
Creator: Fuad Azmat / YARNutopia by Nadia
19. Crochet Pumpkin Potholder
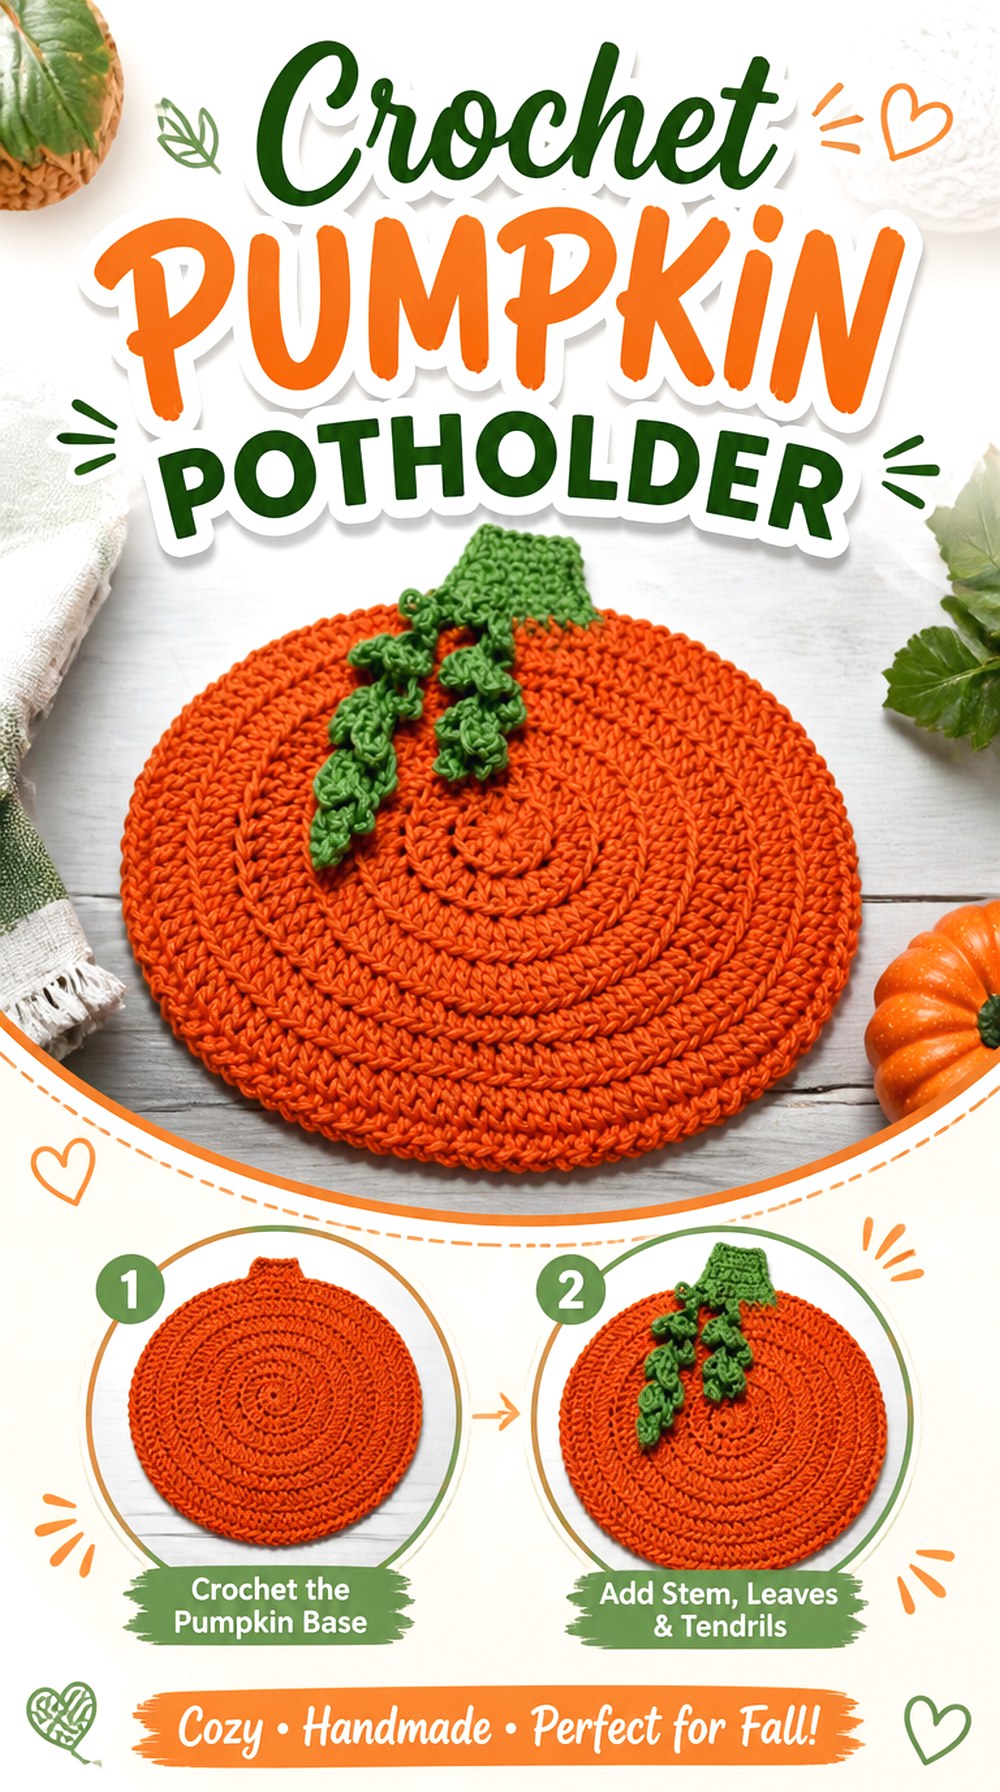
The pumpkin potholder is the most explicitly heat-related kitchen project in this collection, so material choice deserves more attention here than it does for a decorative coaster or amigurumi bottle. Creative Grandma’s tutorial is specifically presented as a pumpkin potholder and includes separate sections for the front, back, leaves, and assembly.
Its layered construction also gives the pumpkin more substance than the flatter pumpkin coaster. Use the creator’s tutorial and supplied material guidance for the intended function rather than adapting a random decorative pumpkin and assuming it provides equivalent protection.
Treat Fiber Choice as a Functional Decision
A potholder is not merely a thicker coaster. Follow the tutorial’s stated materials and verify the fiber information for anything you substitute. Avoid attaching plastic decorations or unknown components to areas that might be exposed to substantial heat. If you change the construction significantly, use the finished piece as decorative kitchen crochet unless you can verify that the altered materials remain suitable.
Check the Layers and Edges Before Kitchen Use
Gaps, thin areas, poorly joined layers, or loose finishing matter more on a potholder than on wall decor. Inspect the entire surface before relying on it around hot cookware. A hanging loop can make the pumpkin part of the visible kitchen decor when it is not being used, but the functional condition of the main body should come first.
Original Tutorial and Creator Credit
Creator: Creative Grandma
20. Crochet Coffin Coaster Garland
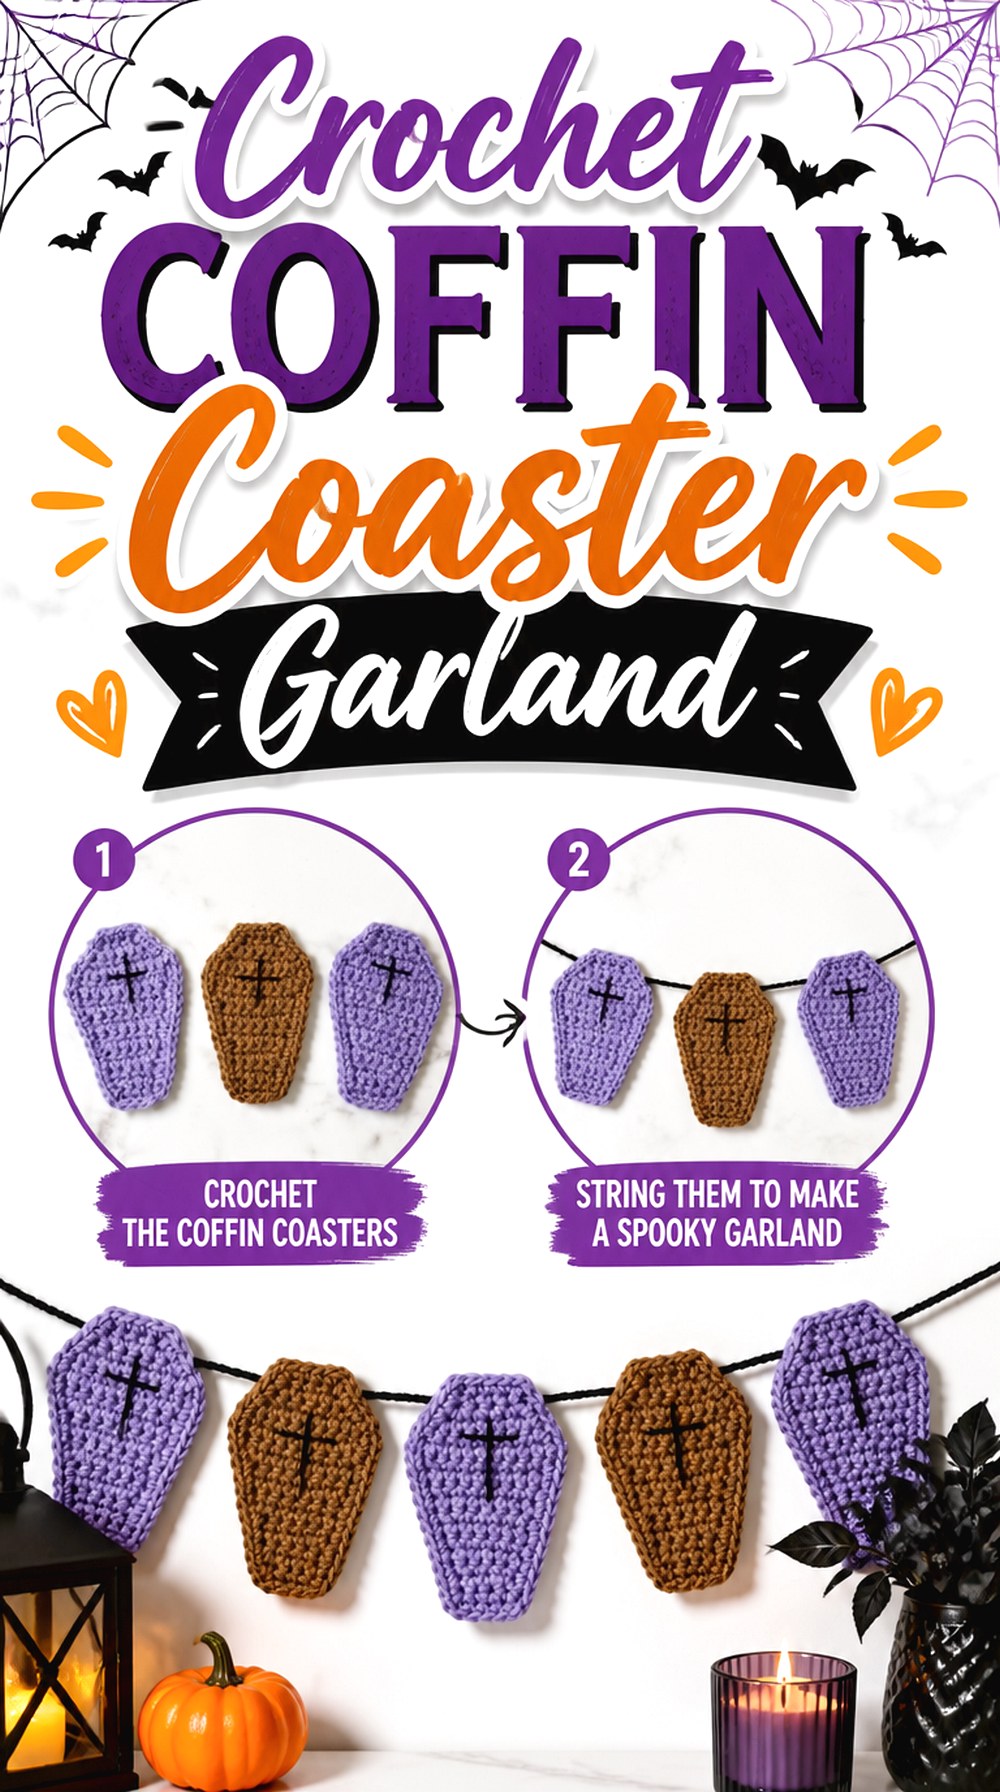
Heather Corinne Crochets’ tutorial makes a coffin shape that can function as a coaster, garland component, ornament, or appliqué. That flexibility makes it one of the most adaptable projects in the collection: use individual coffins under cups or string several above a coffee station where they stay away from the working countertop.
The tall angular form also introduces a distinctly gothic shape that differs from pumpkins, celestial motifs, and rounded cauldrons. Brown, plum, charcoal, black, or gray can change the mood without changing the basic coffin idea.
Choose Coaster or Garland Before Adding Extra Details
A flat coaster needs a stable surface beneath a cup, while a garland can tolerate more dimensional decoration. Decide on its final job before adding beads, buttons, thick embroidery, or other embellishments. Anything that creates a raised area is less important on a hanging coffin but may interfere with drinkware.
Test the Spacing Before Stringing Multiple Coffins
For a garland, place the finished pieces on the floor or a table at different intervals before attaching the hanging cord. Tight spacing creates a dense gothic band; wider spacing makes each silhouette easier to see. Also consider storage: a removable or flexible joining method can make the garland easier to pack without sharply folding individual coffins.
Which Kitchen Witch Crochet Project Fits Your Space?
For a small coffee station, the witch-hat, moon, star, black-cat cozy, and potion bottle add the theme without occupying much room. If you want a single strong focal point, choose the witch doll or cauldron and keep nearby crochet simpler.
For a full dining-table transformation, the pumpkin placemats, Halloween runner, or spiderweb doily provide more visual coverage than a collection of tiny figures. Gothic kitchens can lean toward skulls, eyeballs, bats, and coffins, while softer cottage-witch styling works naturally with pumpkins, moons, stars, warm neutrals, and one small witch figure.
For anything intended to handle hot cookware, choose a tutorial designed for that job rather than converting a decorative coaster or appliqué into a potholder.
Conclusion
The most convincing crochet kitchen witch decor comes from mixing functions and scales rather than repeating the same witch motif twenty times. A cauldron or witch doll can establish the theme, celestial and spooky coasters can carry it across a coffee area, and a runner, placemat, or spiderweb doily can handle the larger dining-table statement.
Choose pieces according to the surfaces you actually have, how easily they can be cleaned and stored, and whether they are decorative or genuinely intended for kitchen use. Once you have settled on the look, use the original tutorials for their exact construction details instead of trying to reverse-engineer the finished projects from photos.
Frequently Asked Questions
Can Halloween crochet tutorials still work for kitchen witch decor?
Yes, when the finished motif supports the broader aesthetic. Moons, stars, bats, spiders, pumpkins, coffins, black cats, potion bottles, and webs can all sit naturally beside an unmistakable witch or cauldron. The key is transparency: a pumpkin or crescent tutorial does not become a “witch pattern” simply because you recolor it. Treat the source as instruction for that particular object and create the kitchen-witch connection through your own palette and display.
Which projects are most practical for a very small kitchen?
Flat pieces usually consume the least permanent space. Coasters, a mug cozy, a broom appliqué, or a small garland can provide seasonal detail without taking up food-preparation surfaces. A witch doll, cauldron, or stuffed potion bottle needs dedicated shelf or counter room and may collect kitchen residue more easily. If storage is also limited, prioritize pieces that stack flat once the season ends.
Should all my kitchen witch crochet use black yarn?
No. Too much black can actually hide stitch definition and make separate motifs blend together, particularly on a dark table. Consider black as one anchor color and combine it with cream, moss, plum, rust, muted gold, charcoal, or pumpkin tones. Repeating two or three accent colors across unrelated projects often creates a more coordinated room than crocheting every object in exactly the same color combination.
Can I use any of these crochet coasters as potholders?
No. A coaster being suitable beneath a drink does not automatically make it suitable for handling hot cookware. Heat-related use depends on fiber content, thickness, construction, embellishments, and the project’s intended function. For hot pans or dishes, follow a potholder tutorial and its material guidance. When a project’s heat suitability is unclear, keep it as decorative table crochet rather than treating it as protective equipment.
How do I keep shaped coasters from looking uneven as a set?
Finish one sample before committing to multiples. Let it settle or block it using a method suitable for the fiber, then inspect the outer shape, center thickness, and any projecting points. Use that first finished piece as a comparison for the rest. Consistent tension is usually more useful than trying to force every motif to match an invented measurement that the original tutorial never specifies.
What is the easiest way to make mixed witchy projects look like one collection?
Choose one repeated design cue instead of demanding identical construction. That cue might be black edging, the same muted-purple accent, repeating moss green on leaves and potion details, or celestial gold used only on stars and hat bands. Then allow each object to keep its own silhouette. This gives the room continuity while preserving the useful differences between a coaster, runner, cauldron, witch figure, and placemat.